![]()
C. L. Barker Engine Reconstruction Project
The Old Marine Engine Board or OME is a clearing house and meeting grounds for people with an interest in antique inboard marine engines. On OME, information on many, many engines is available and the members are willing to share there experiences and knowledge with those in need. It was on OME that a gentleman asked for information on a Barker single cylinder inboard engine. It was in terrible shape but mostly complete. This page is about the restoration, or reconstruction of this engine.
My goals are simple.
- This page will outline the process and progress with the reconstruction.
- To reconstruct the engine cylinder casting to operable condition using fusion welding of cast iron to produce like new results. This goal may be unobtainable. To admit defeat first allows a person to realize nothing is what you're starting with and it might be all you have left when you finish.
- To readjust, if you will, the mindset of people about what engines are repairable and warrant a spot inside the garage. The Barker is more than 100 years old. Most of the engines collected between 50 and 100 years old are in fairly sad shape. At the Mystic Seaport Show I was talking with some folks and a gentleman came by saying he had a complete engine he'd found in the swamp somewhere. It had all of the brass still intact and in place, but the cast iron cylinder and base were "so bad" he "stripped the brass and junked the engine".
Here's how the whole project got started. Old Marine Engine Text
These pictures are very large. For those of us who live in little towns where JAWS 2 is still in the new releases section of the movie store, it'll take a while to download.
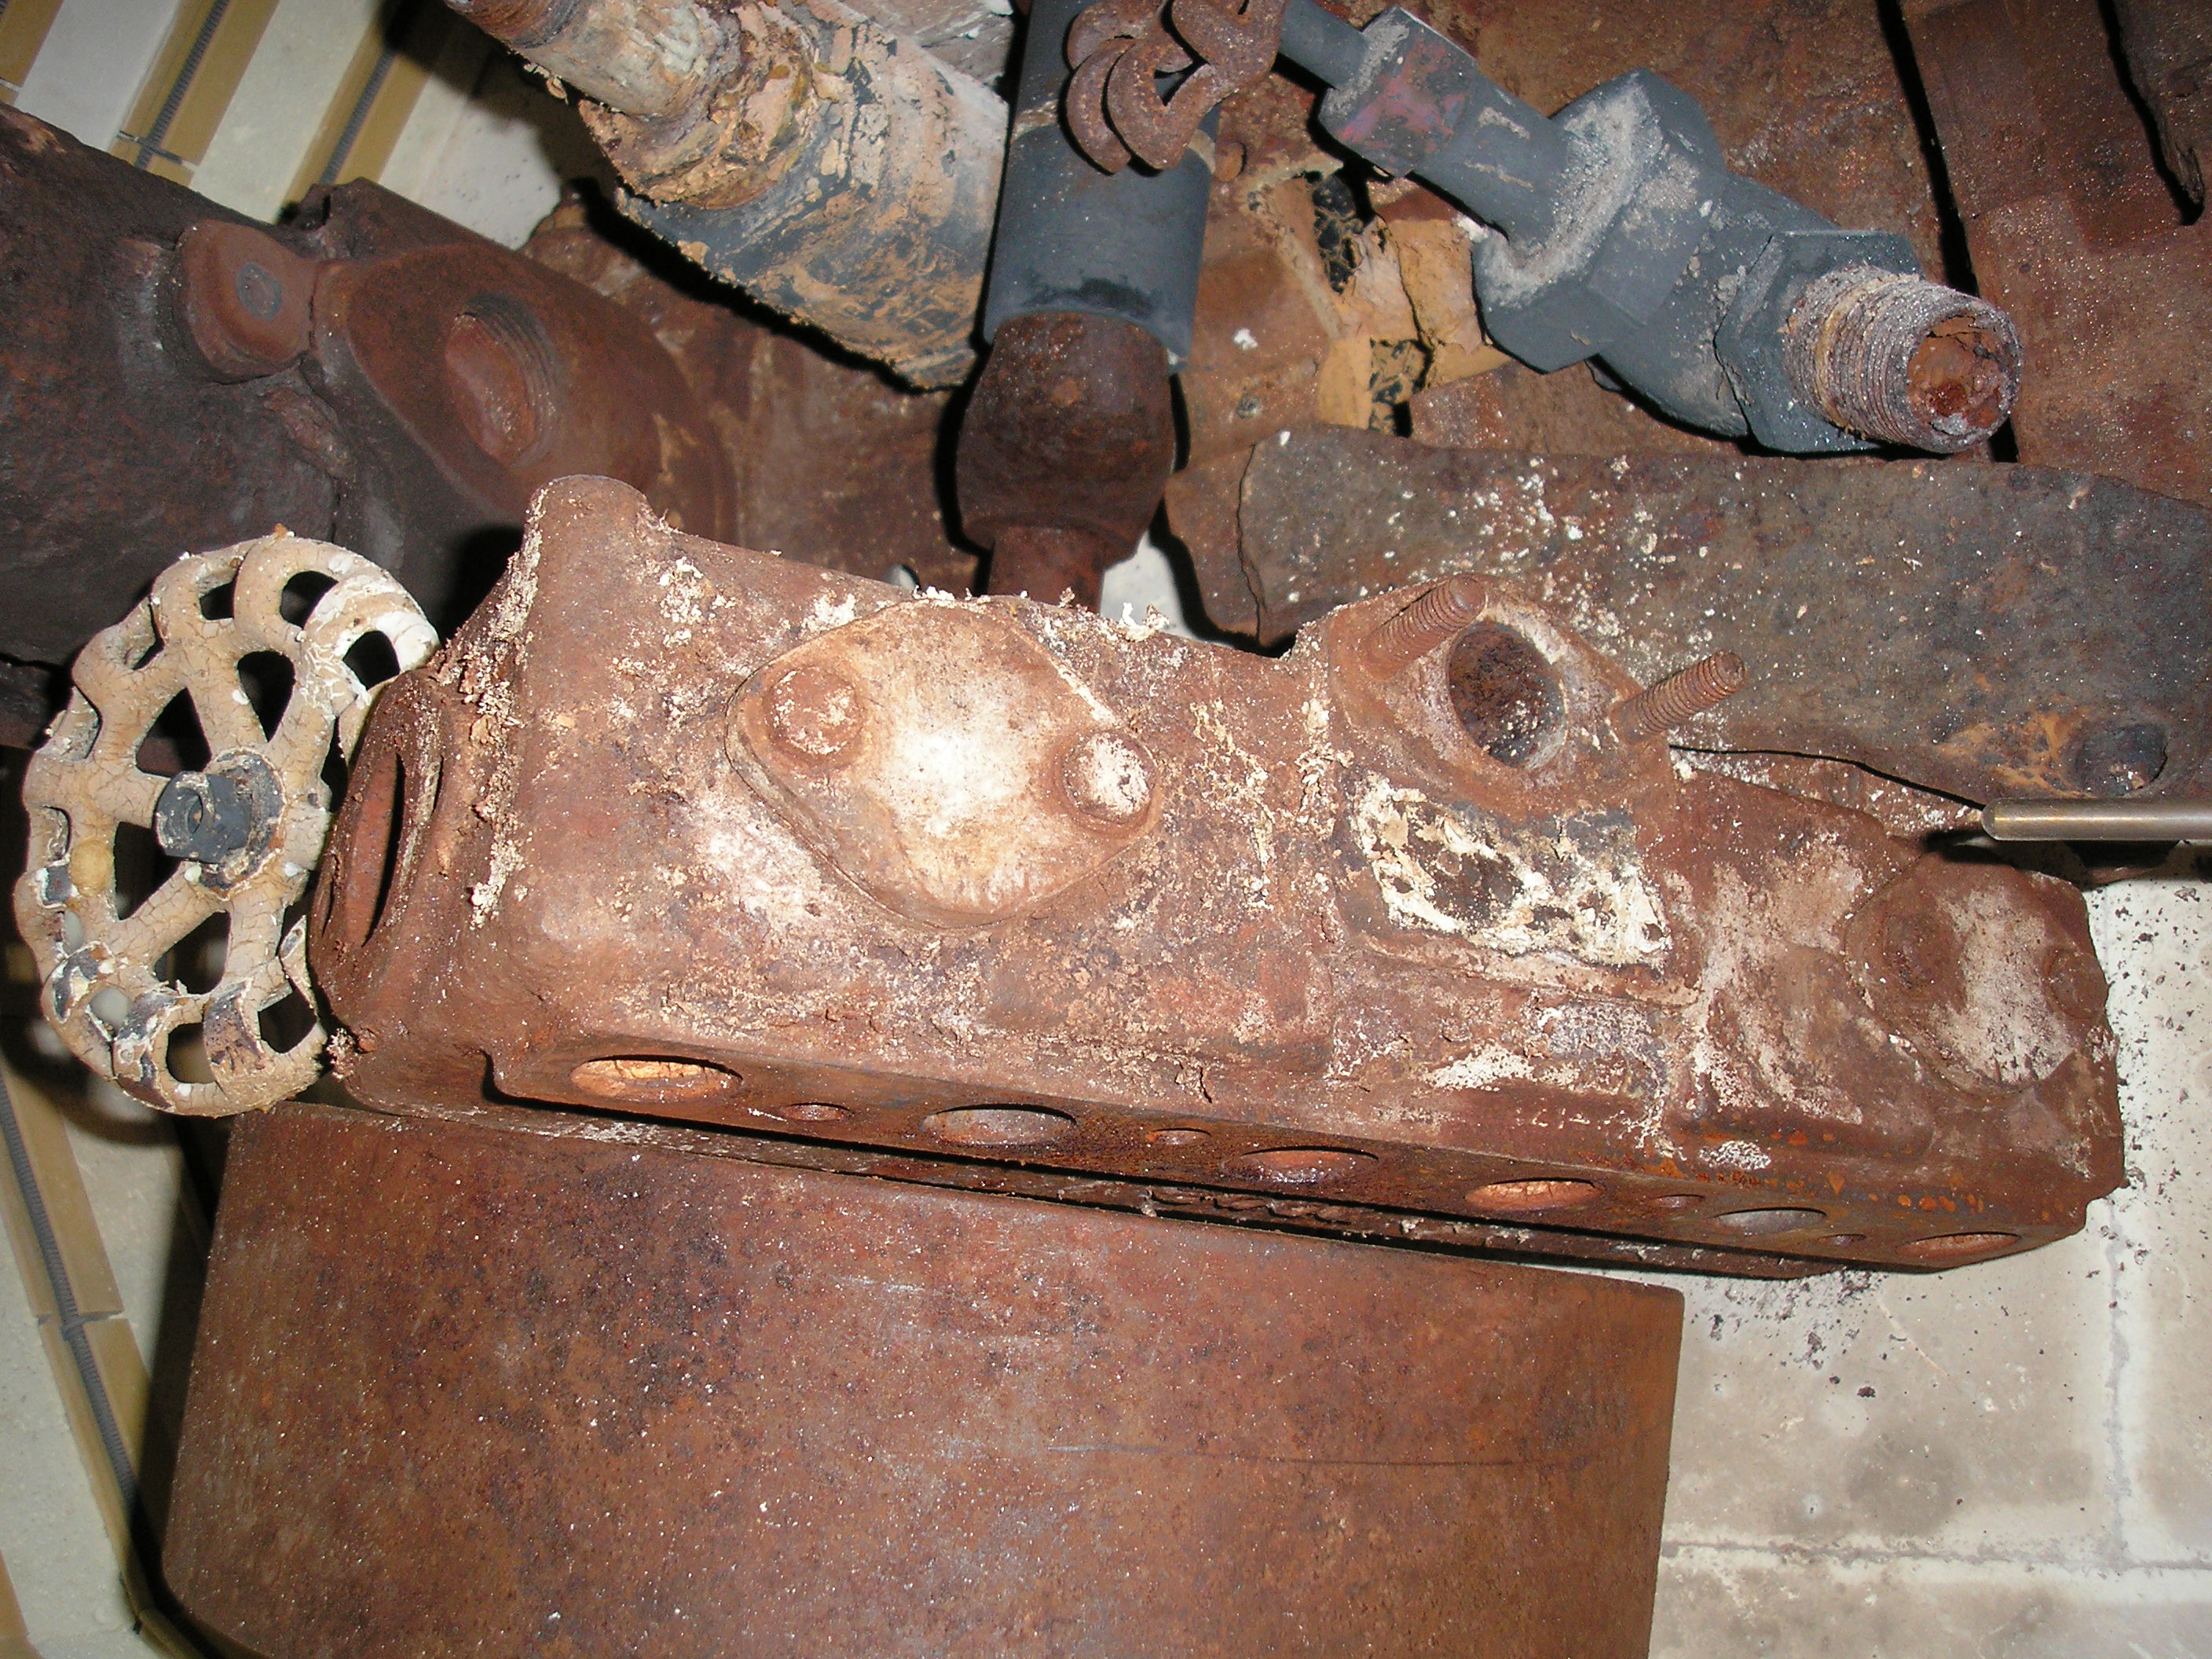
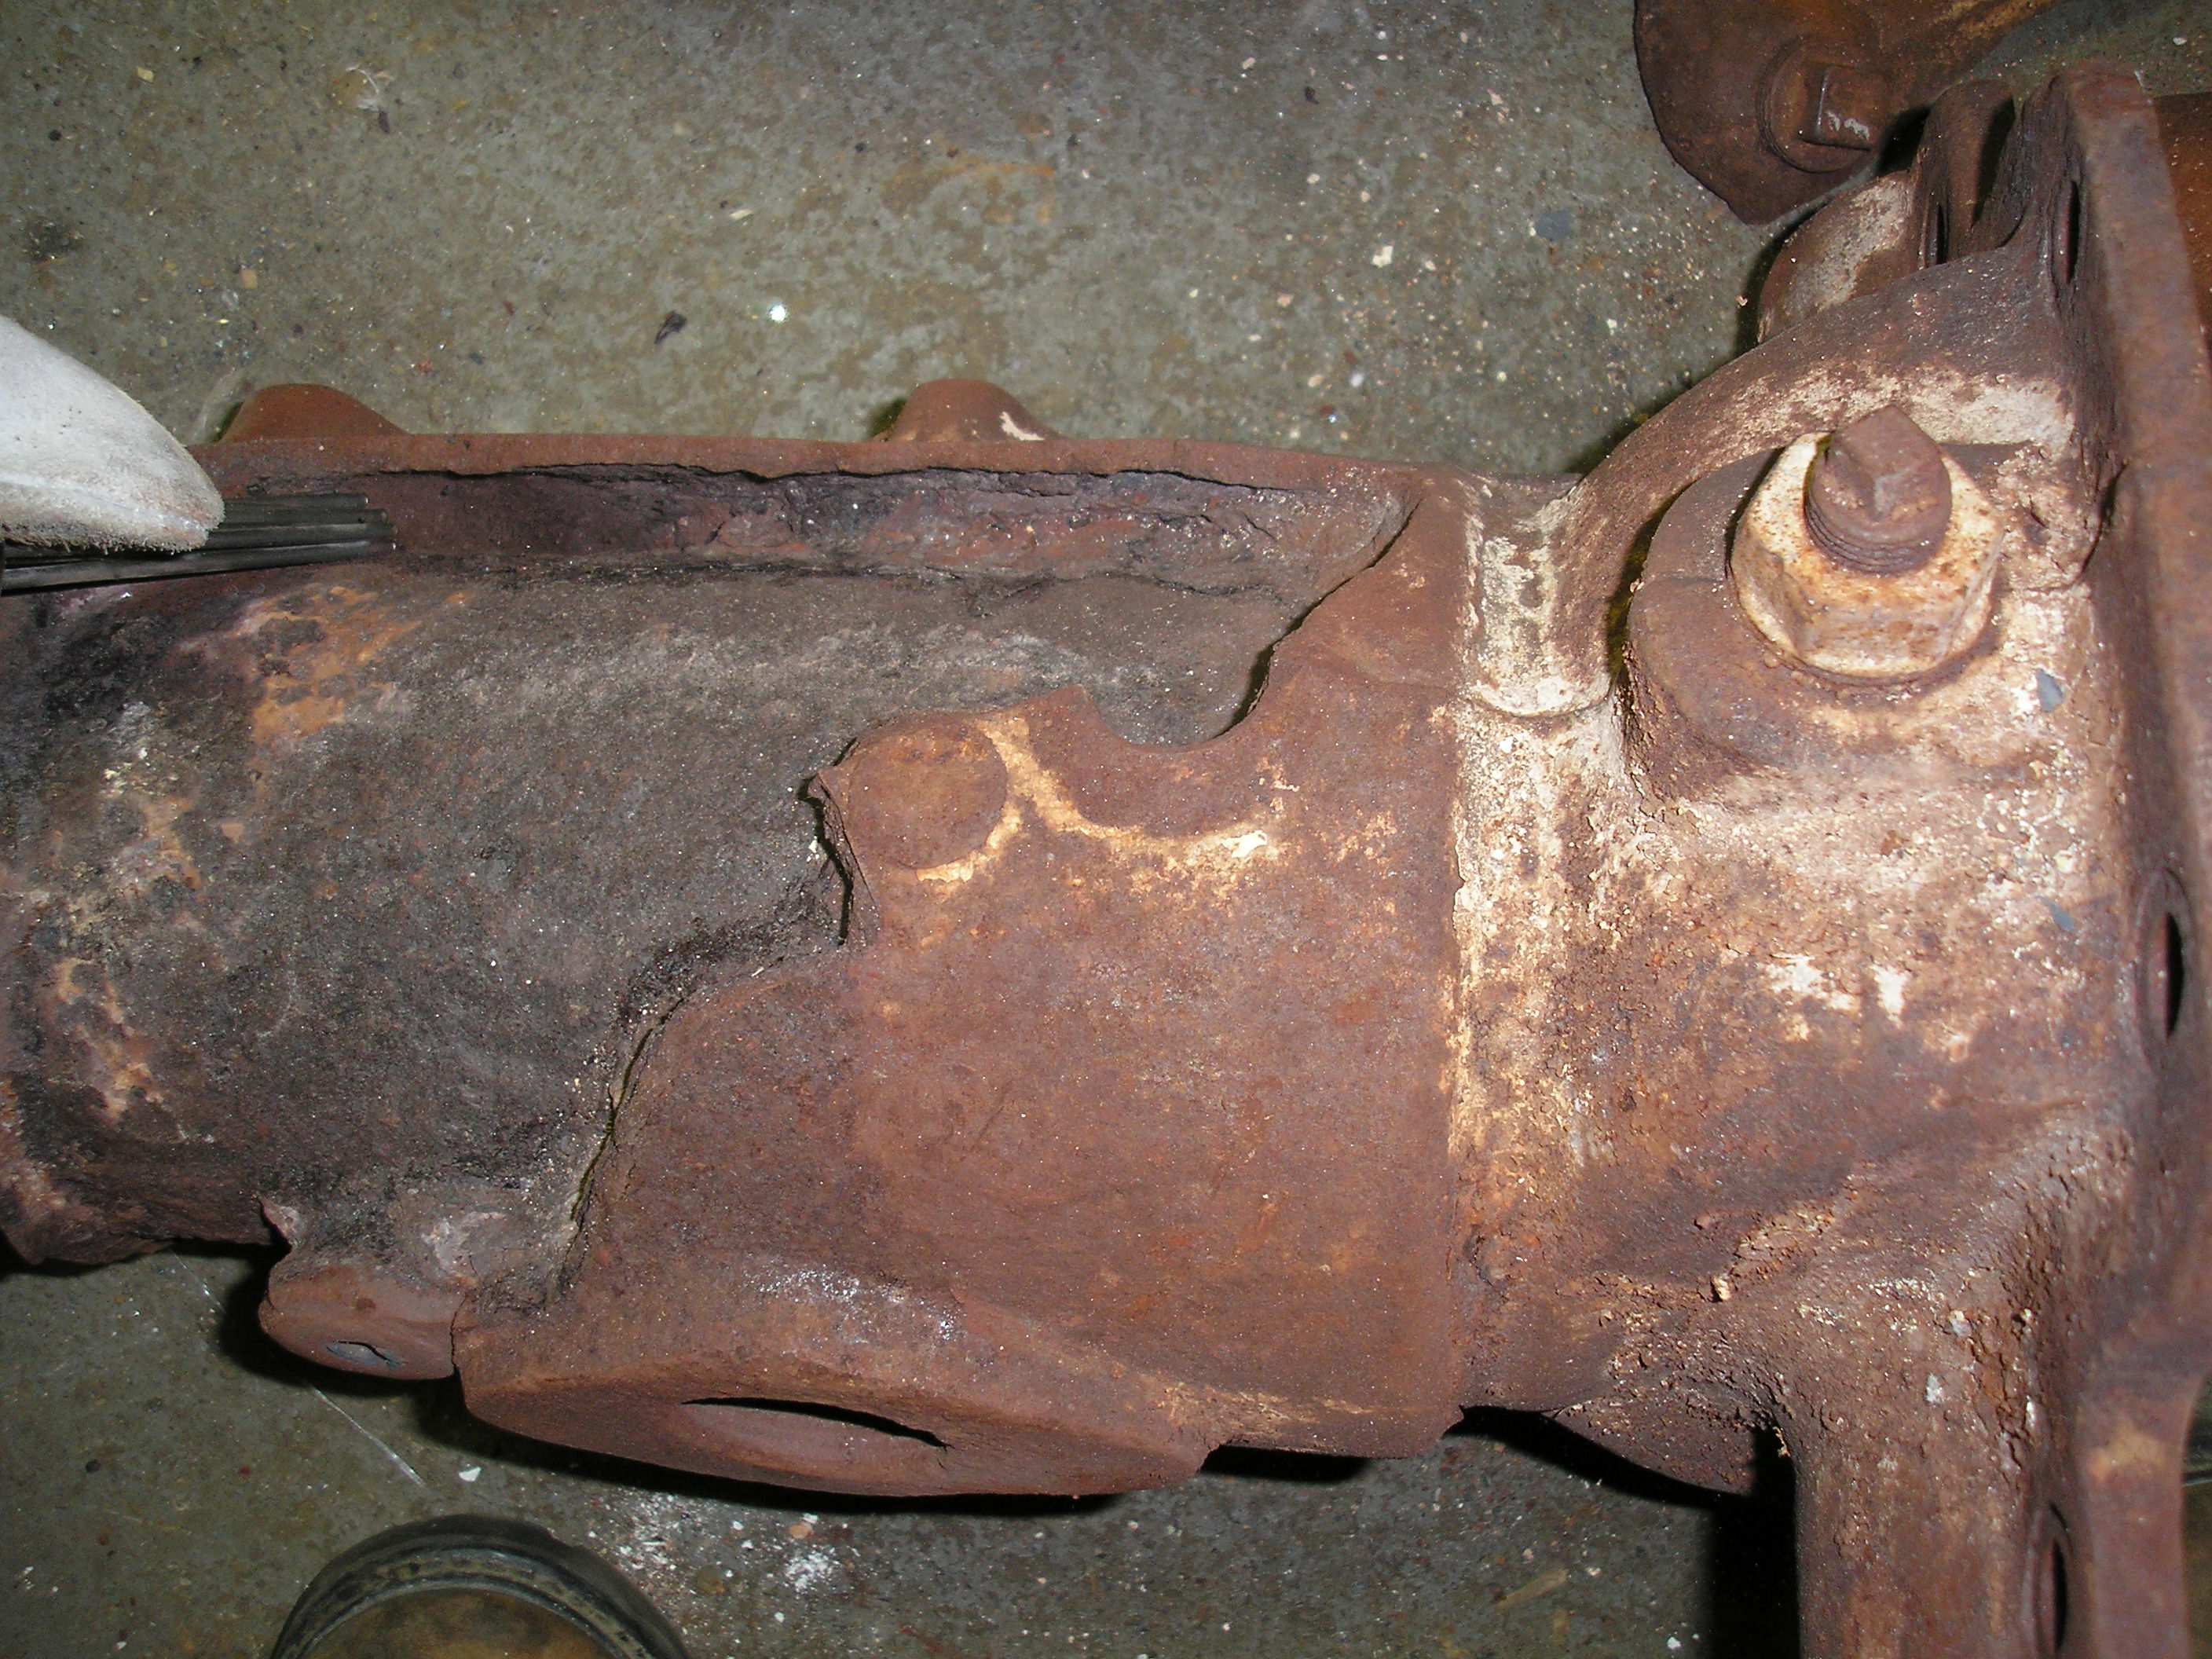
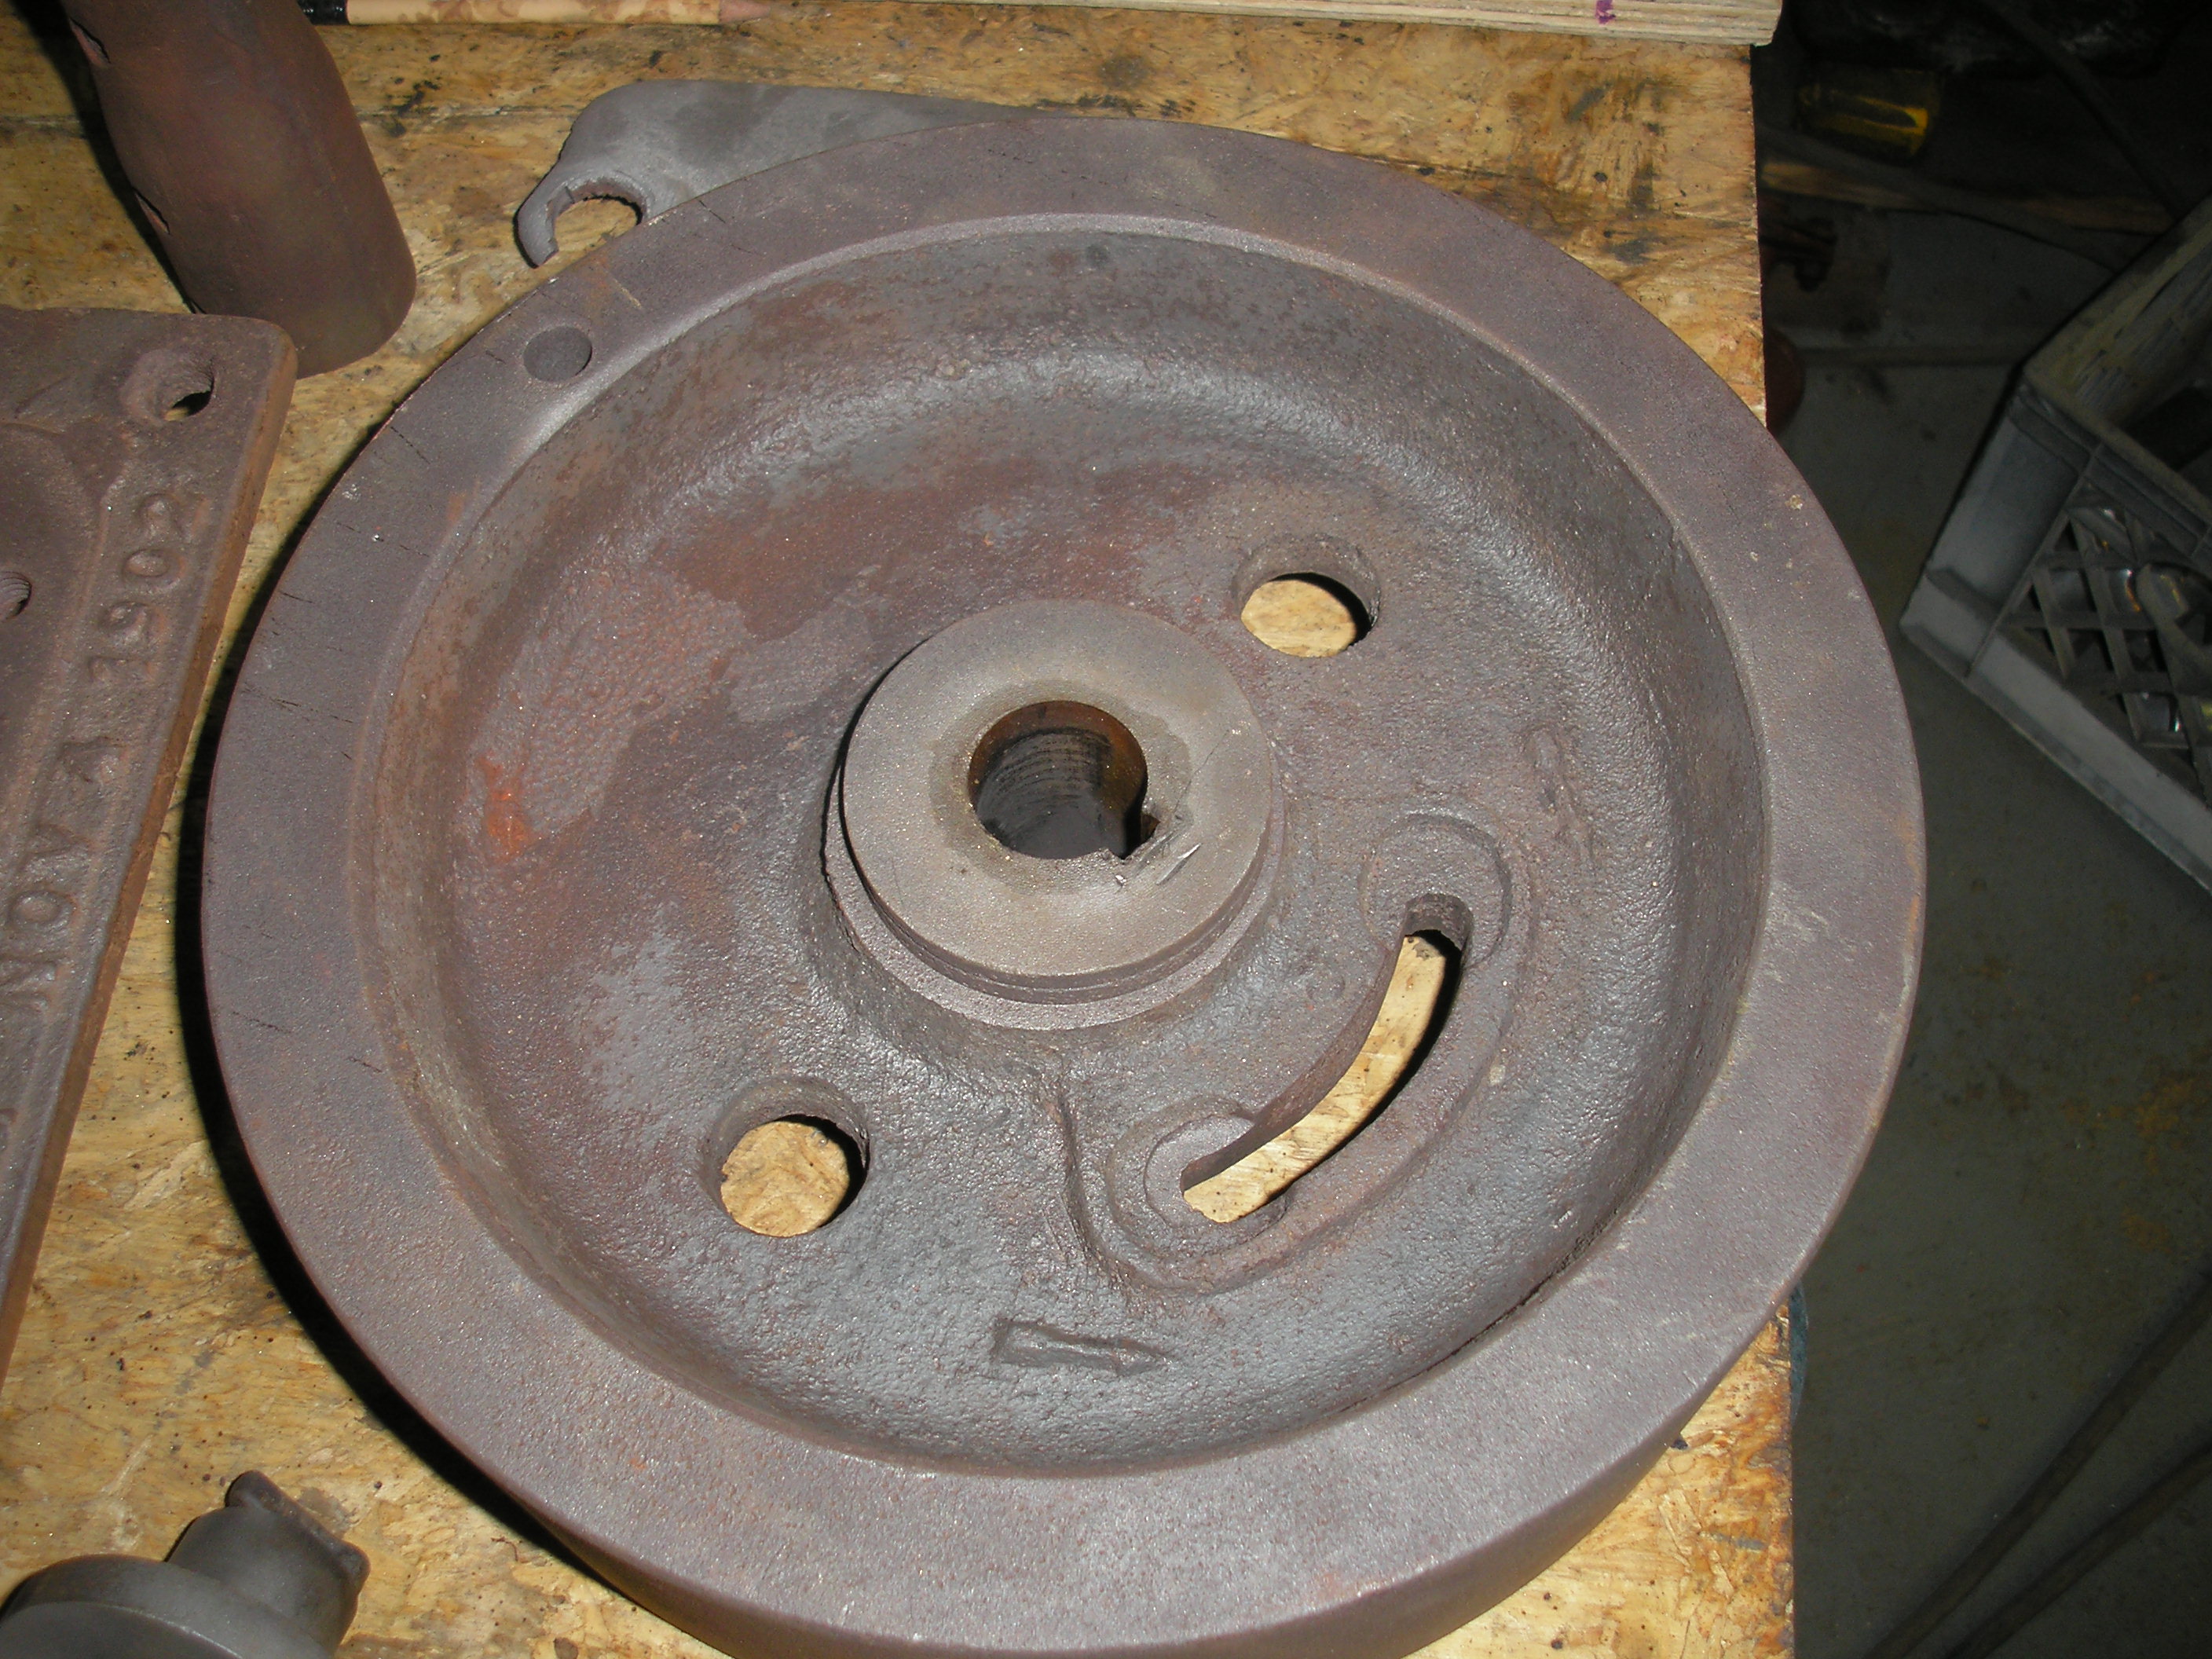
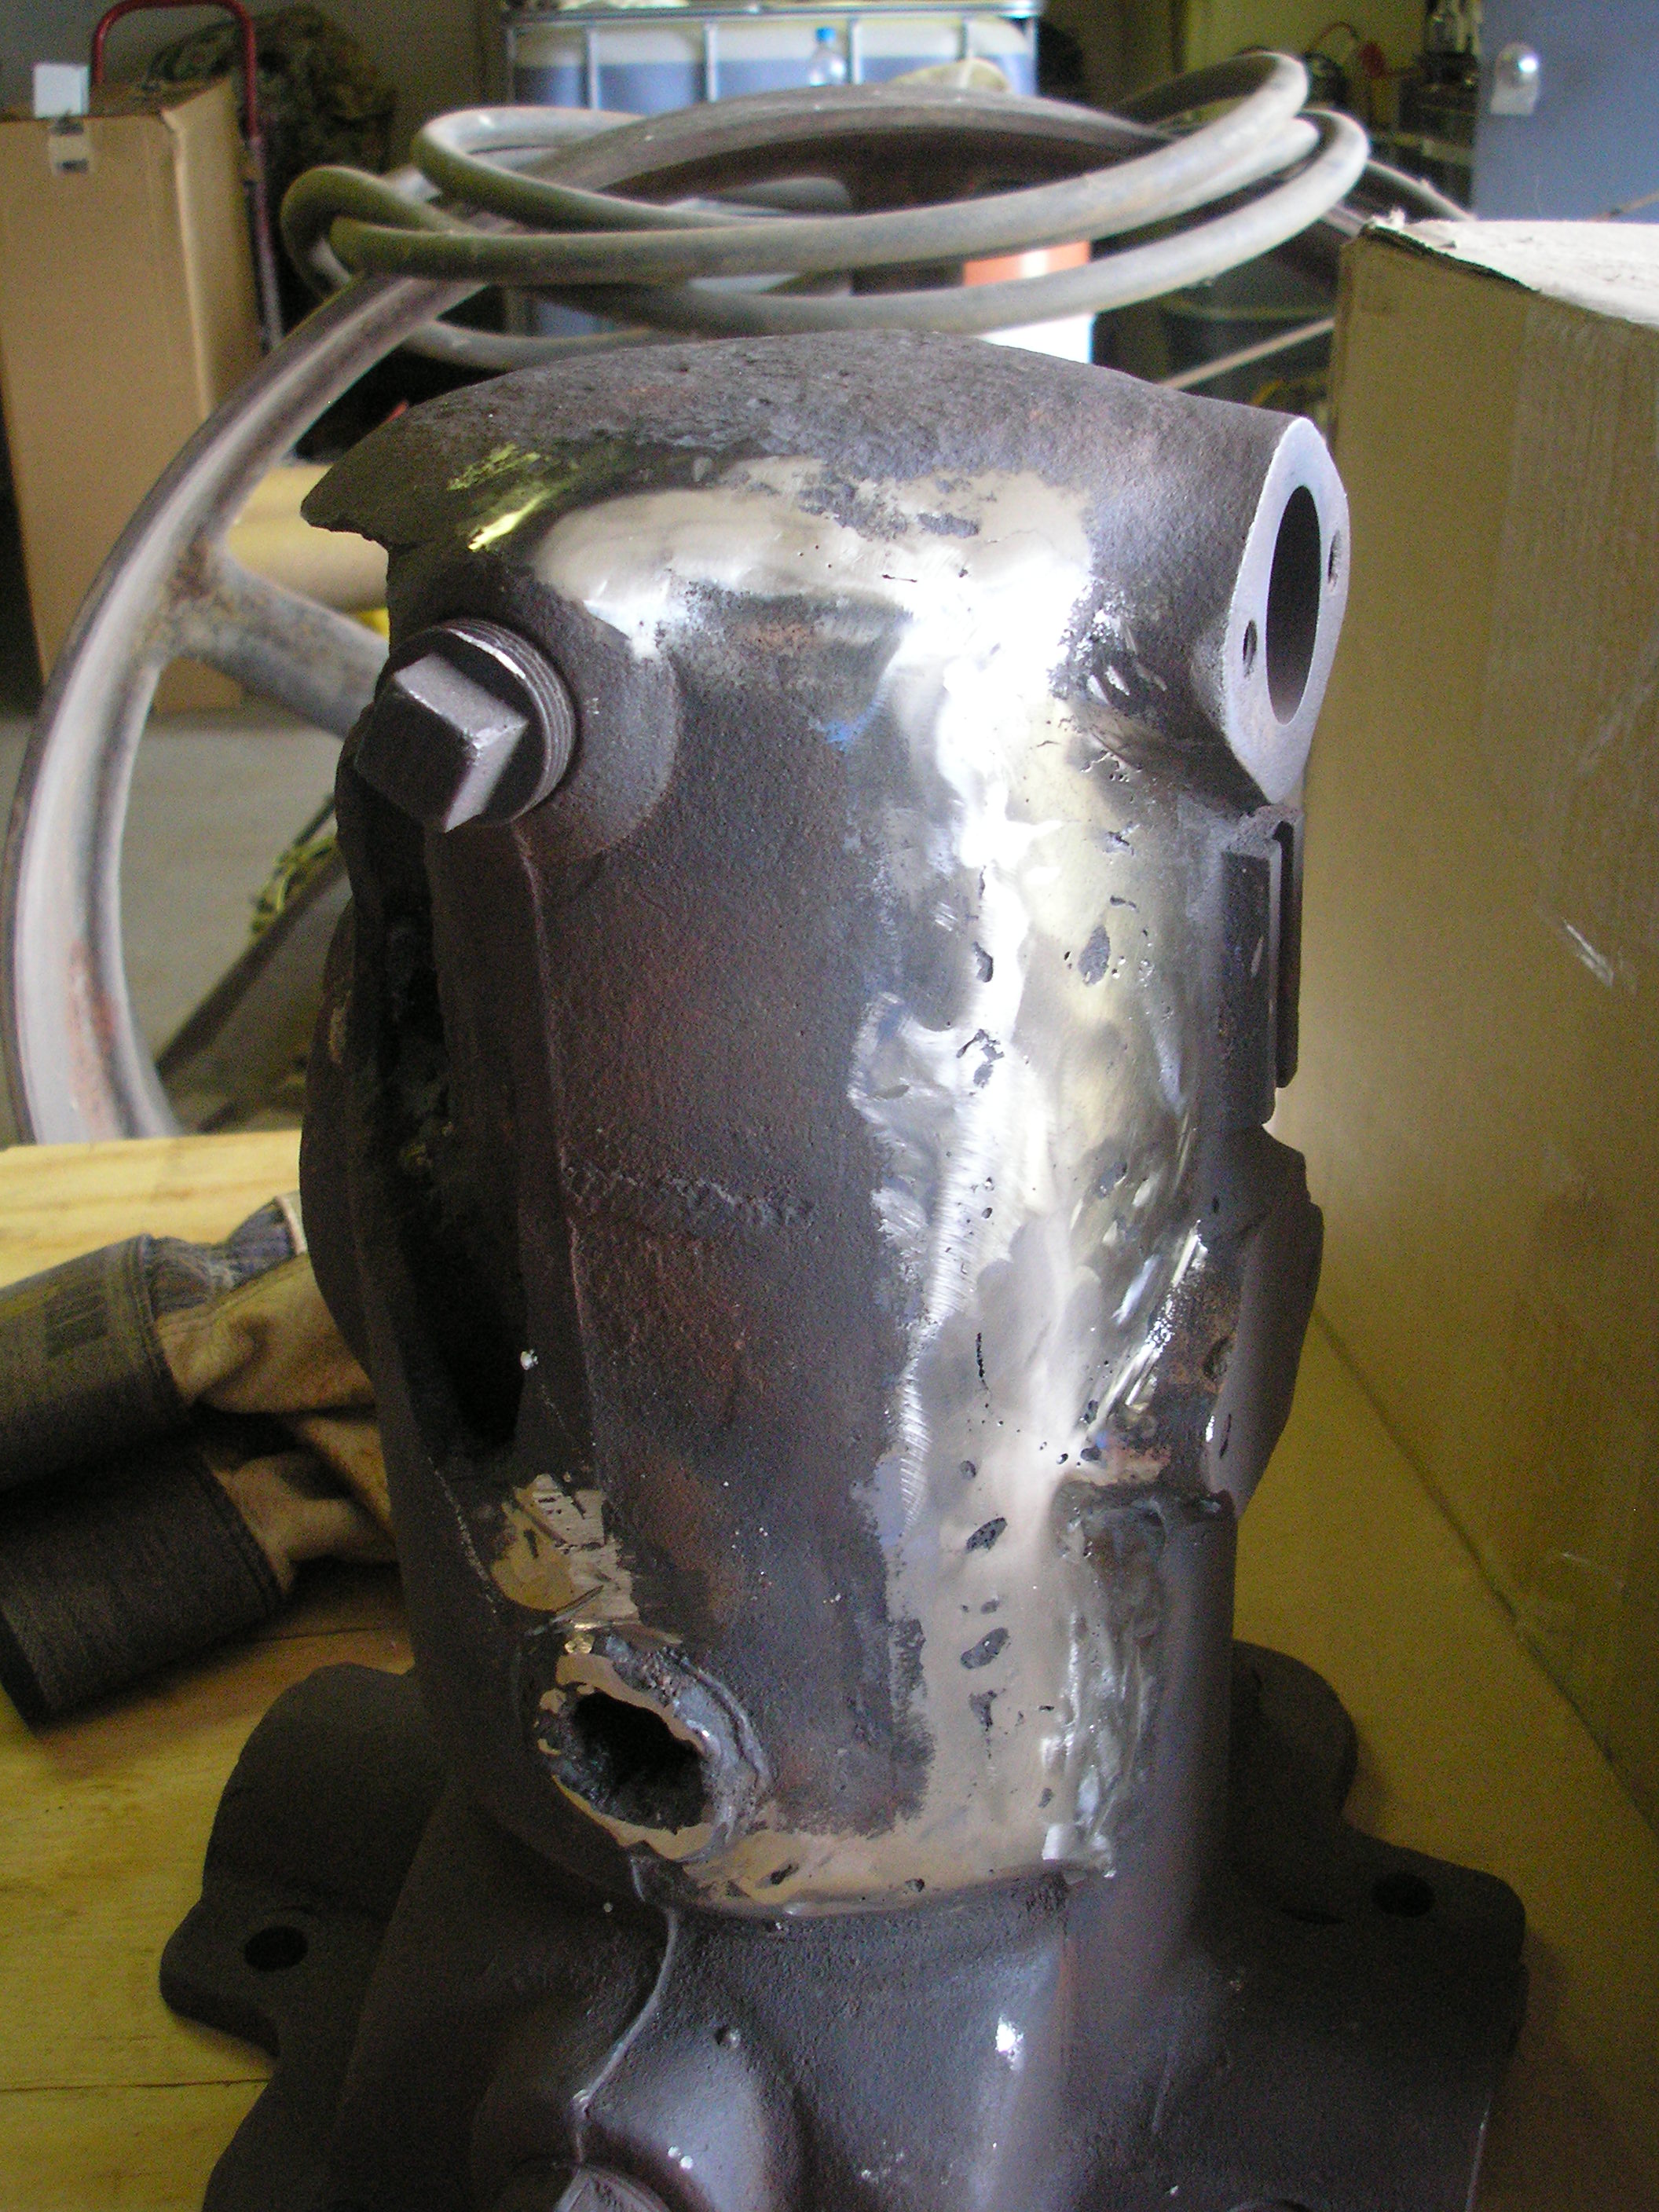
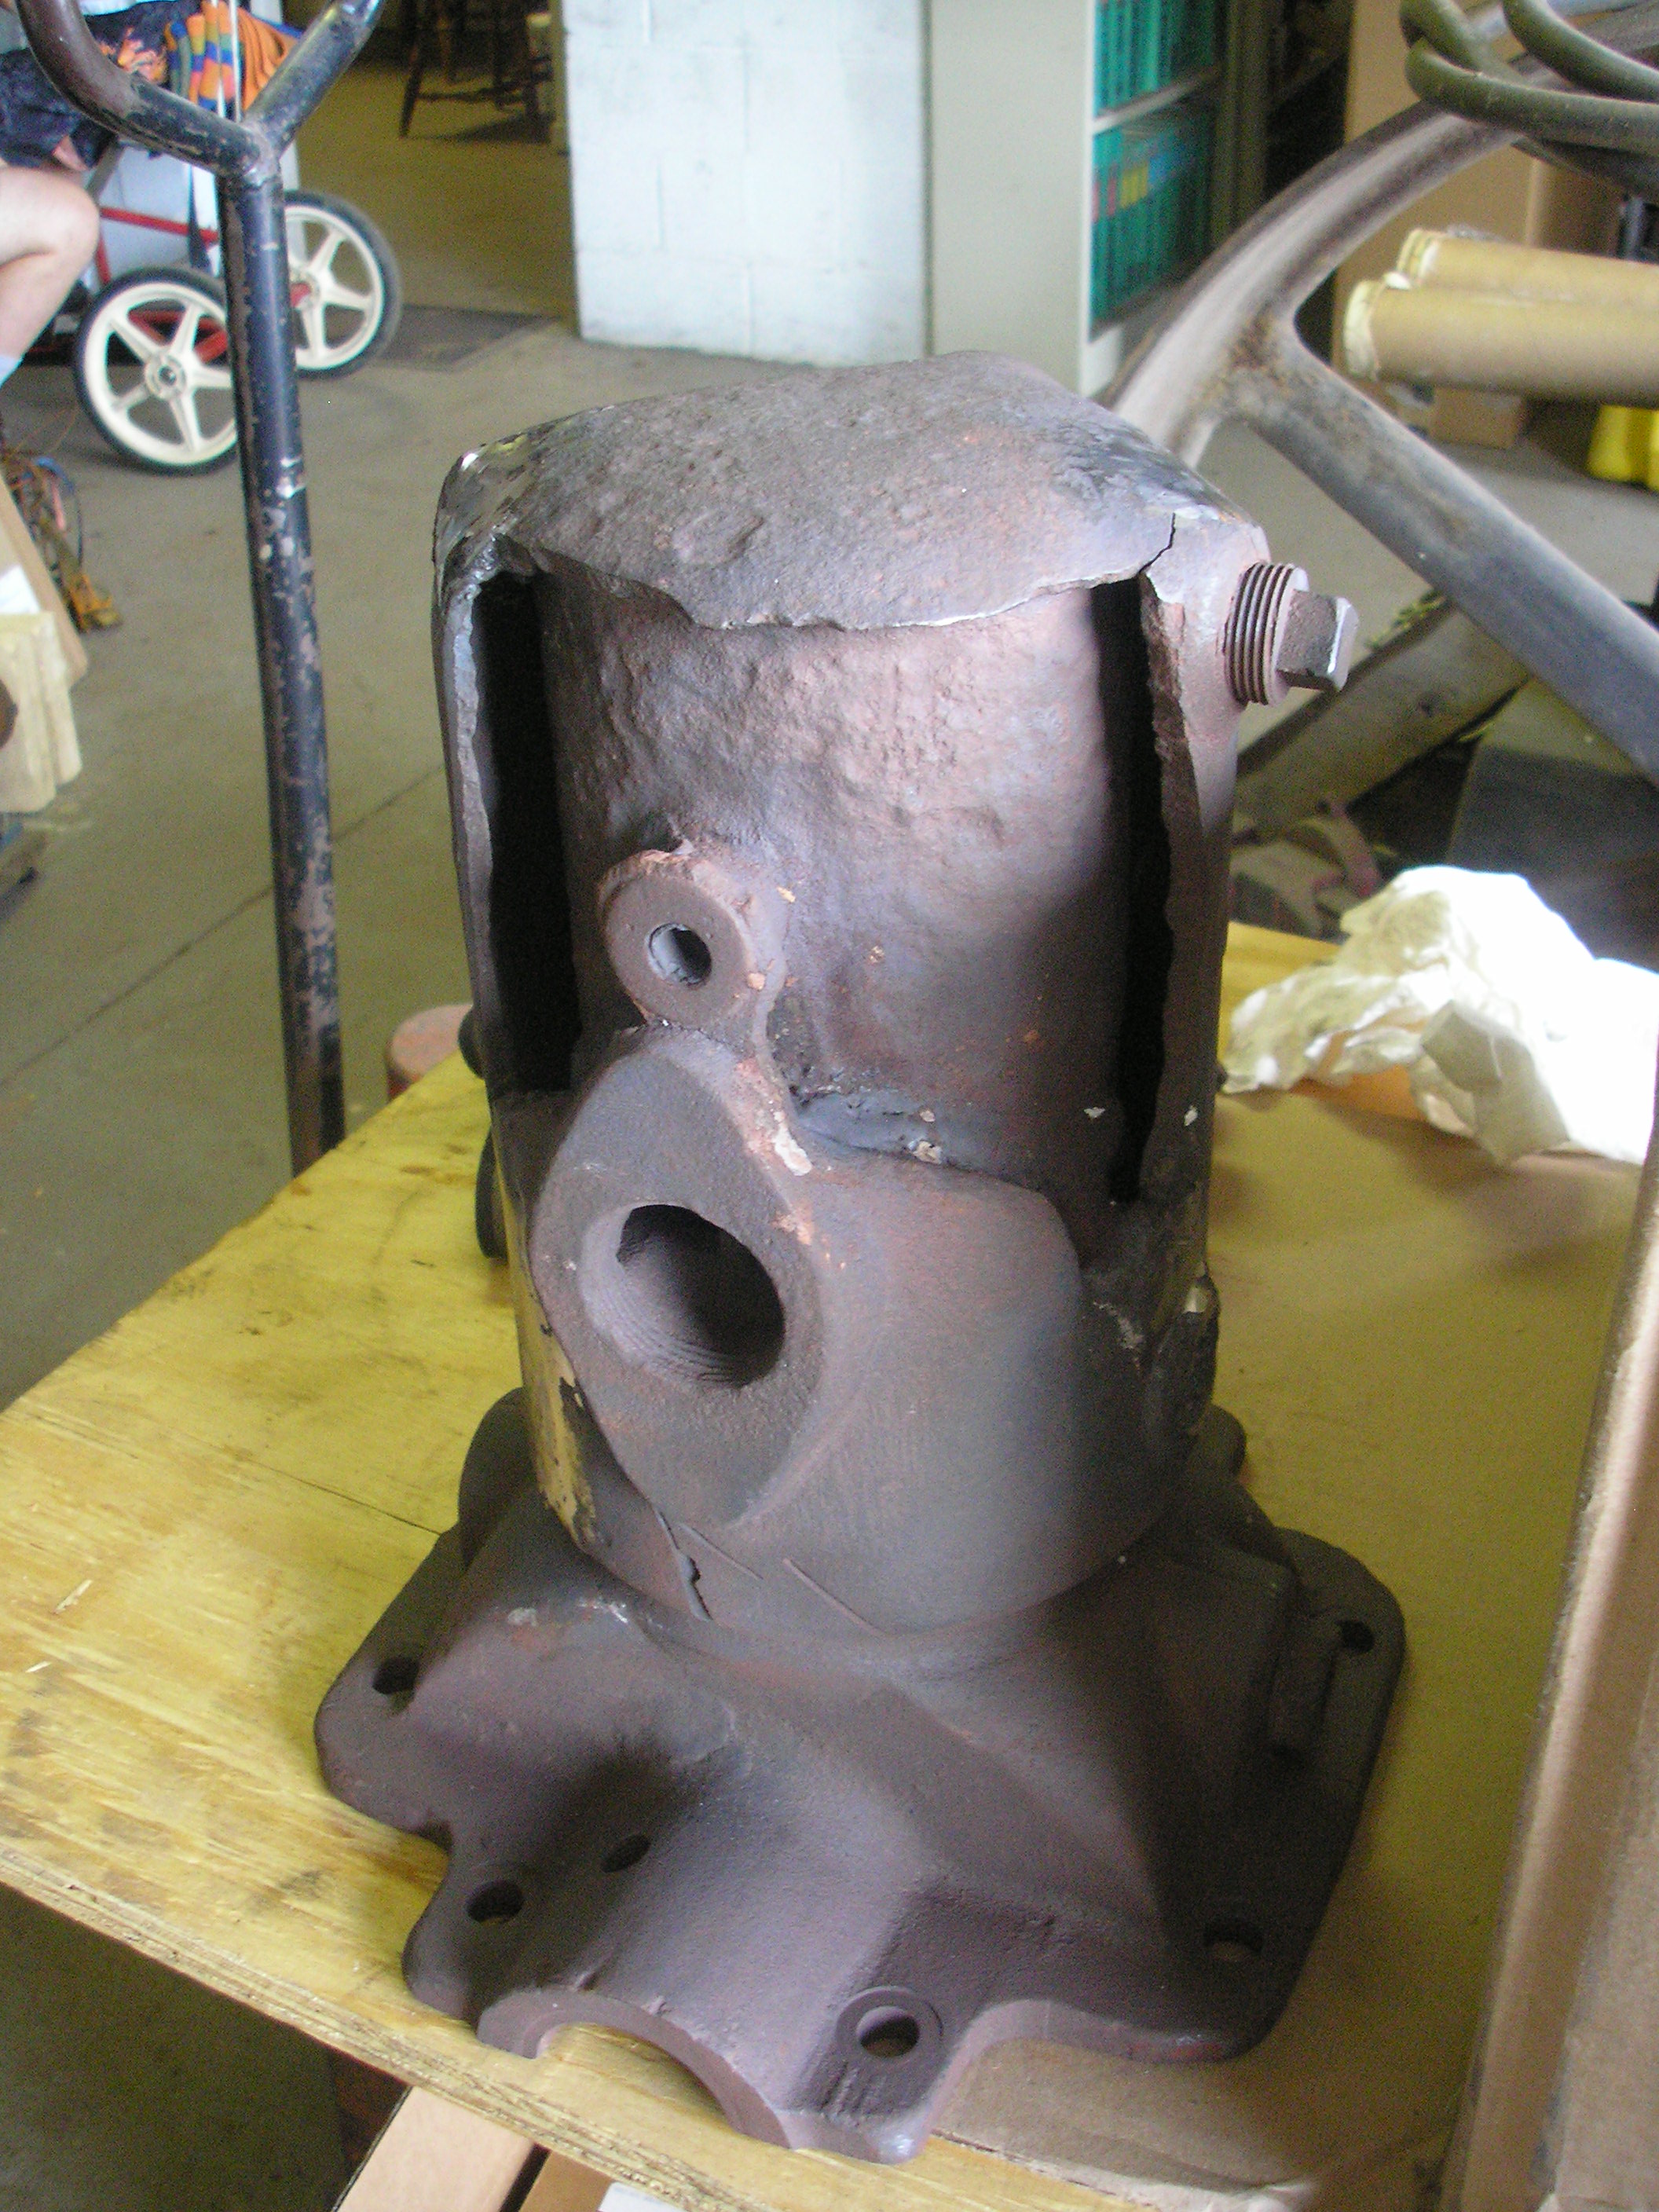
 Barker as I brought it home.
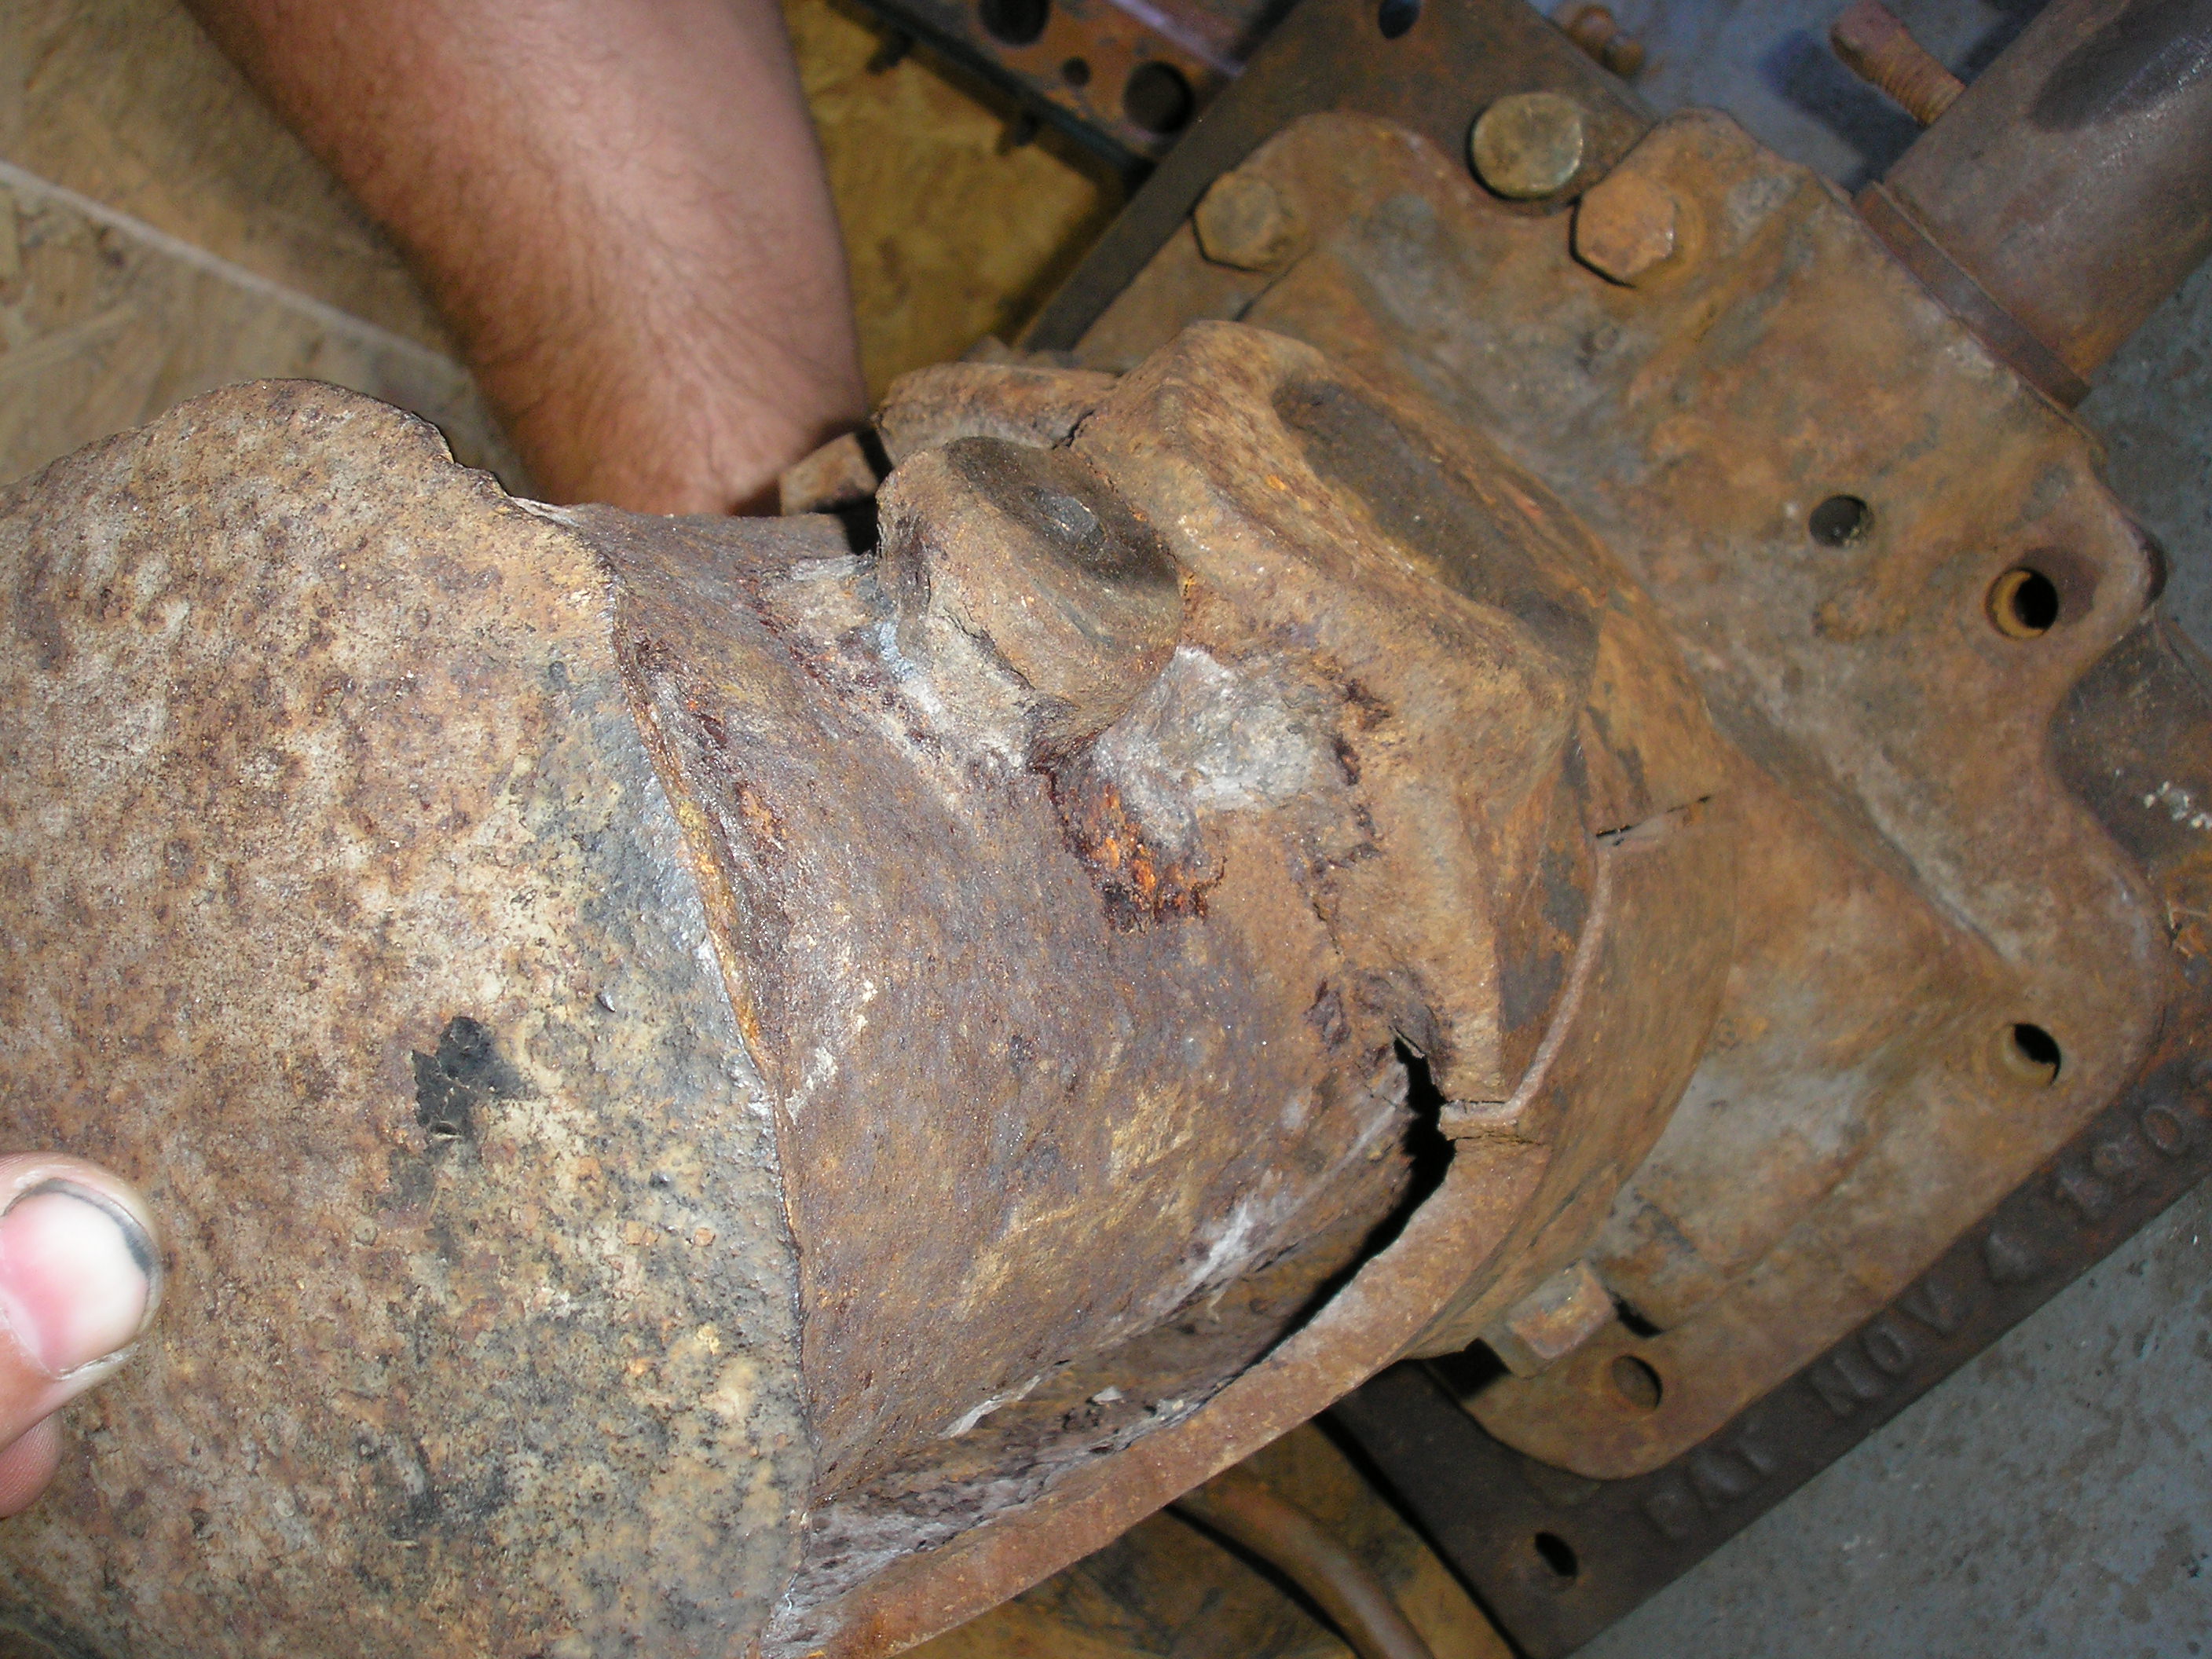
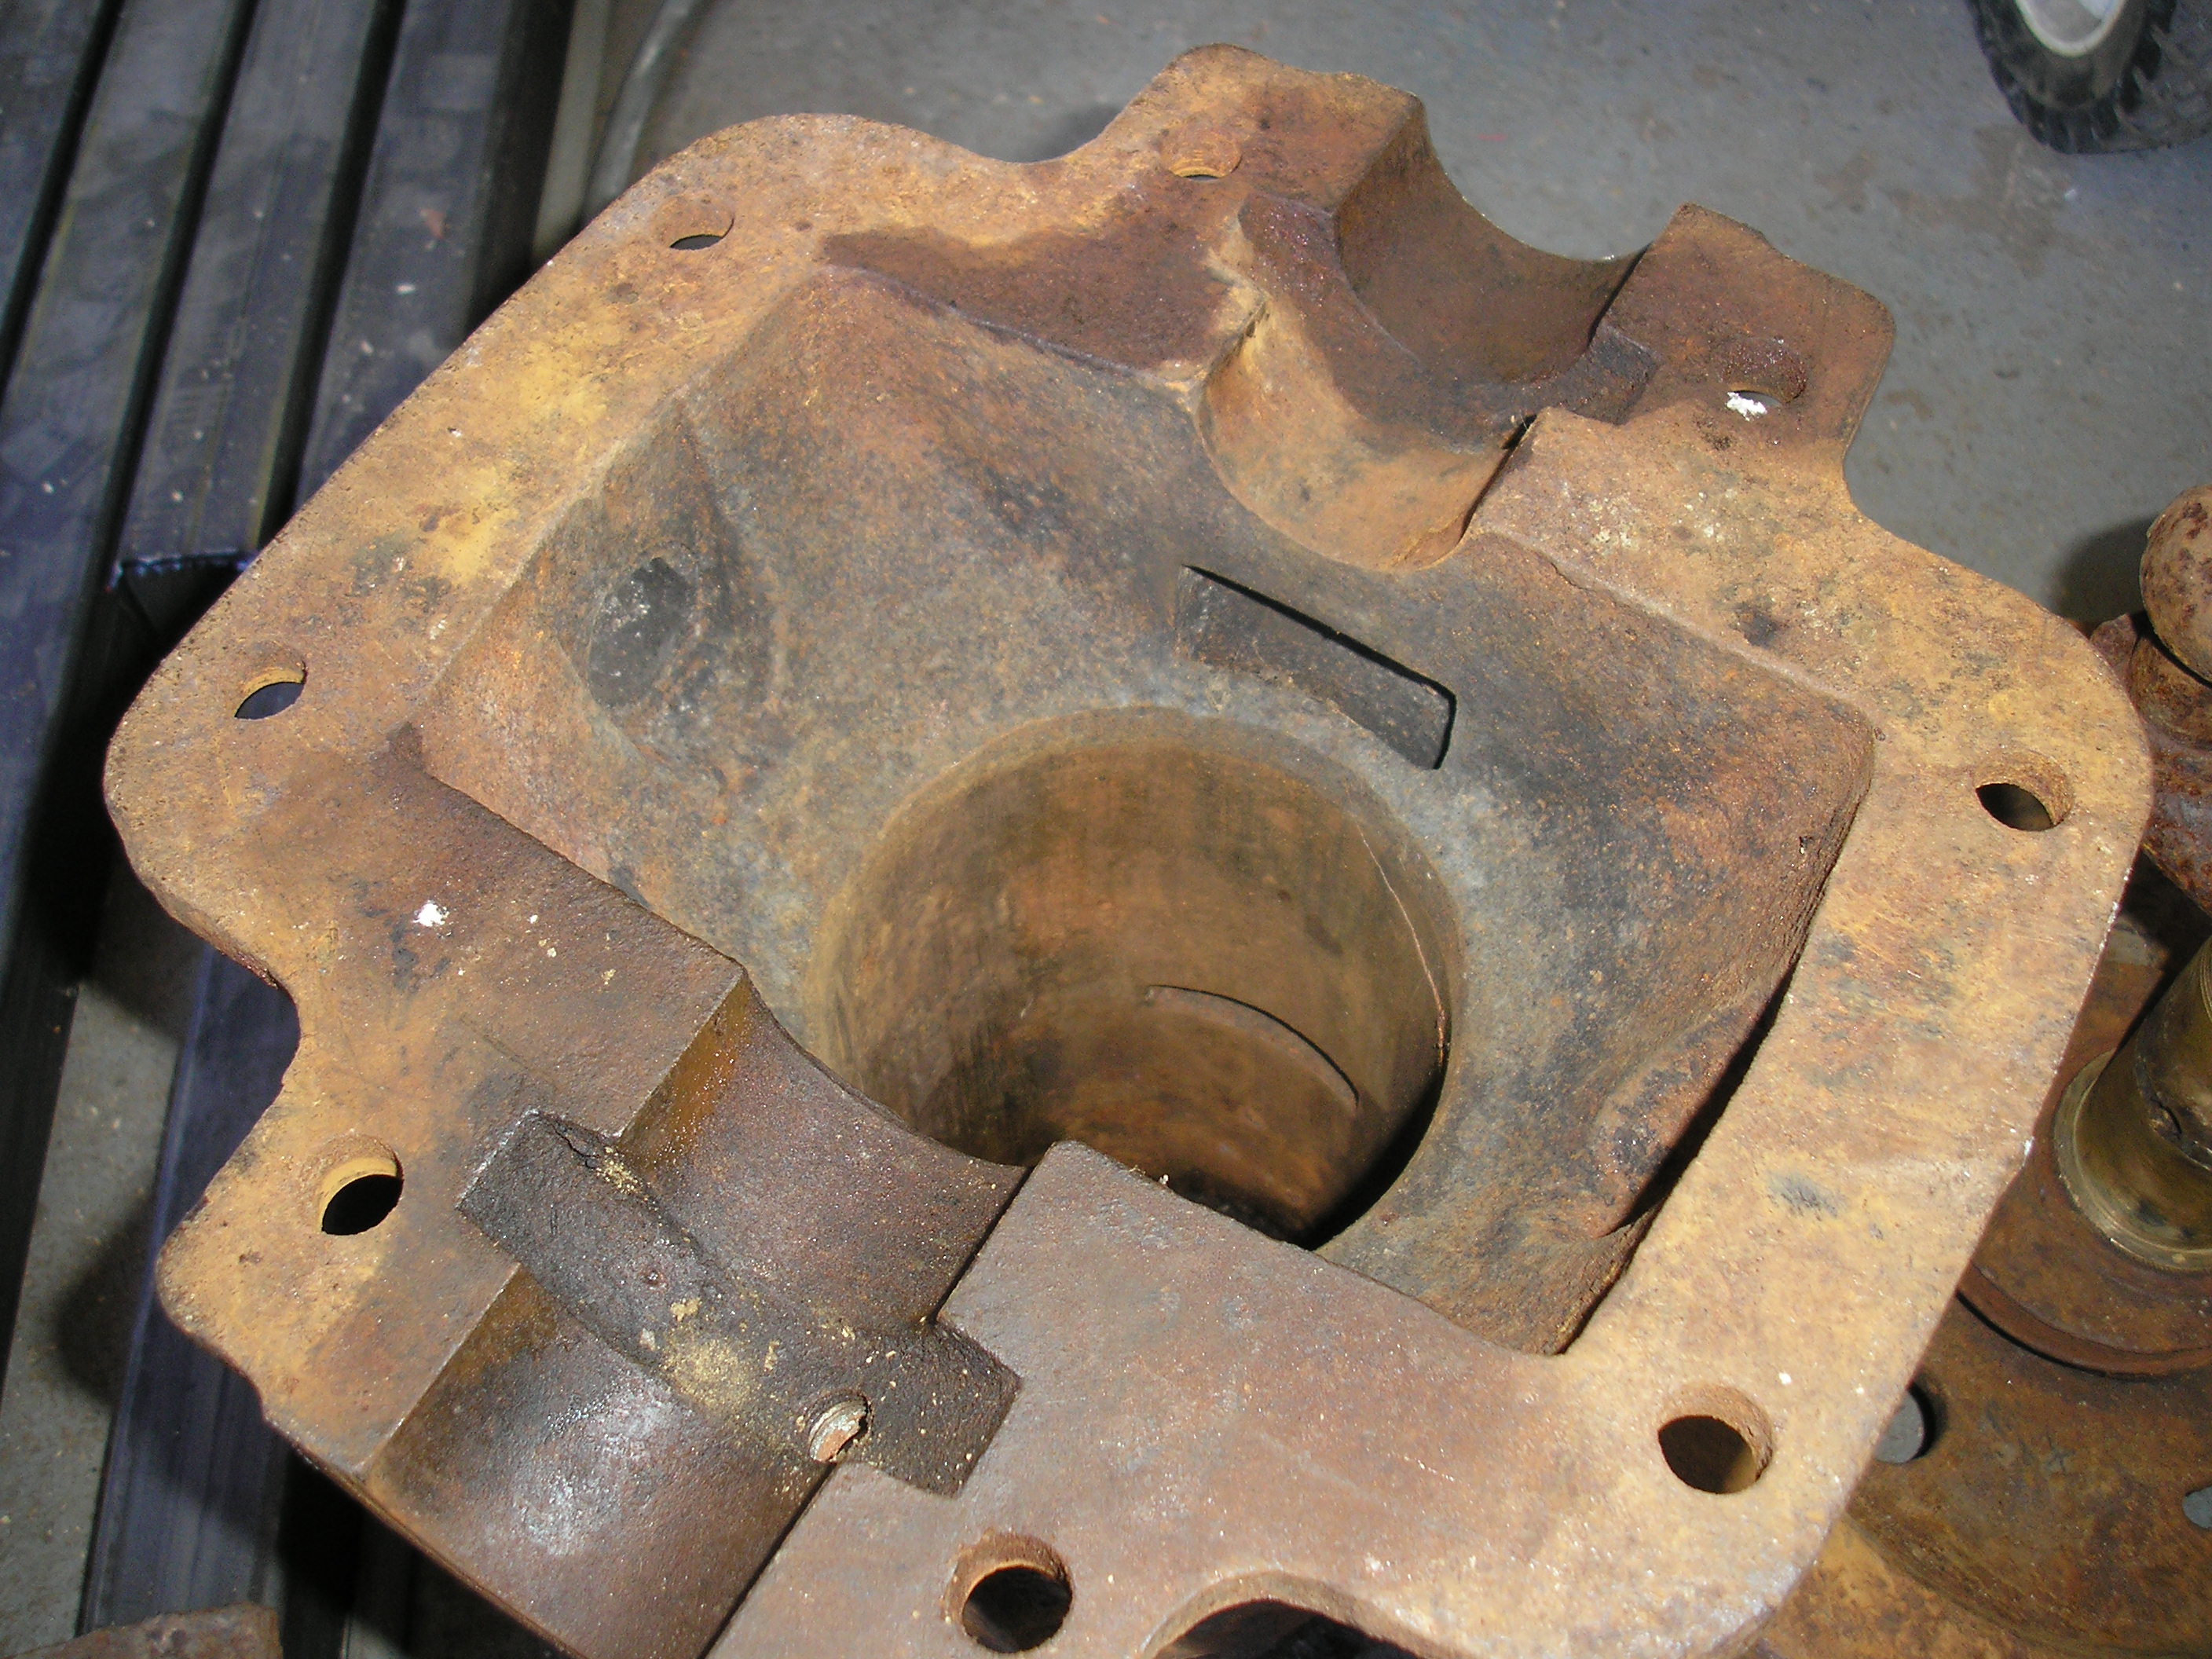
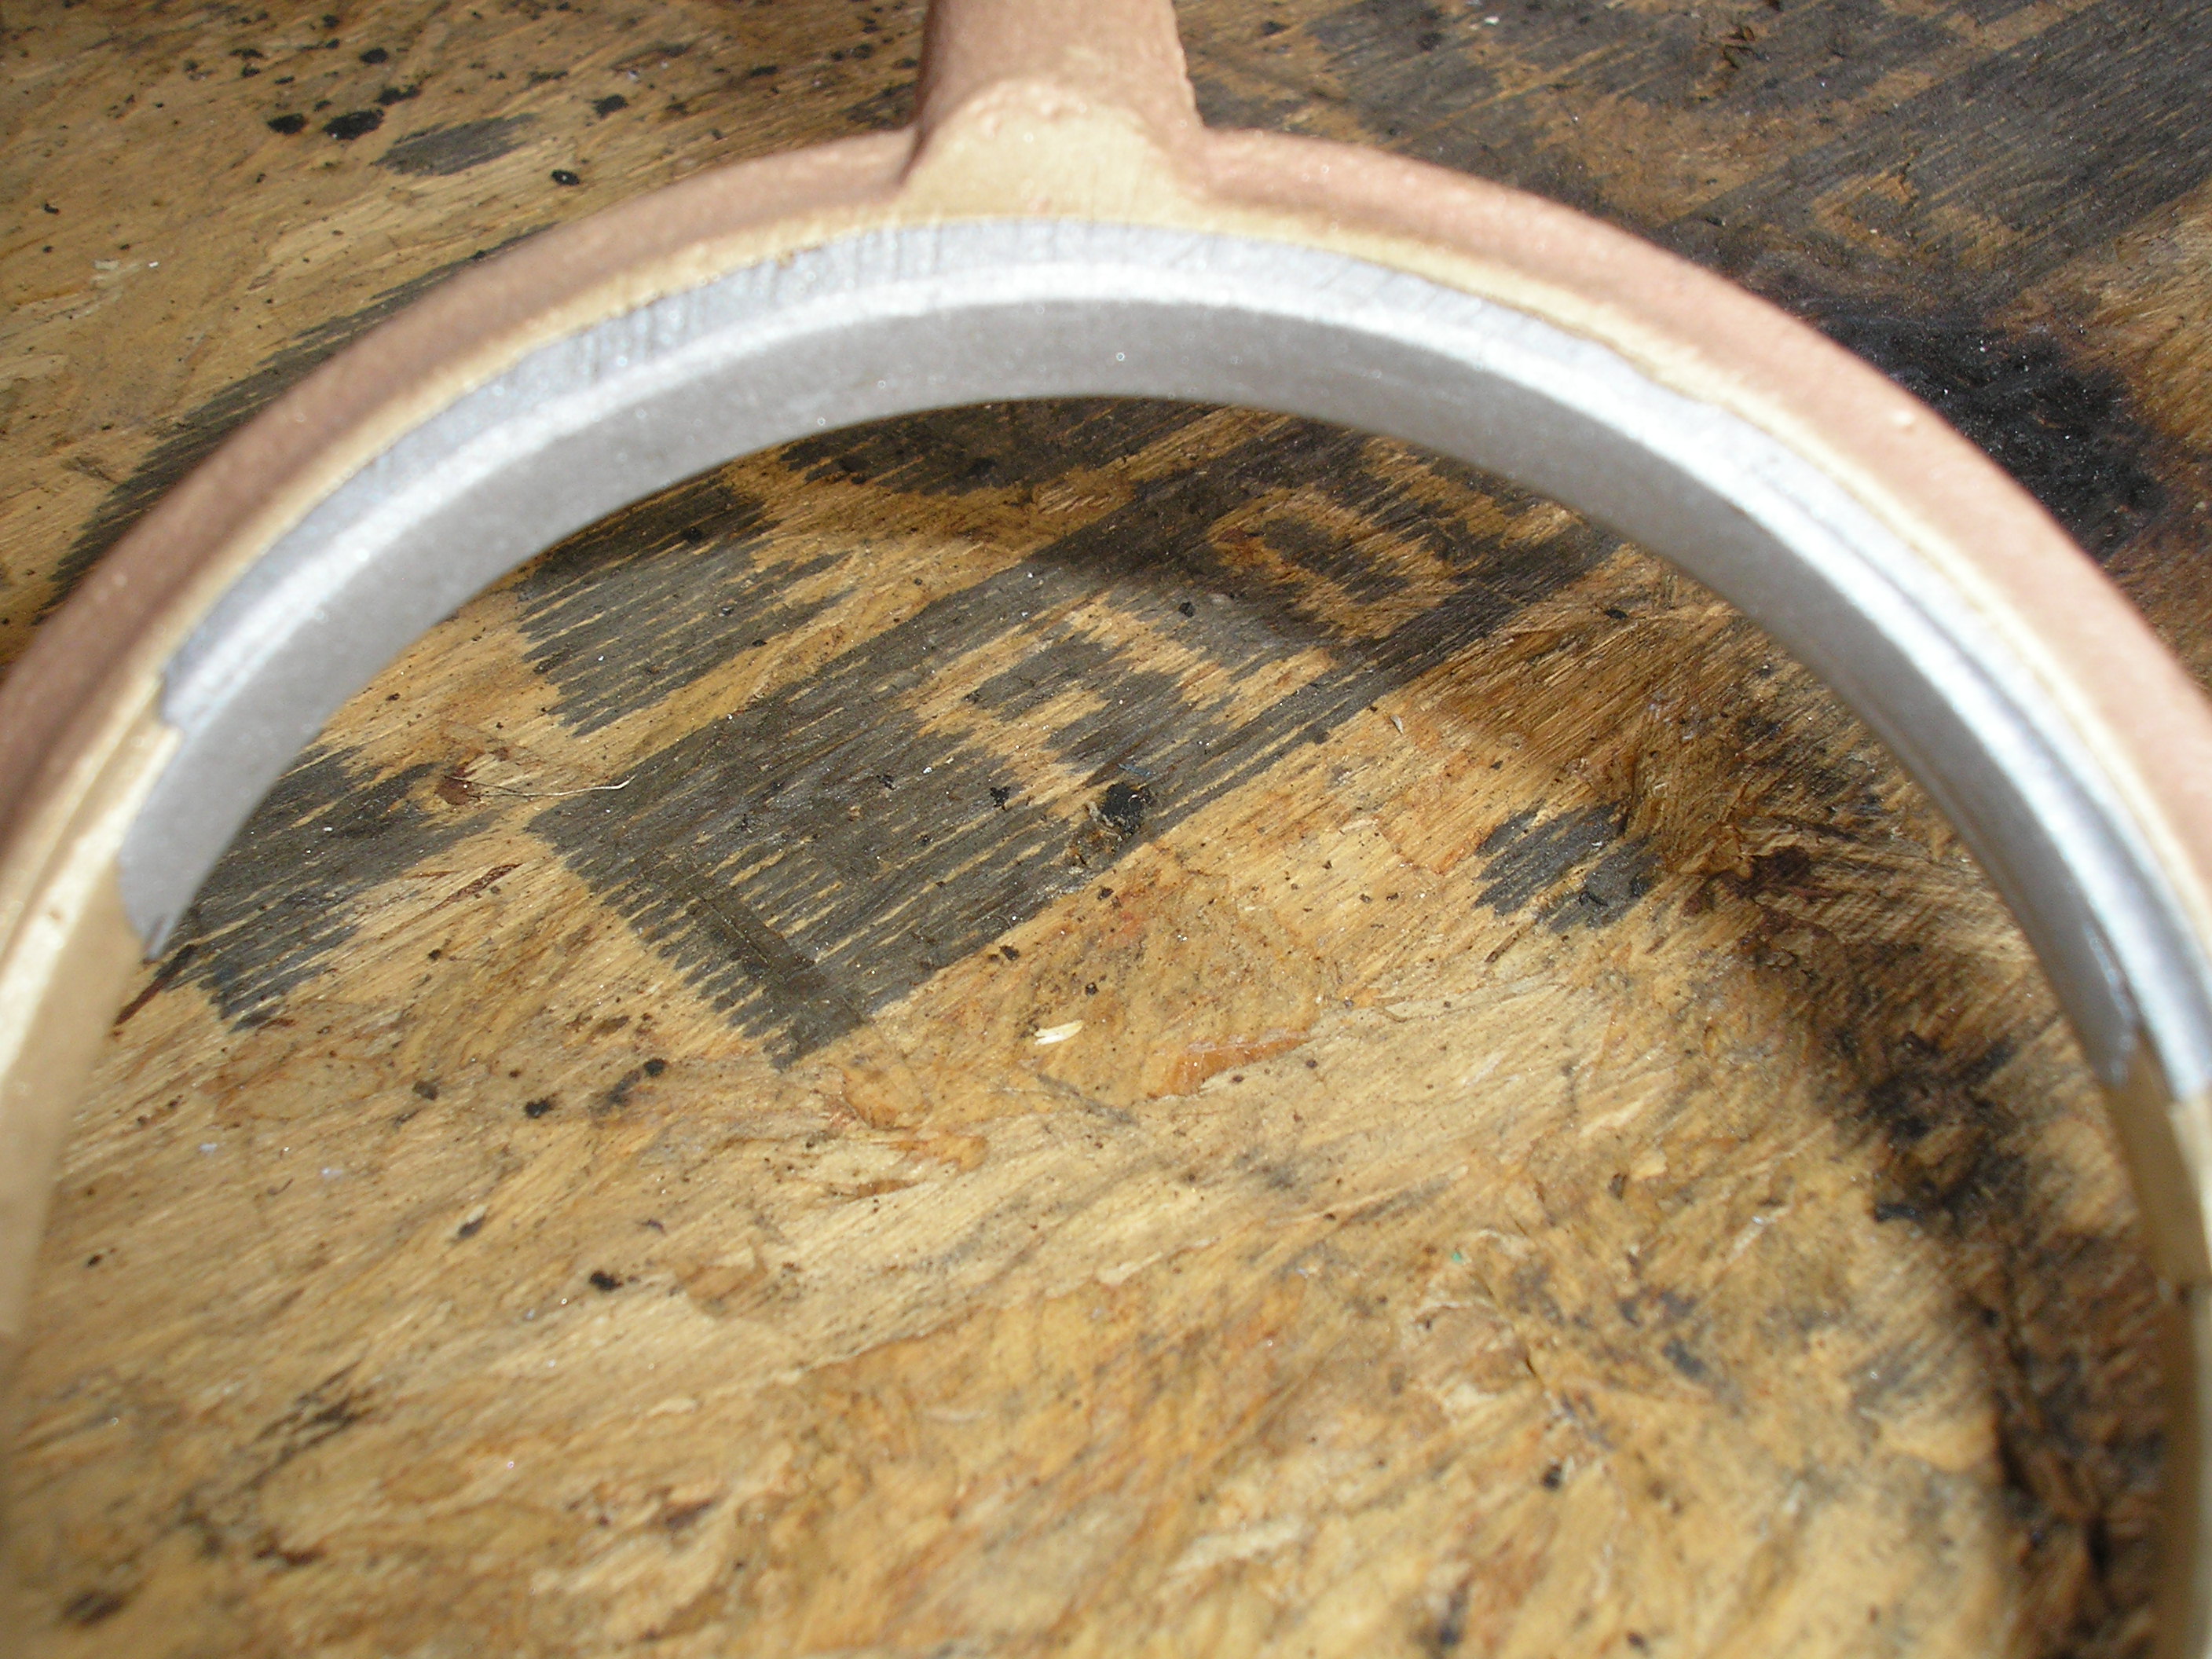
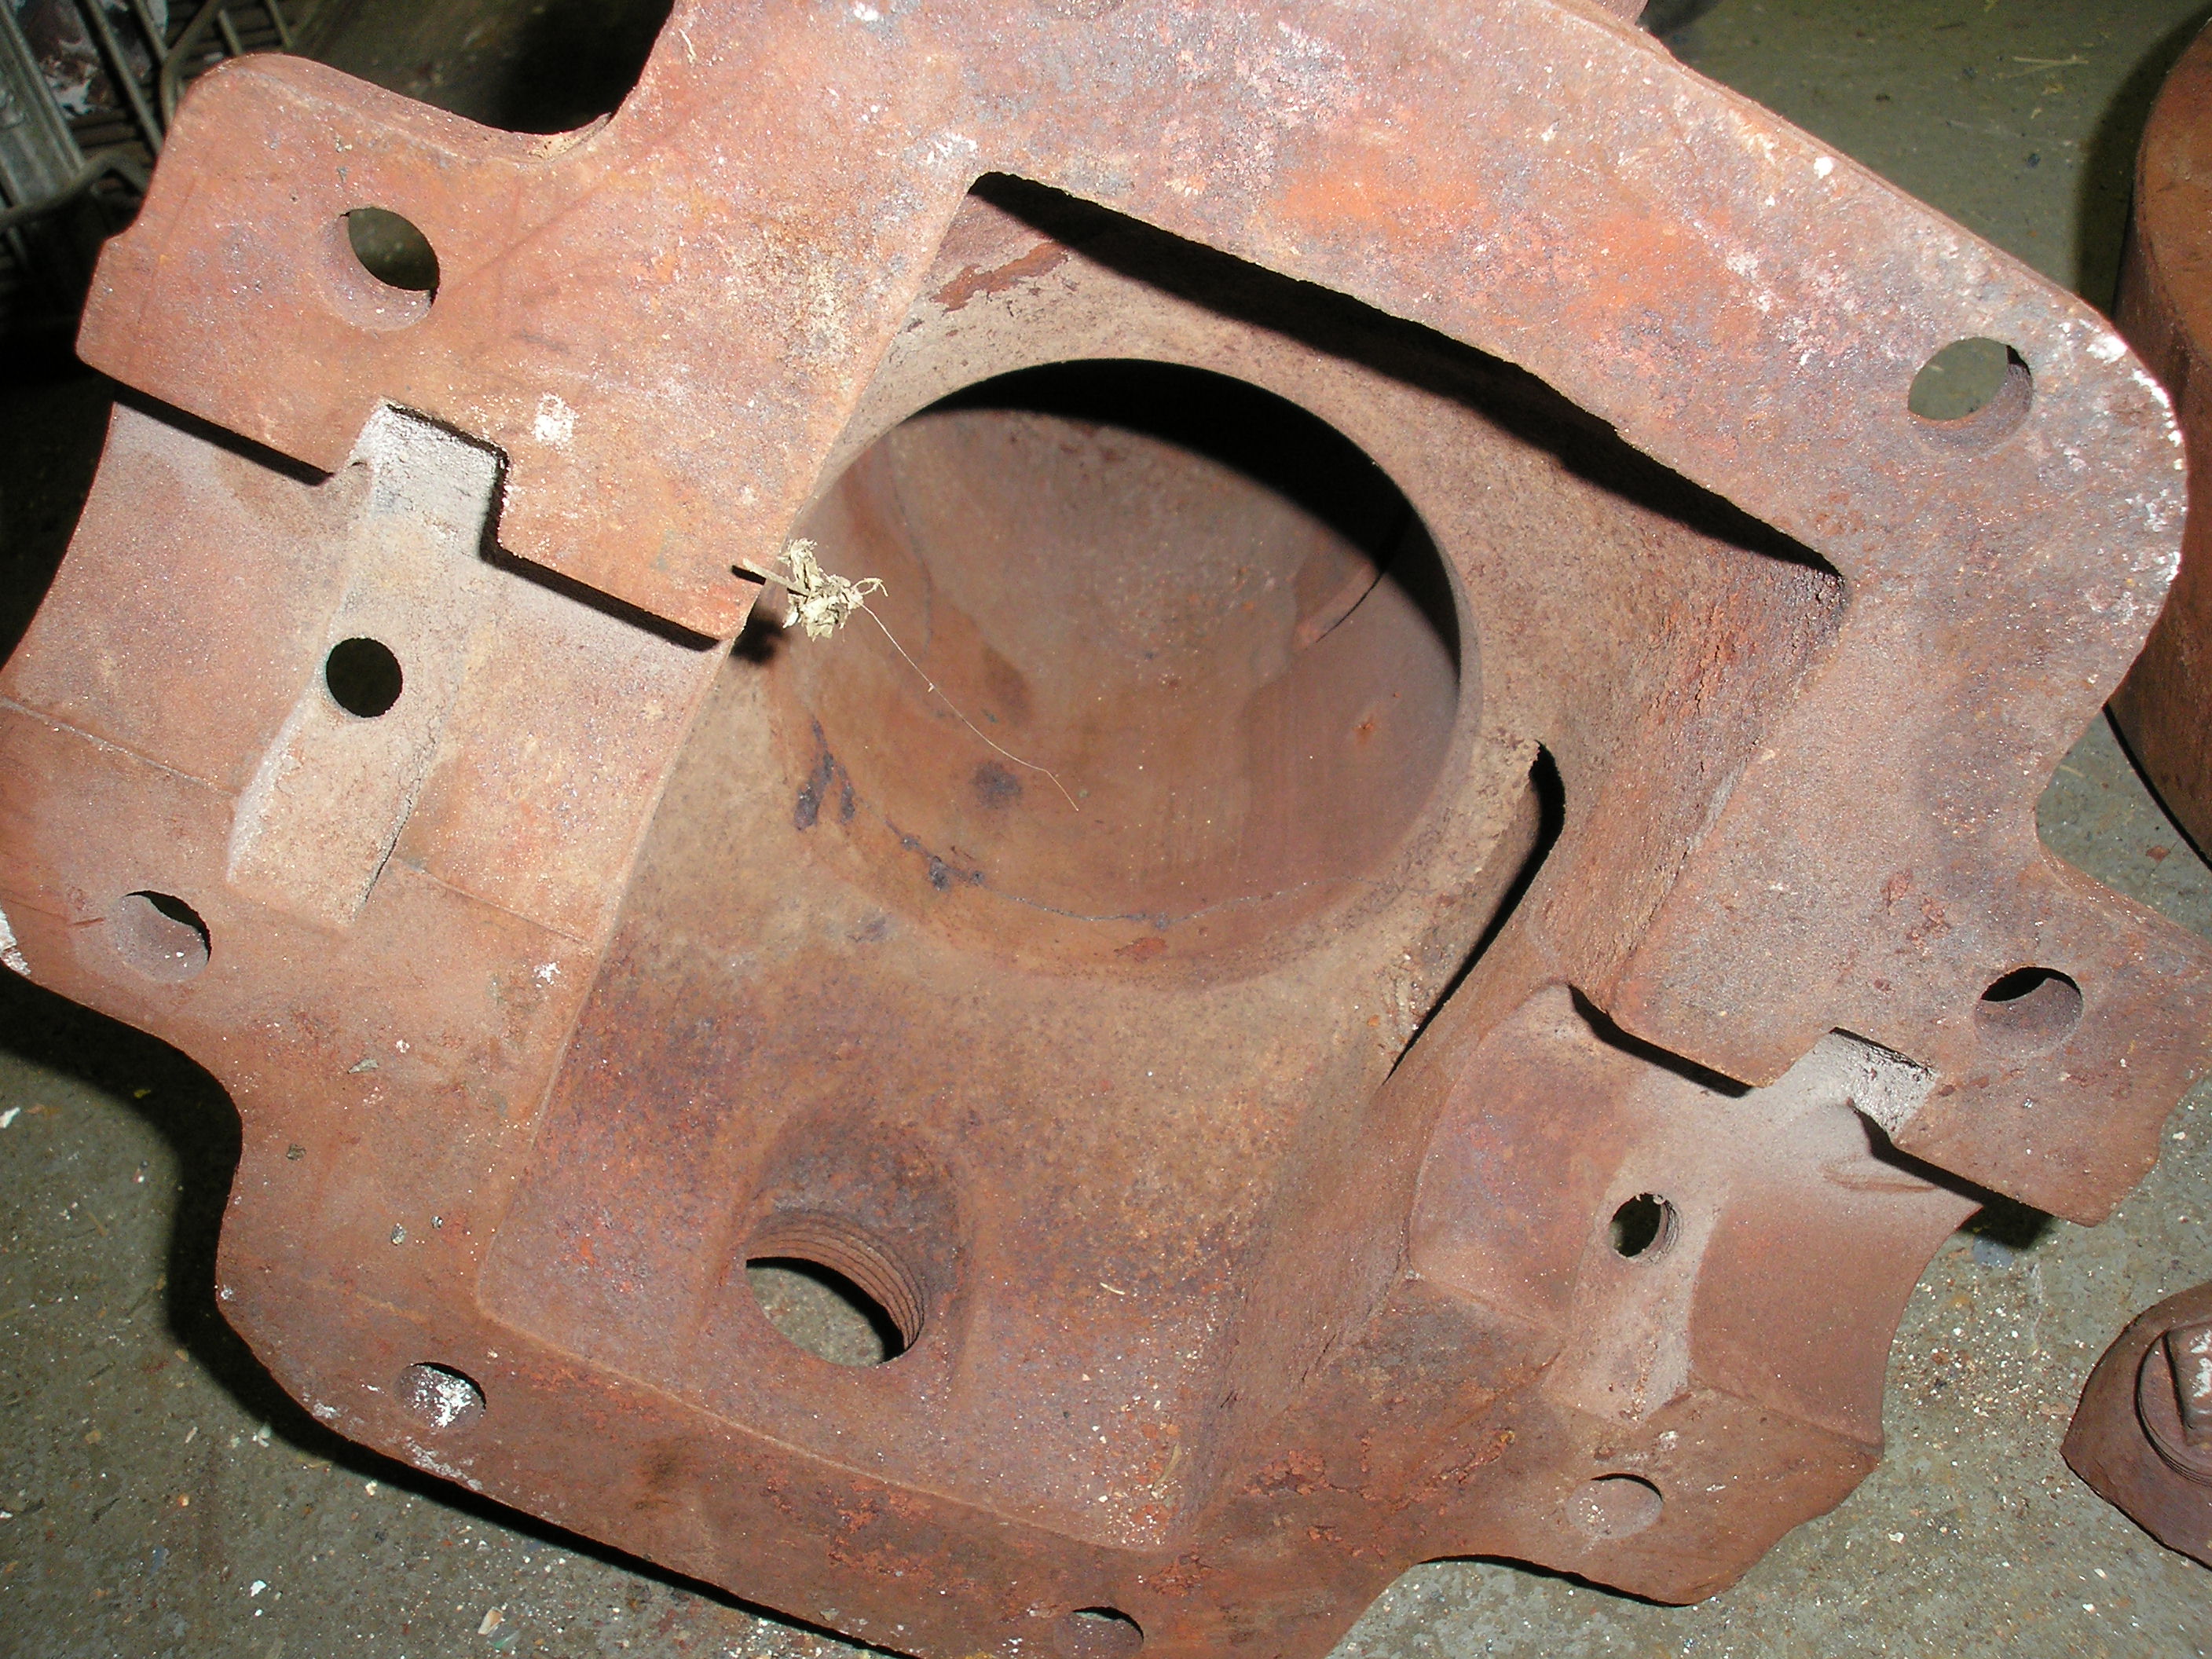
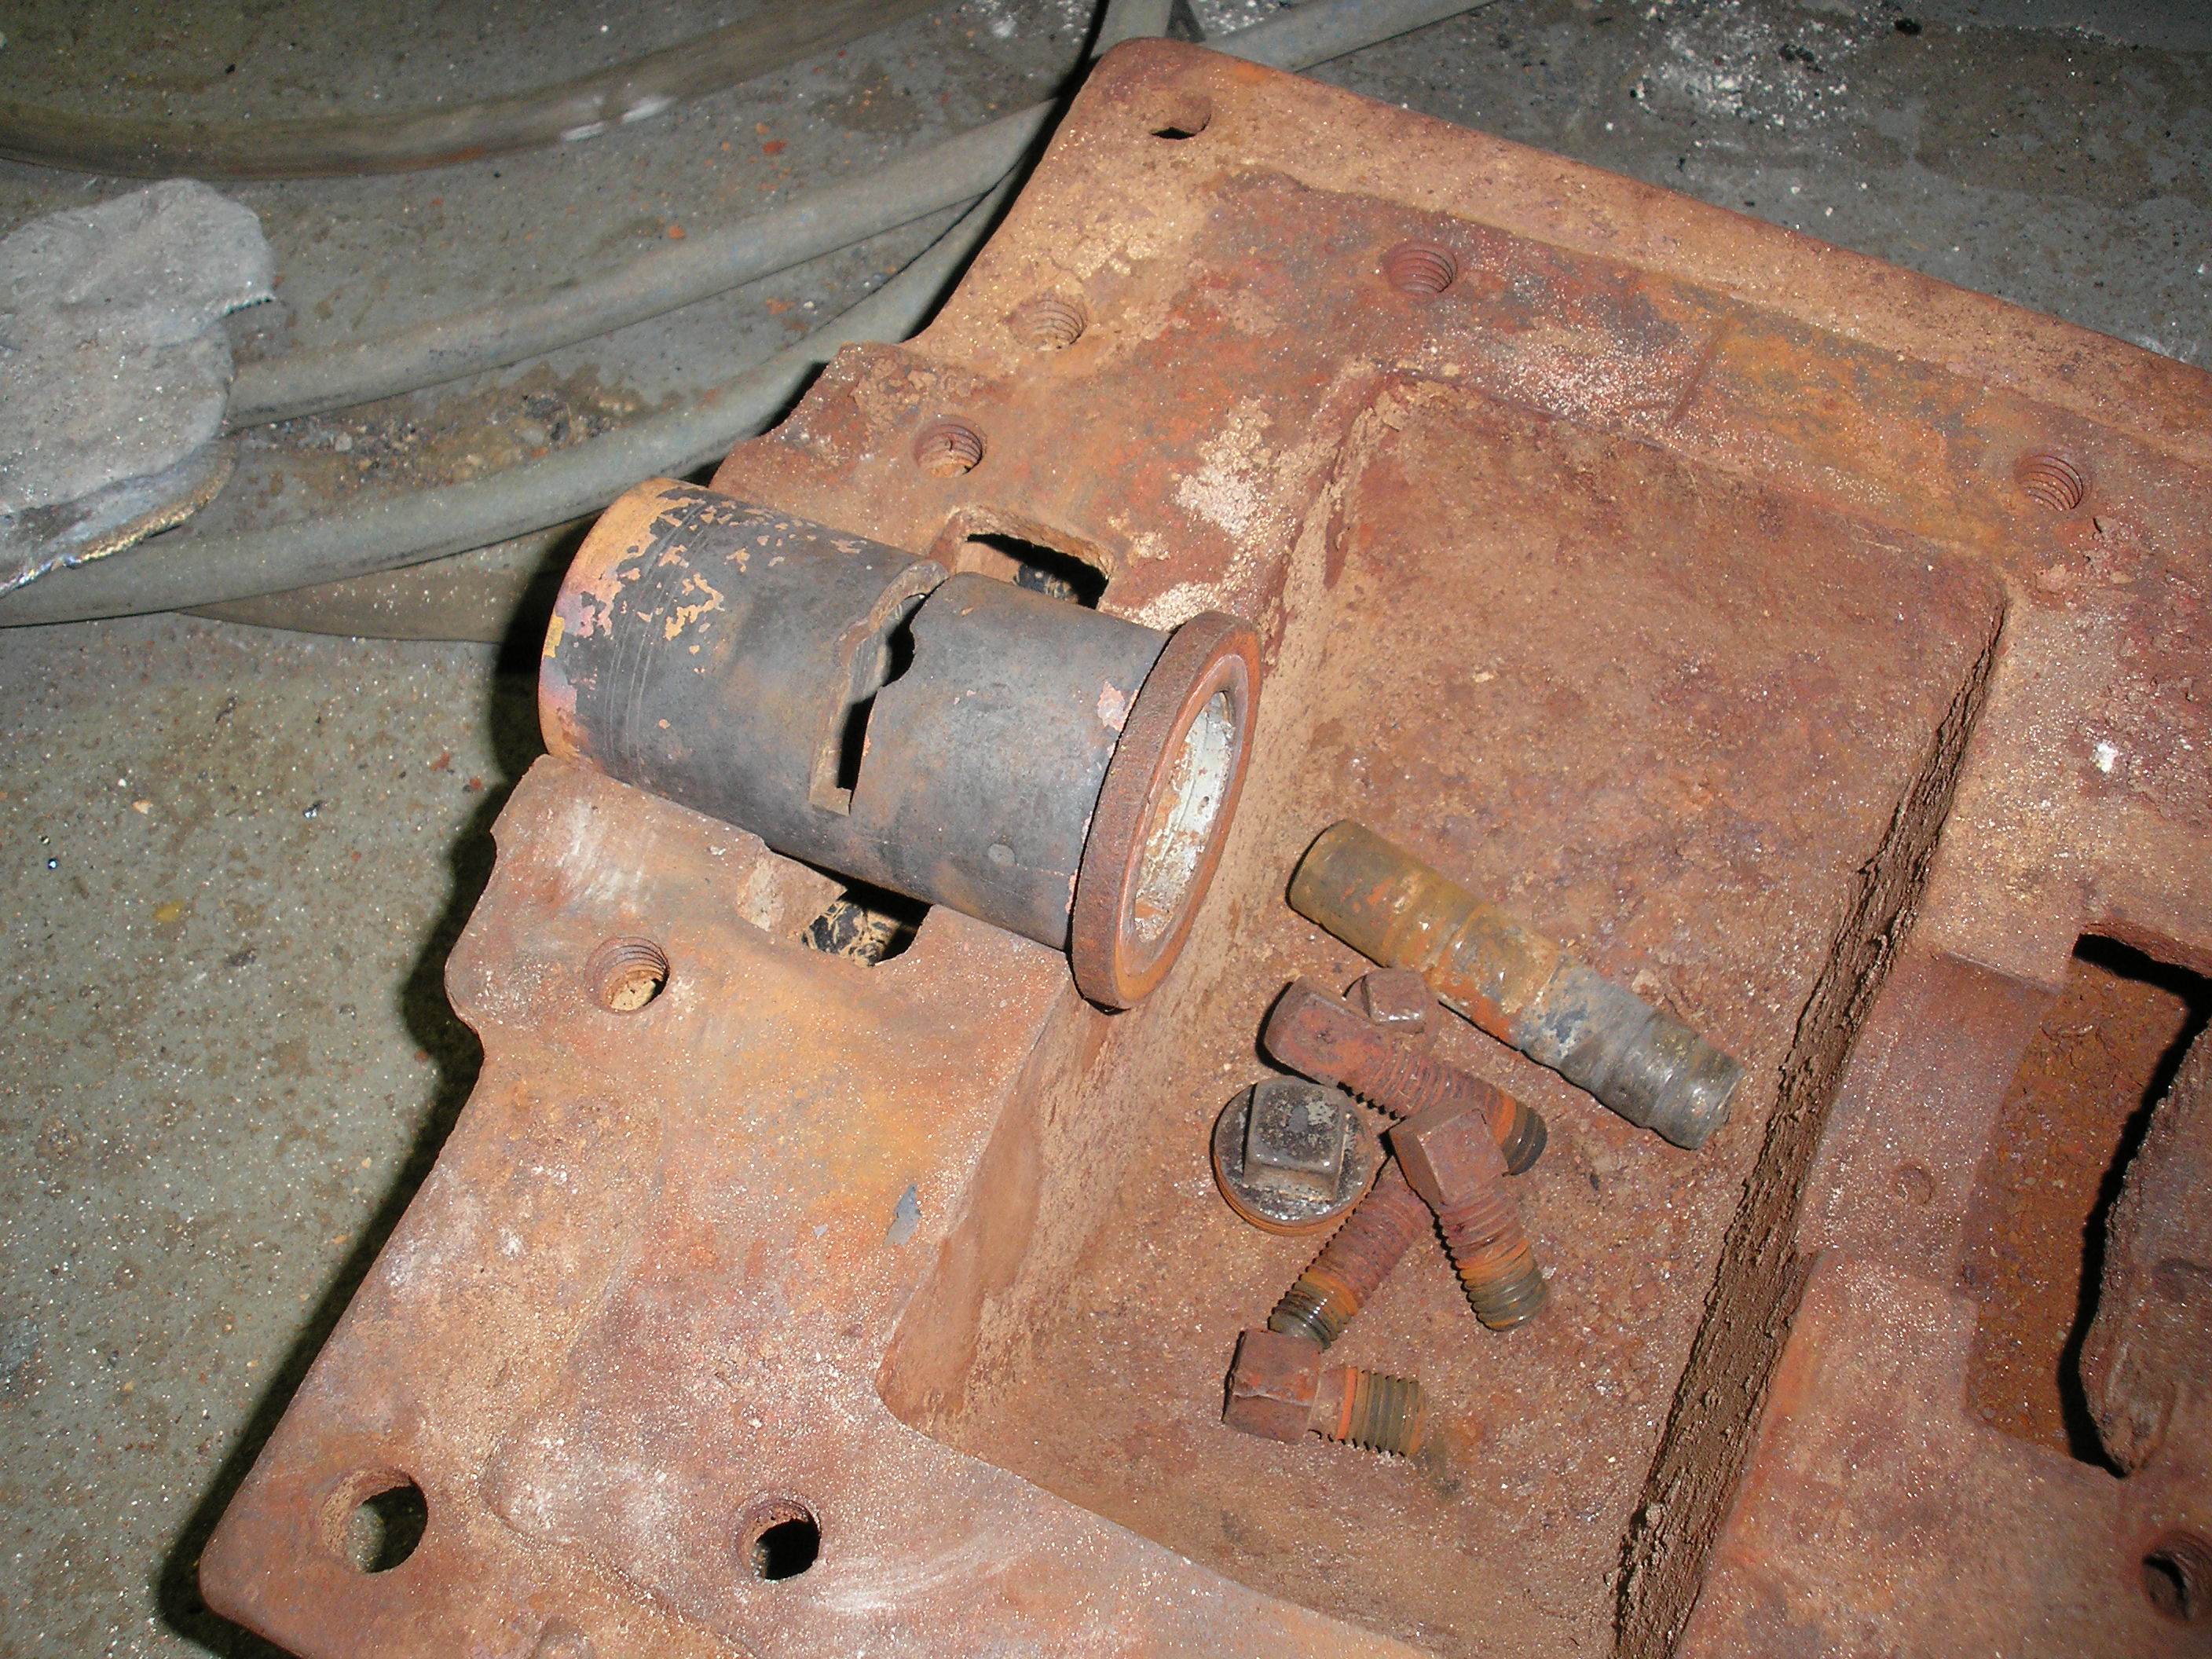
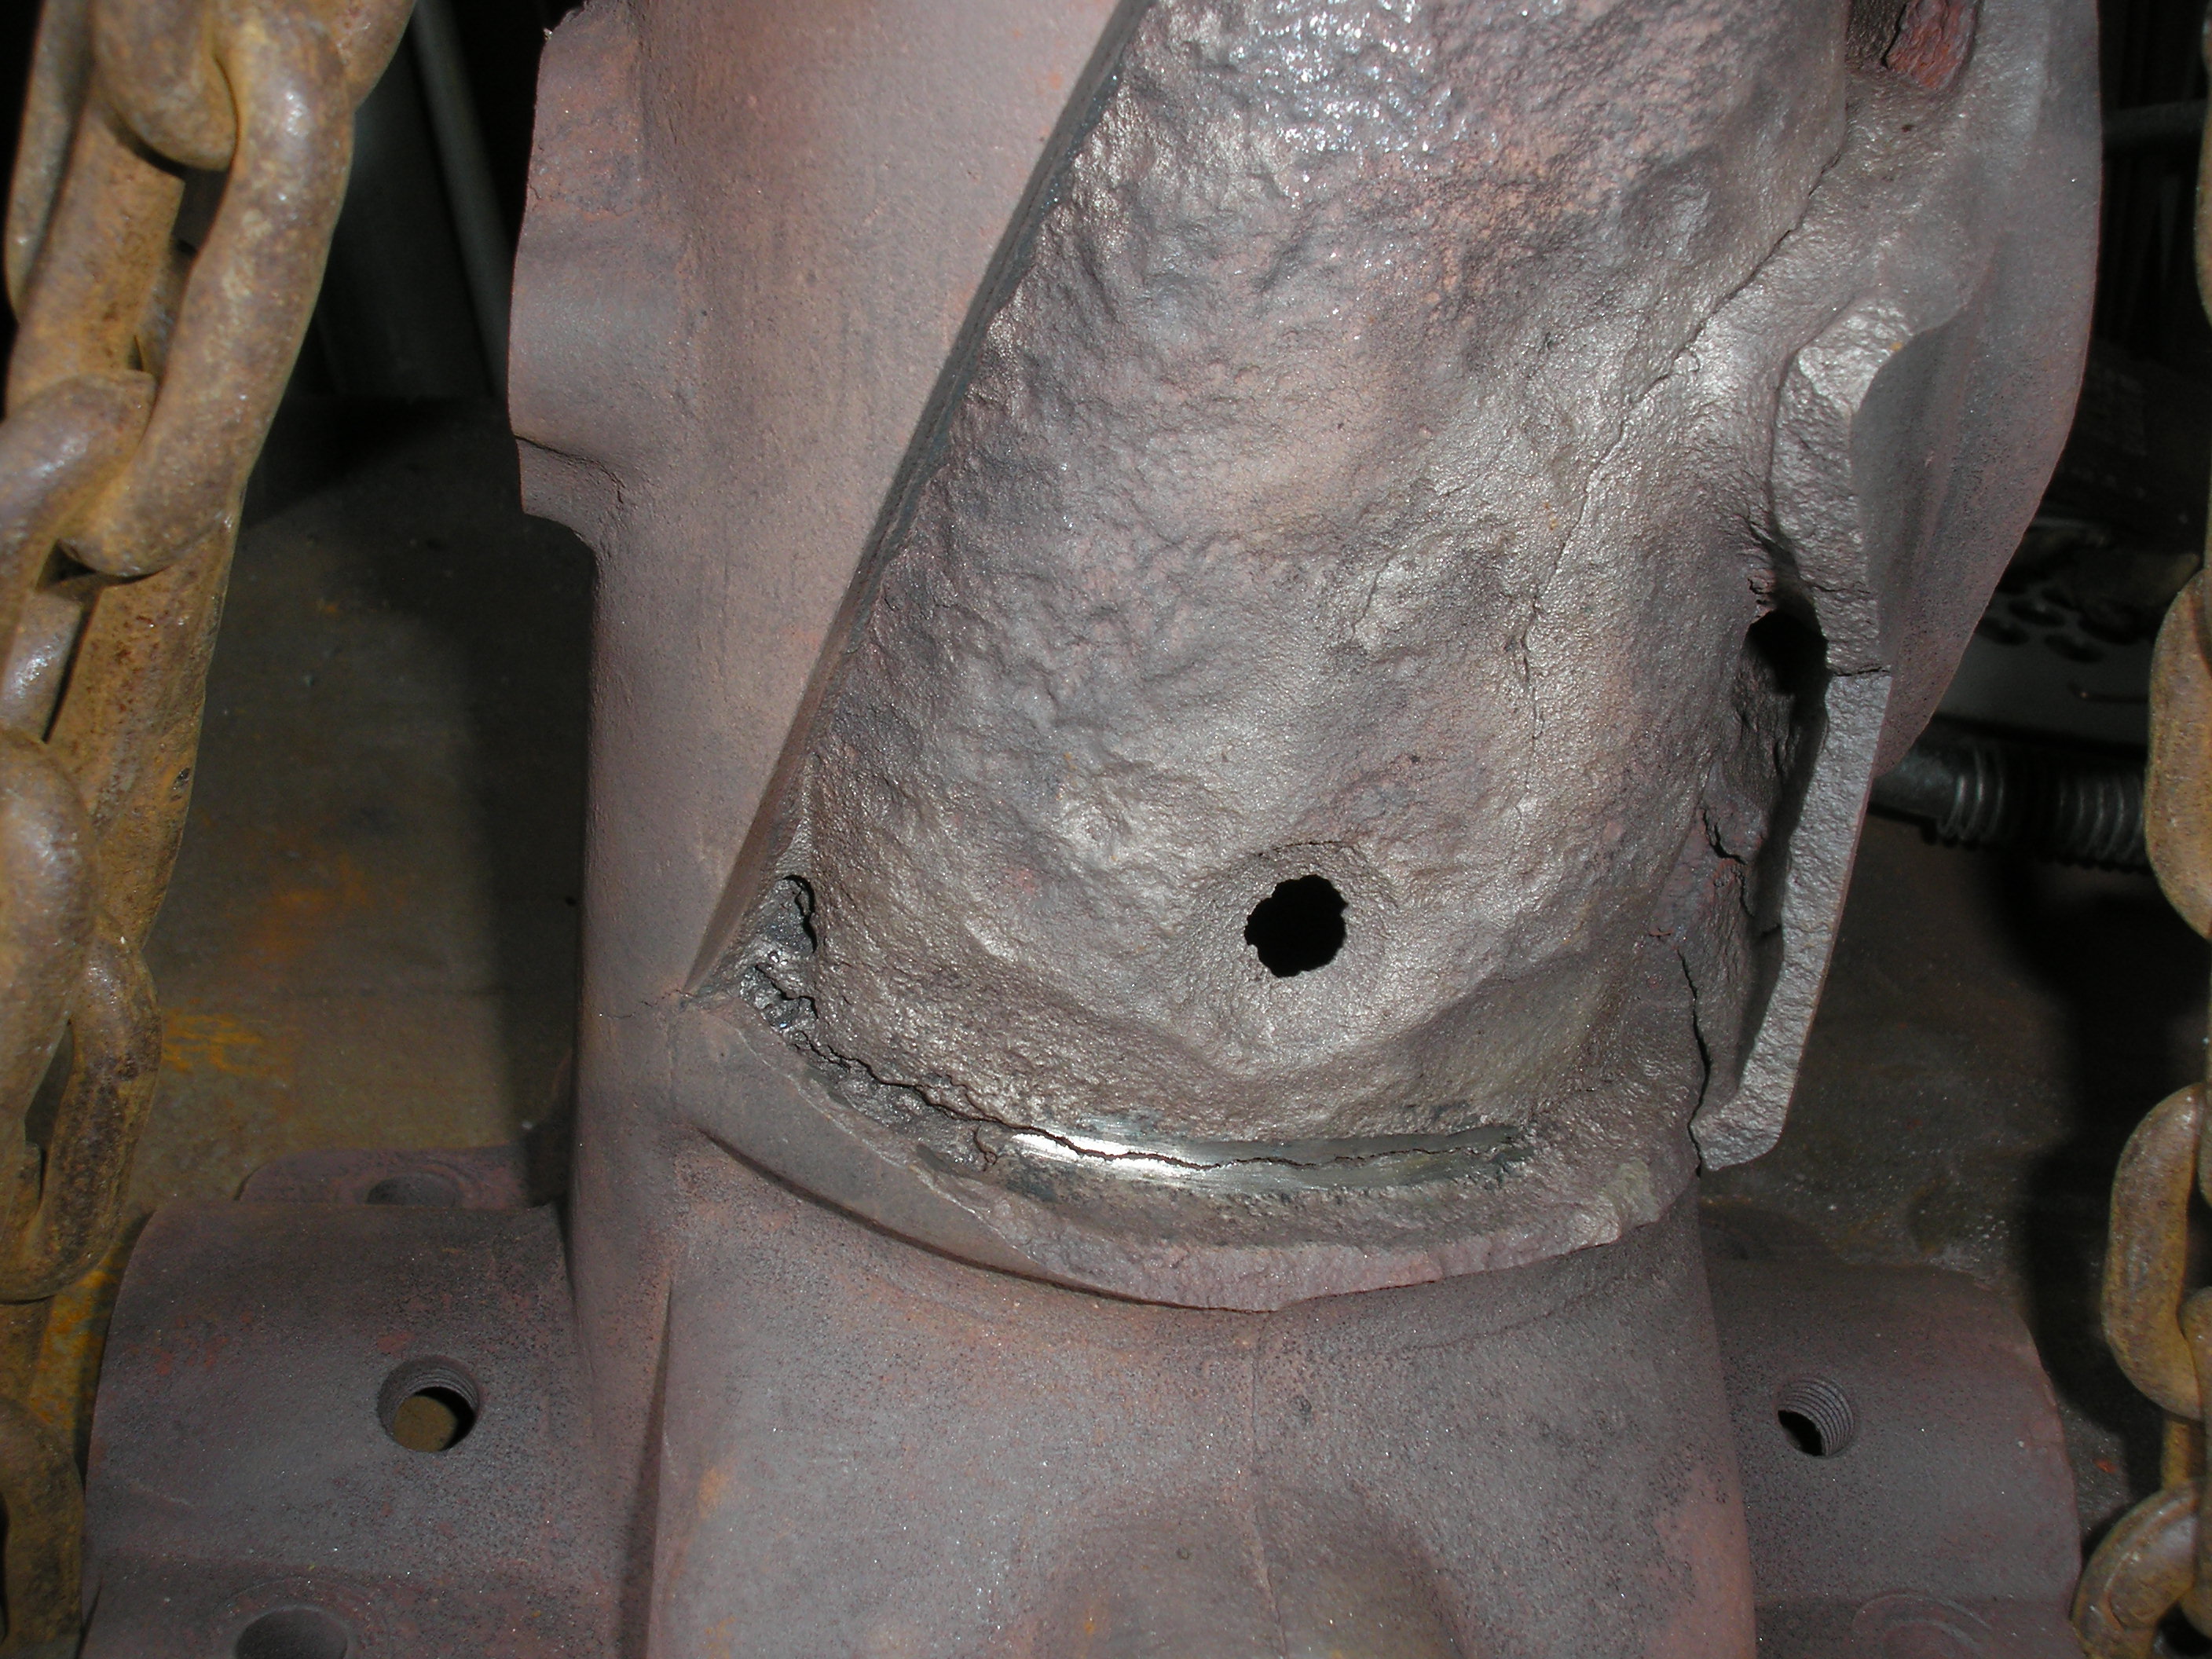
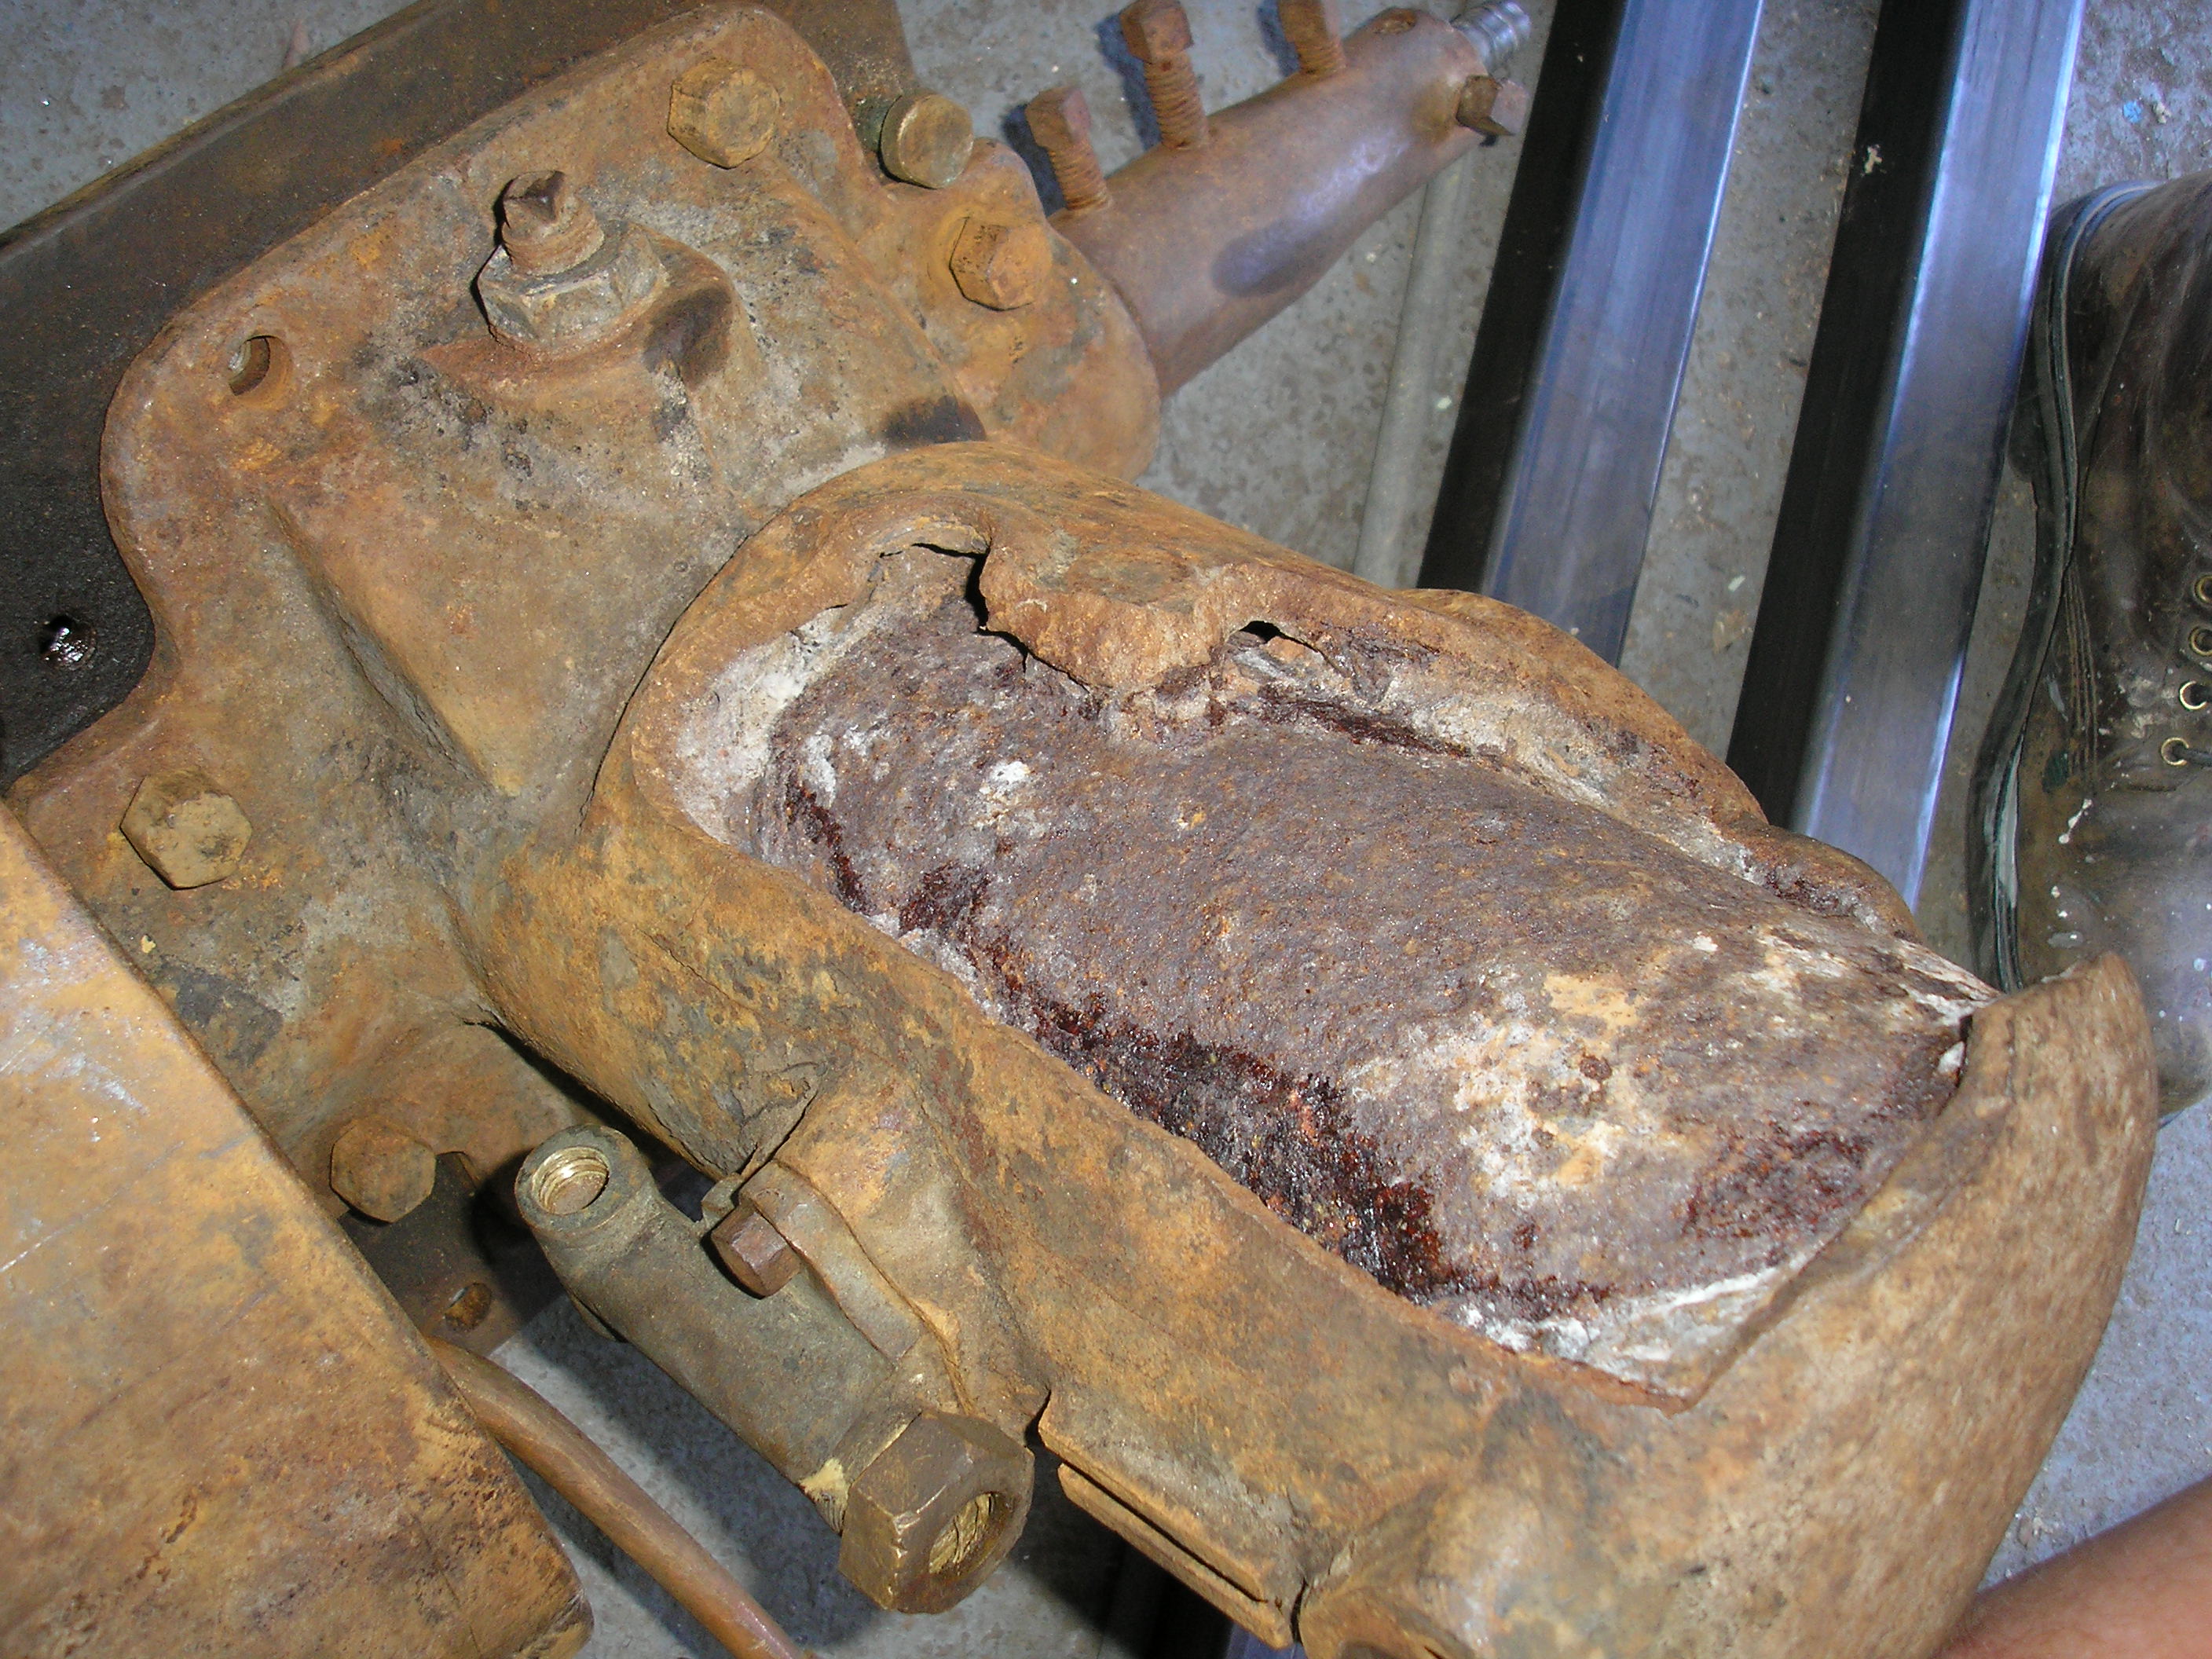 Side of cylinder showing extent of breakage. Inside the water jacket is
some sort of swamp concrete.
Side of cylinder showing extent of breakage. Inside the water jacket is
some sort of swamp concrete.
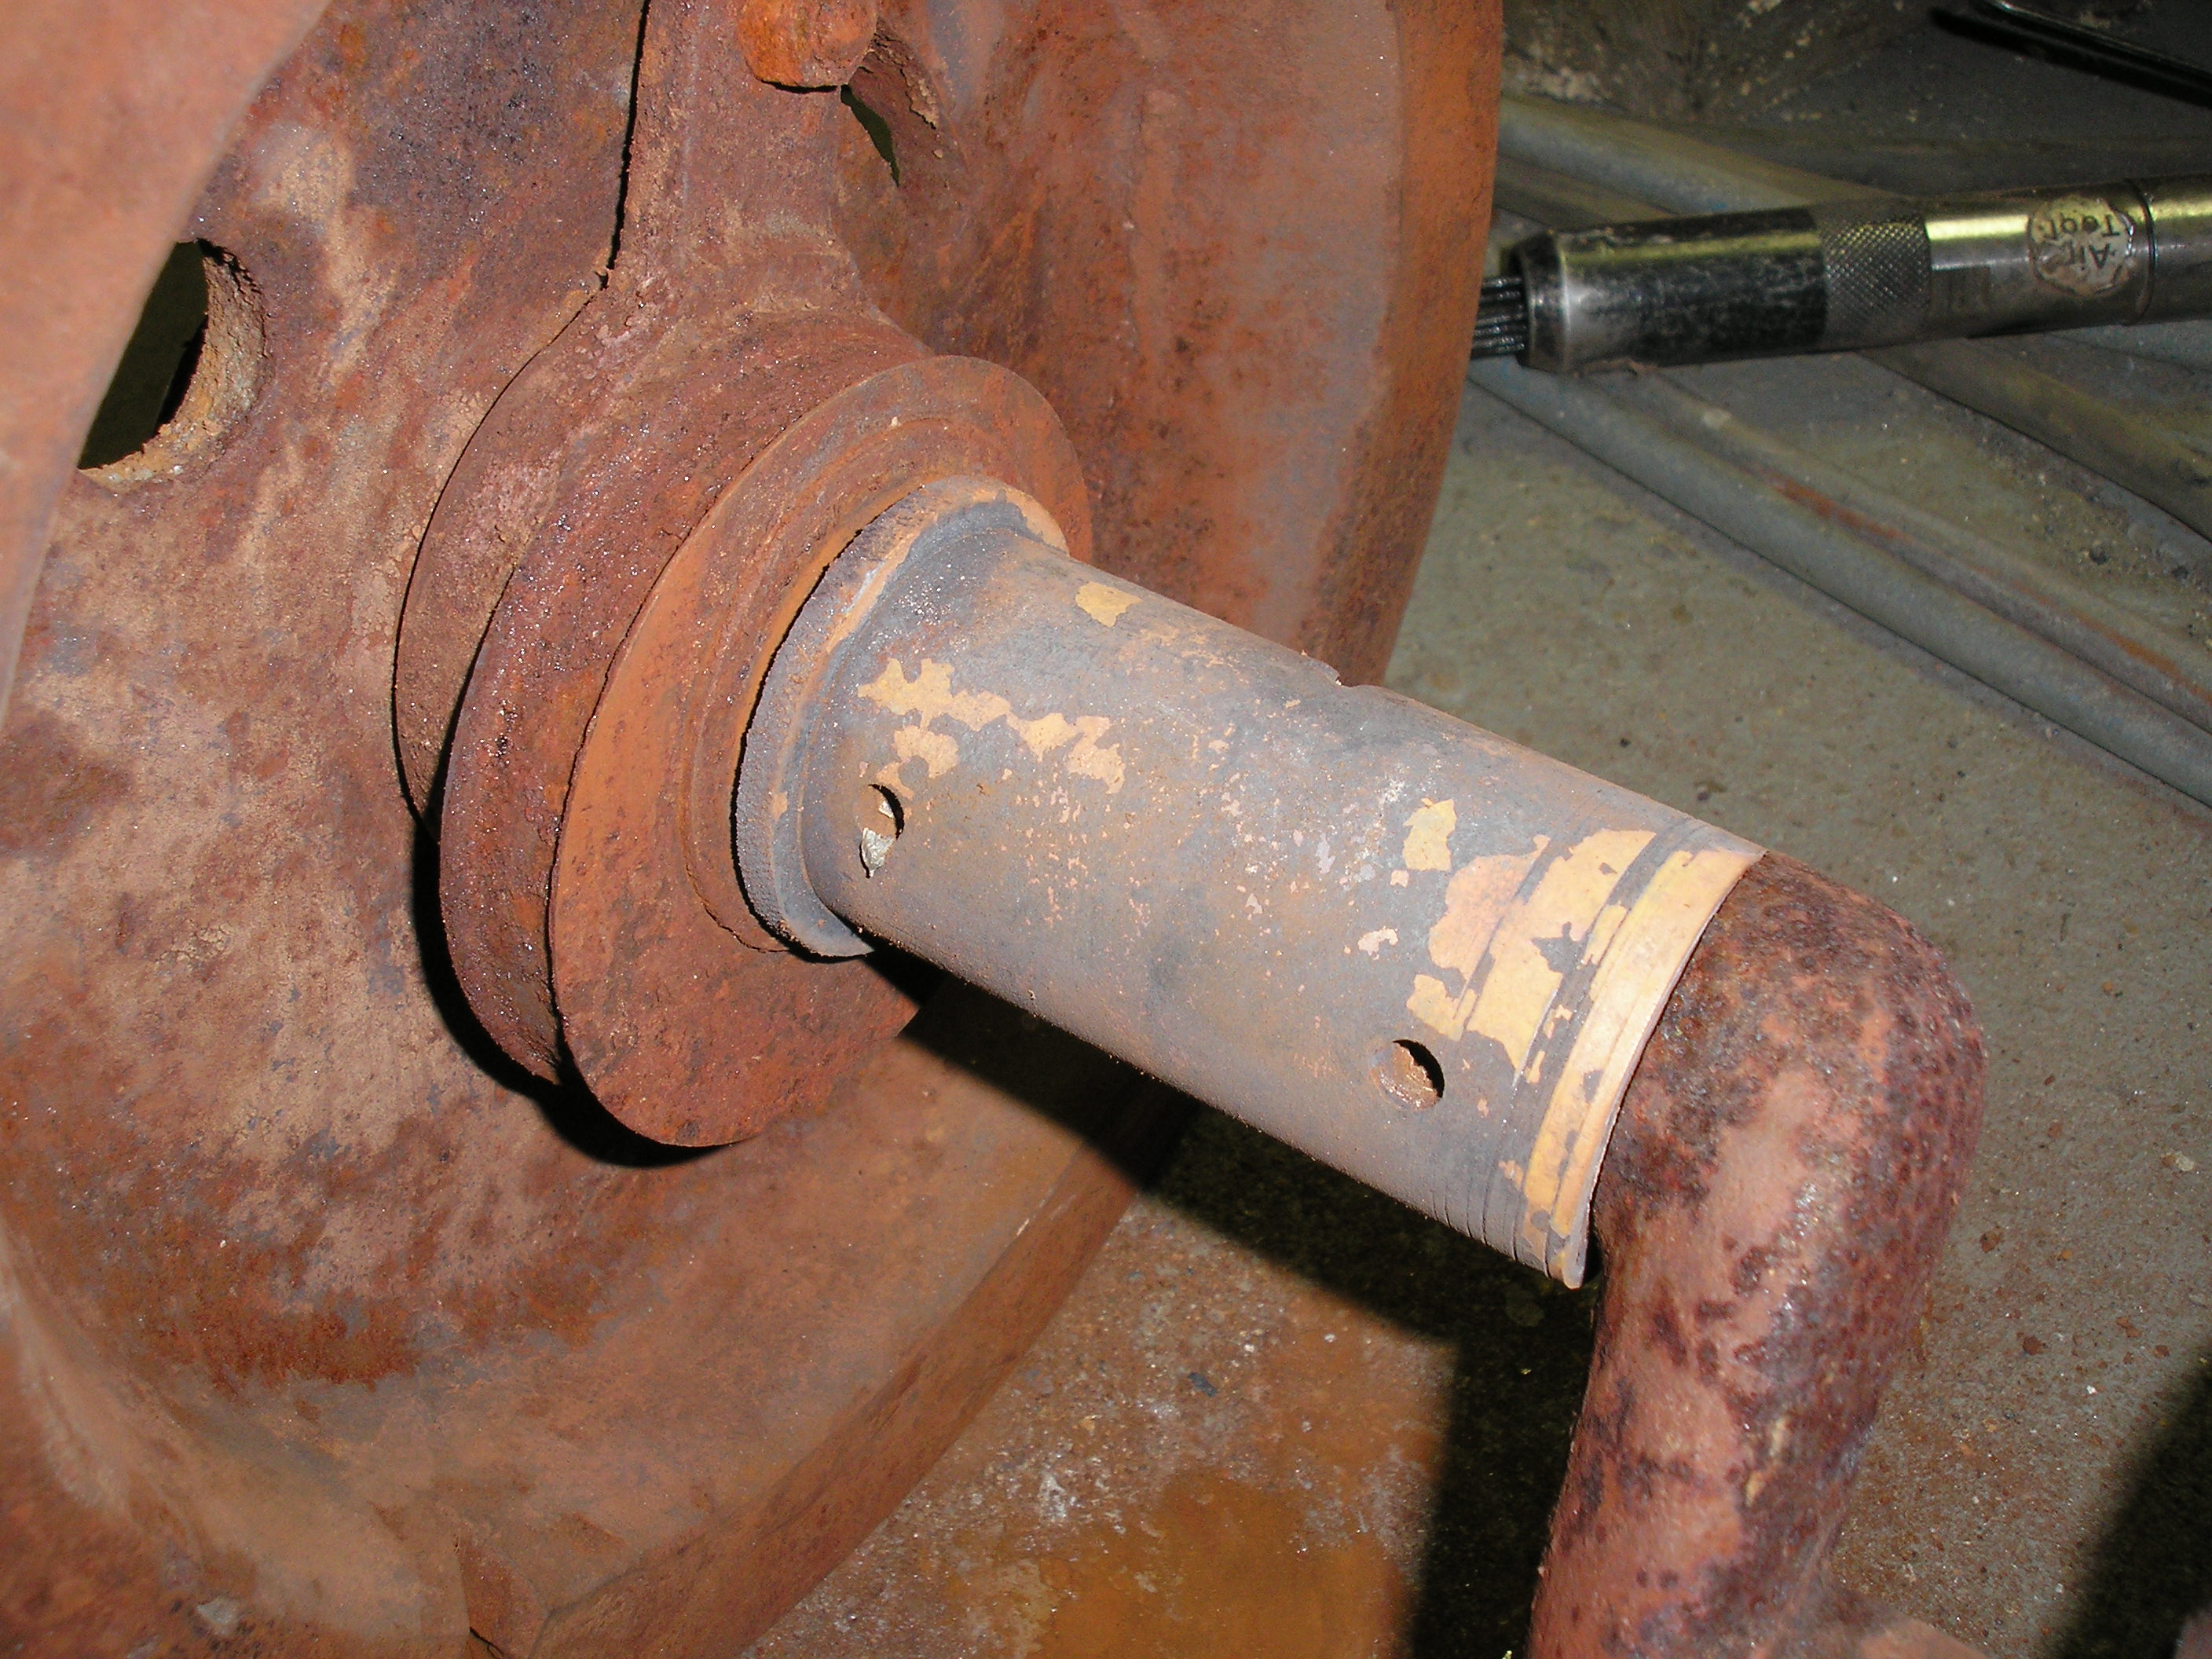
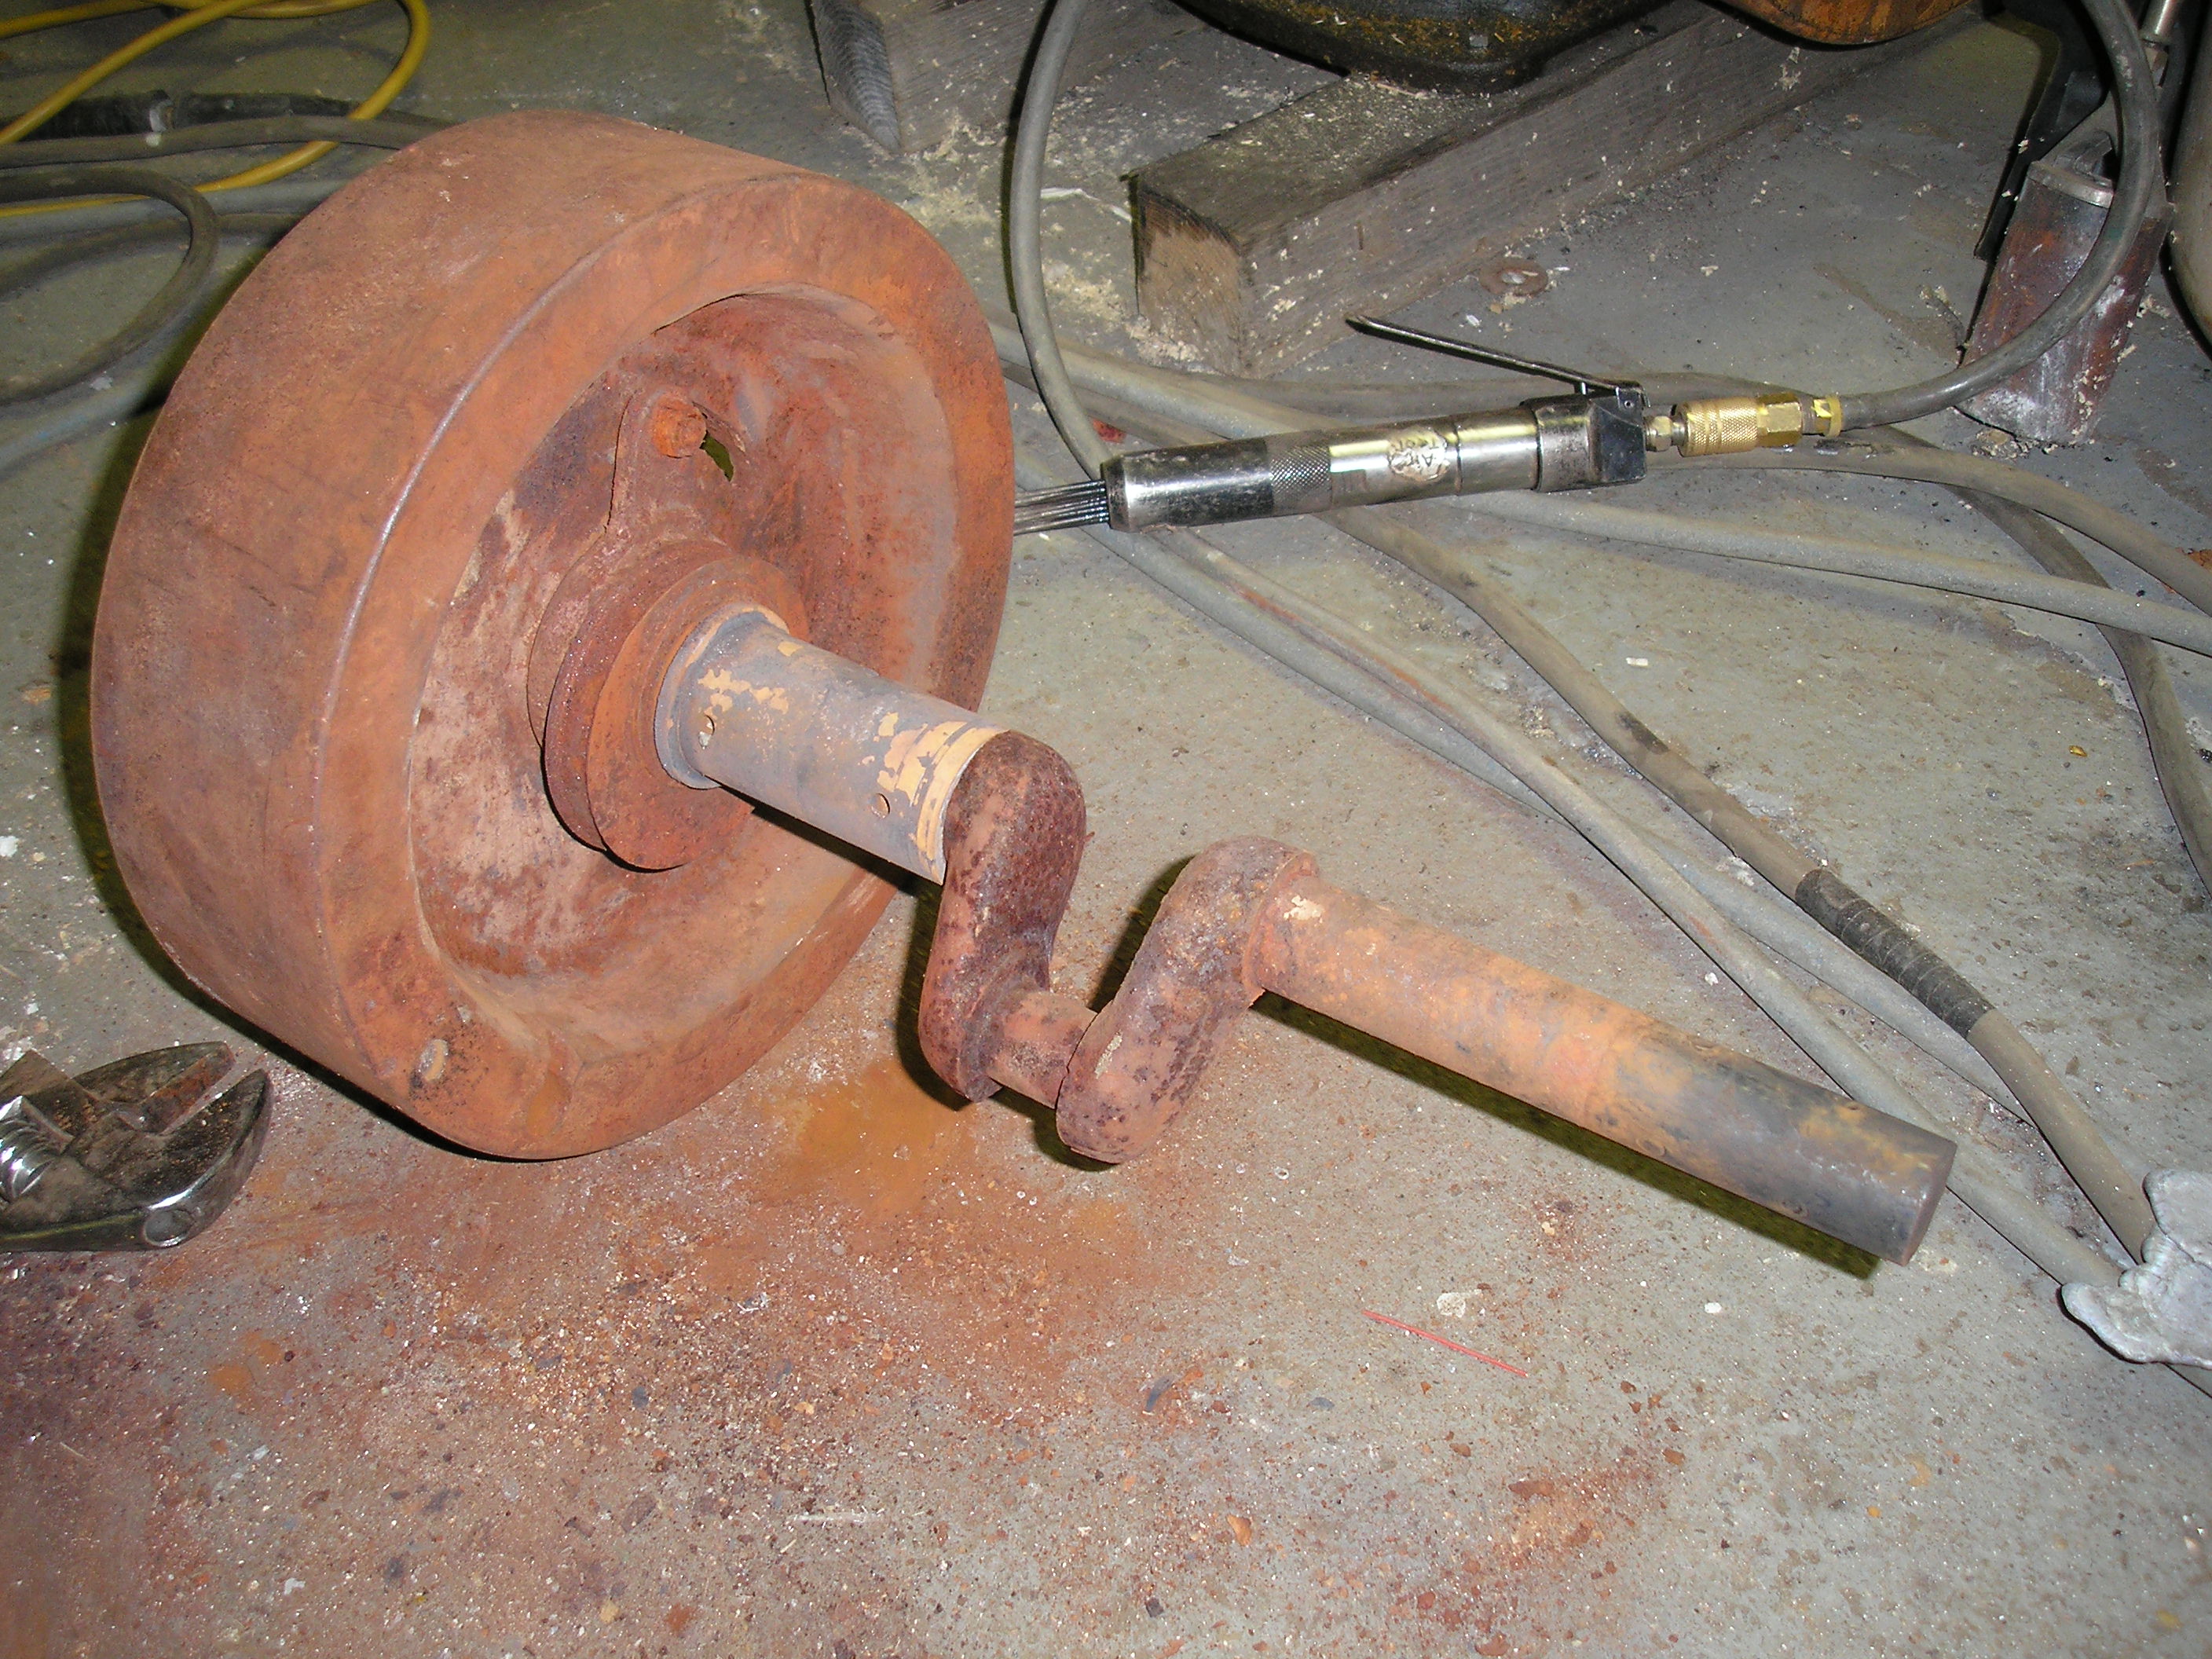
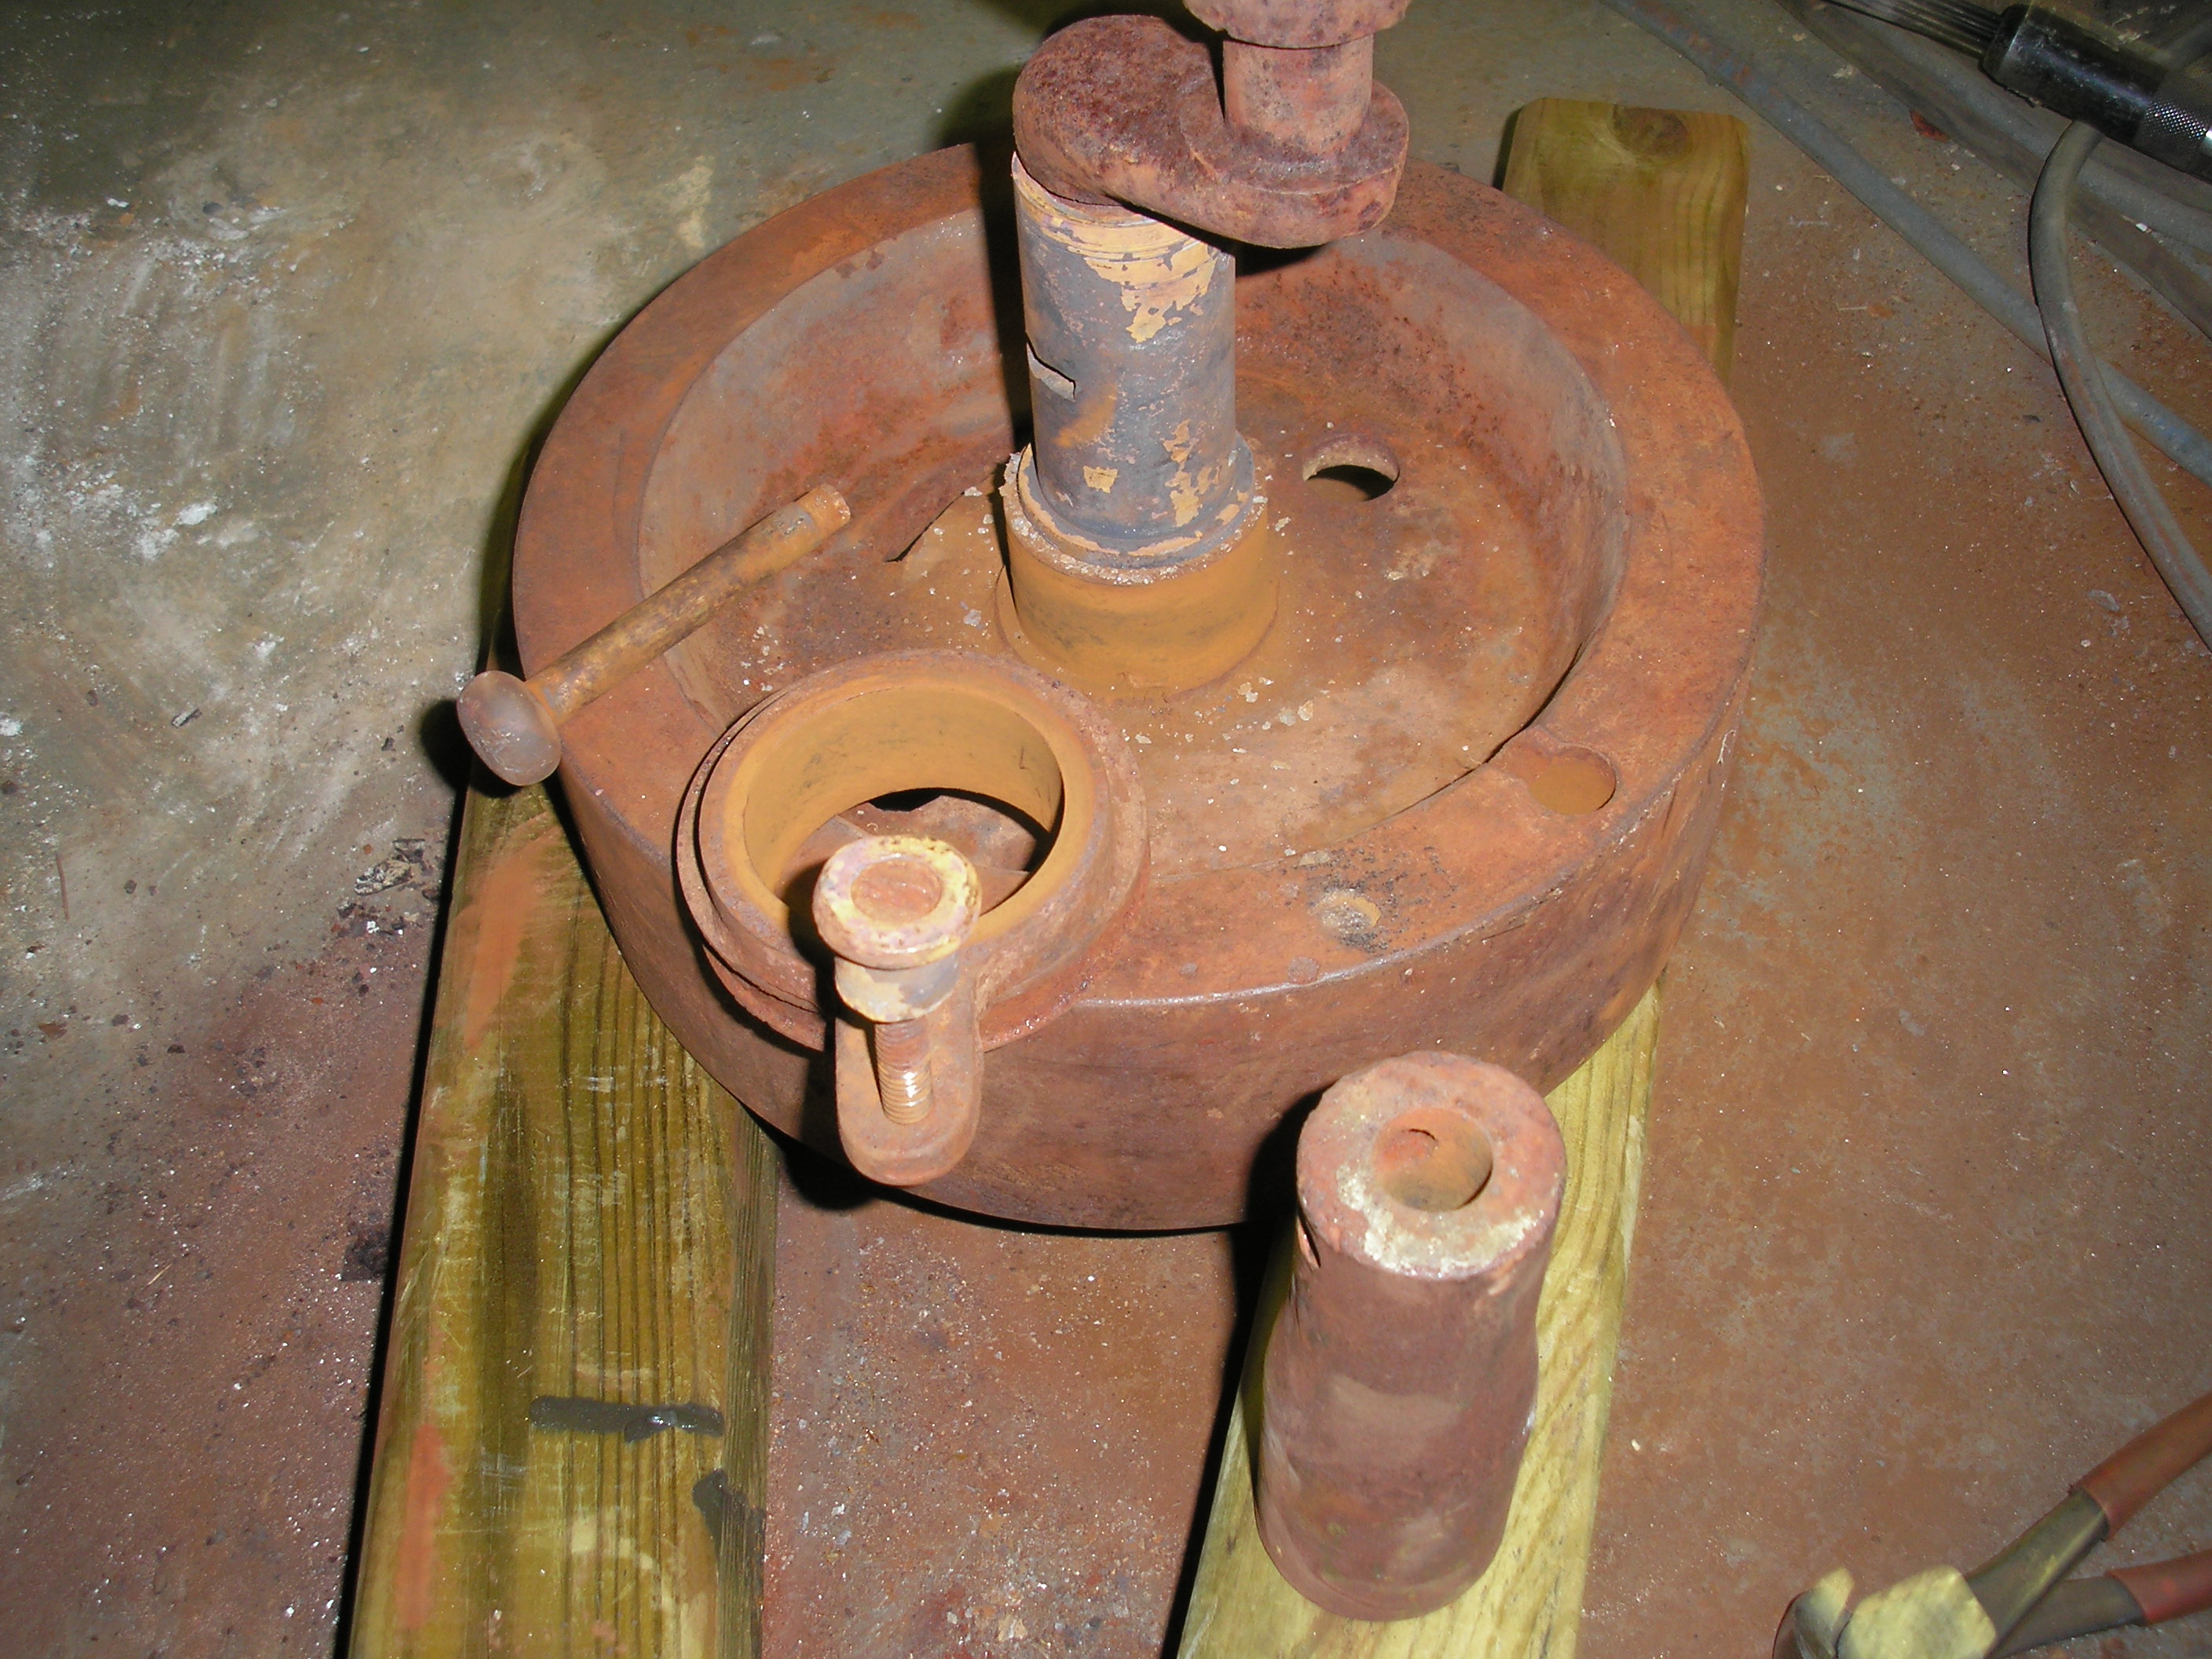
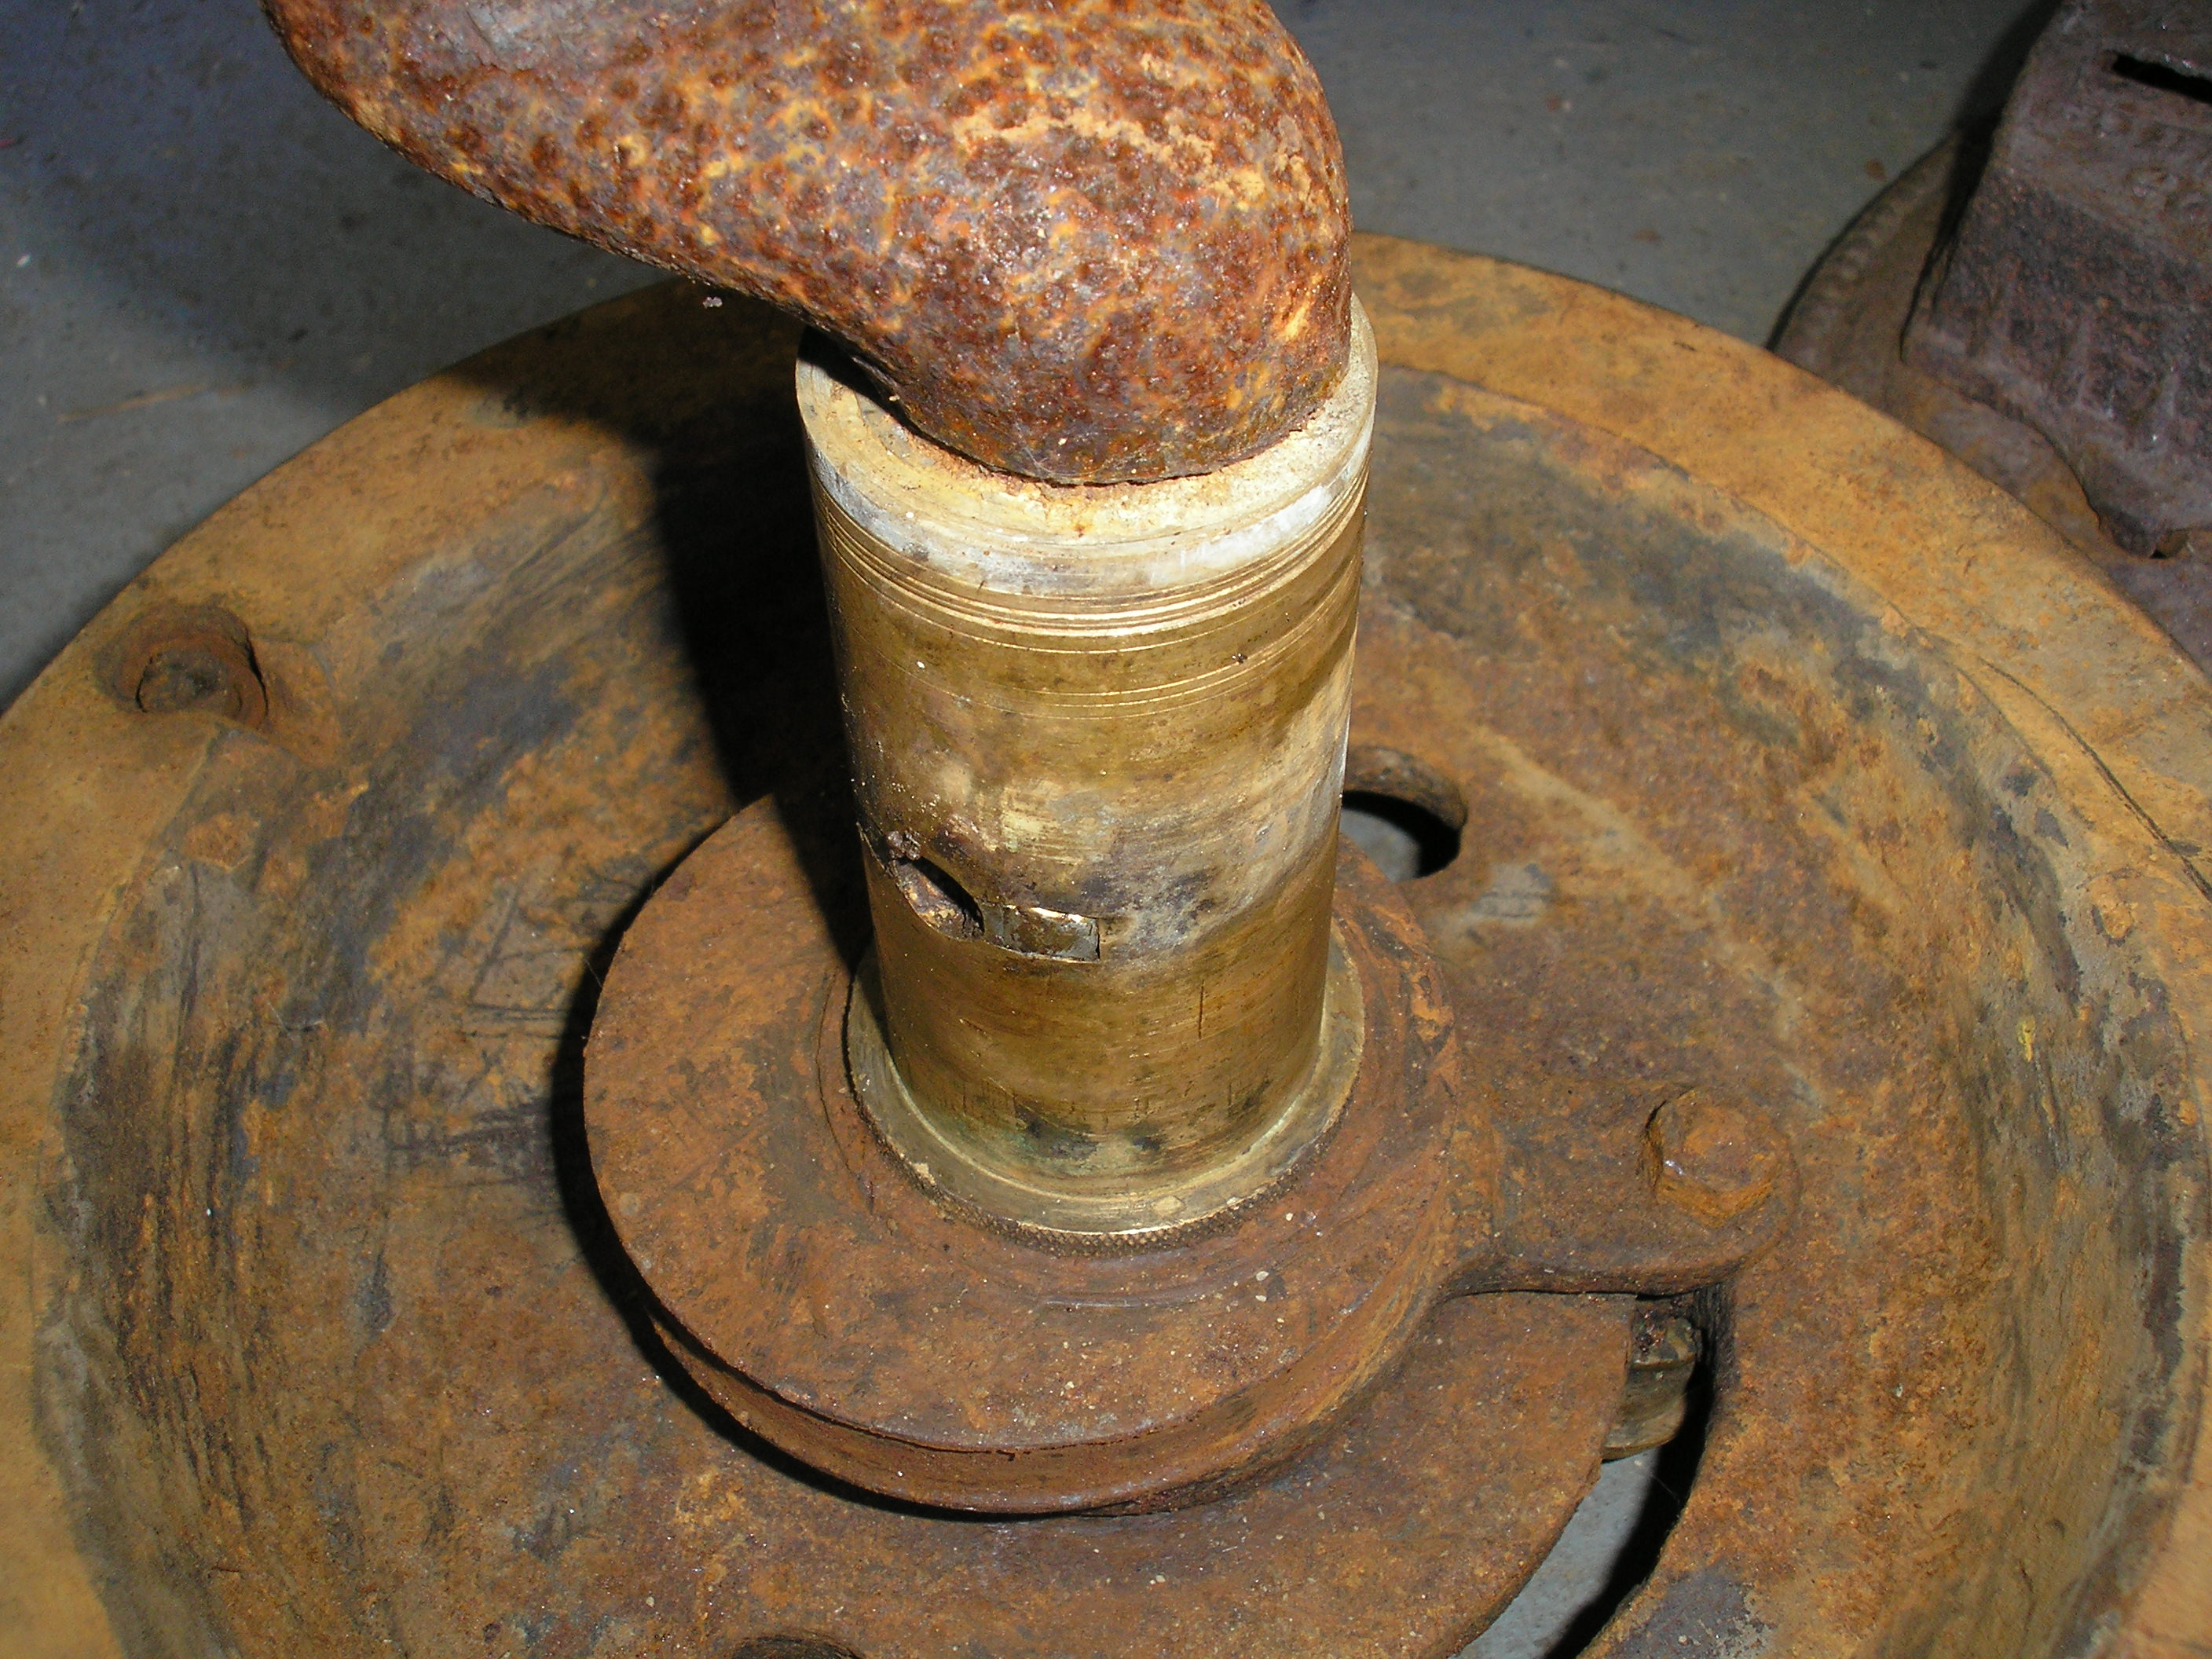 Timing Device and Eccentric.
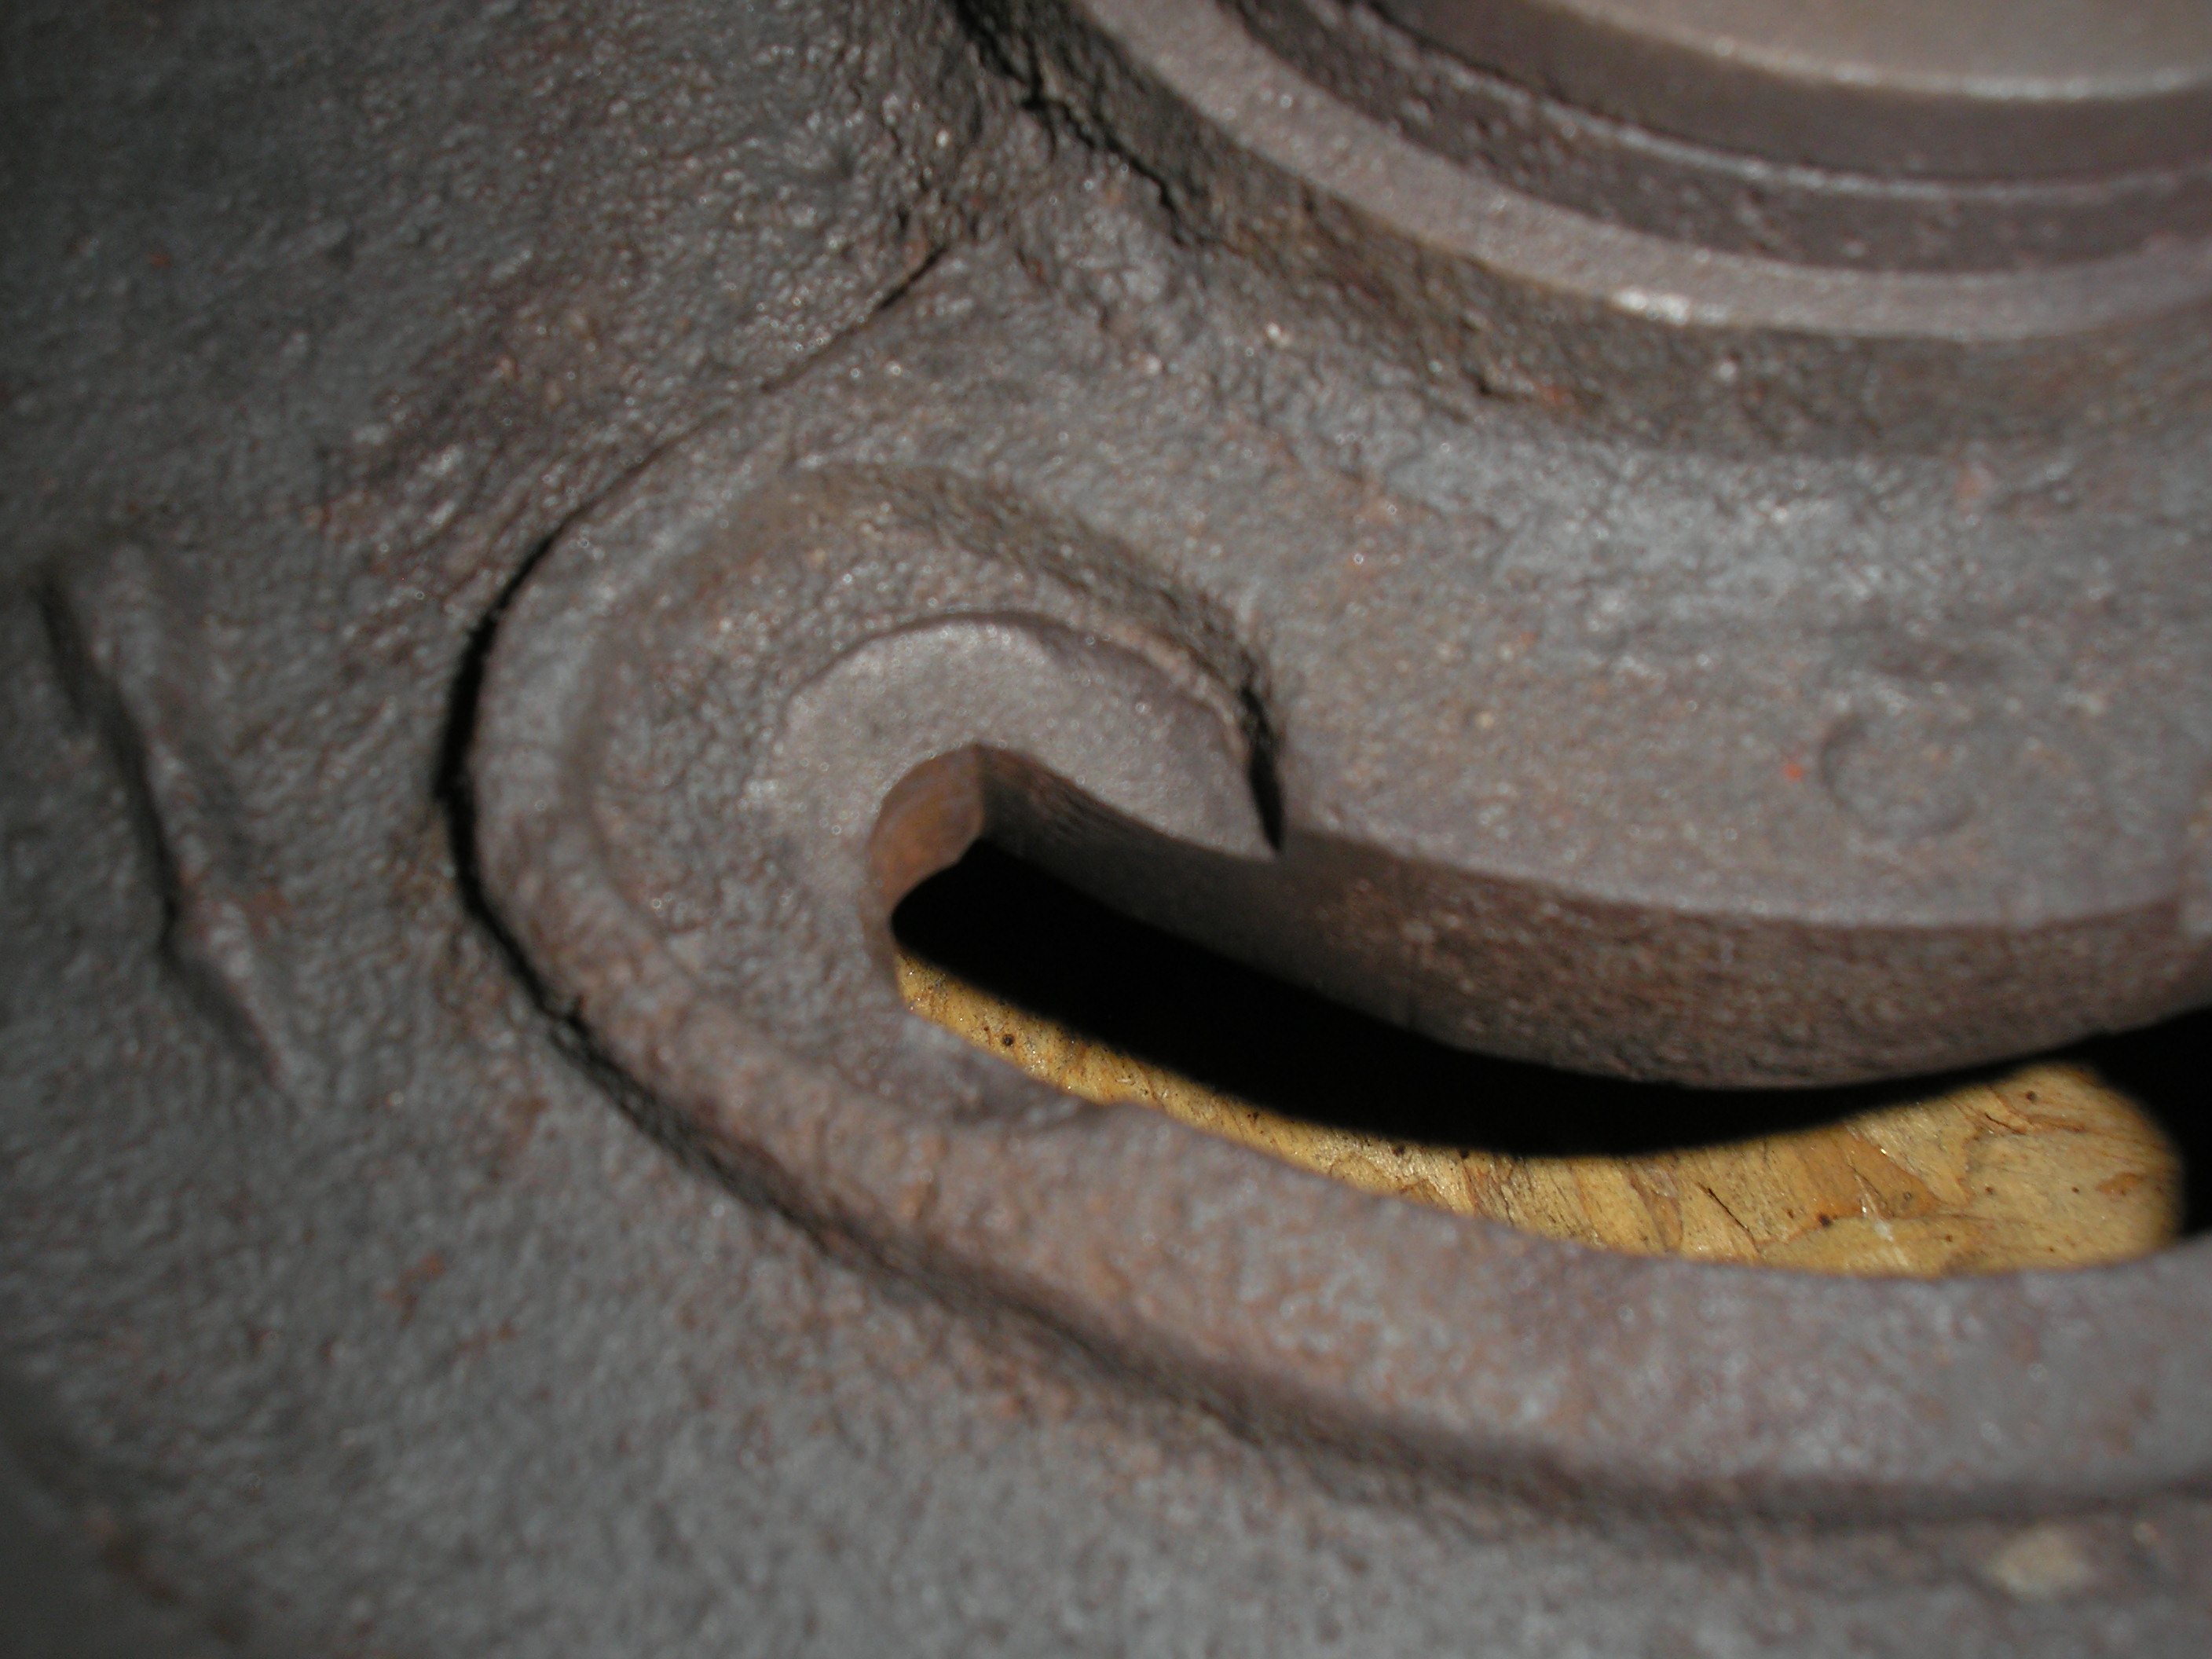
 Patented oiling scheme. Reminds me of the Fairbanks Morse chain-type oiler
system.
Patented oiling scheme. Reminds me of the Fairbanks Morse chain-type oiler
system.
August 31, 2006

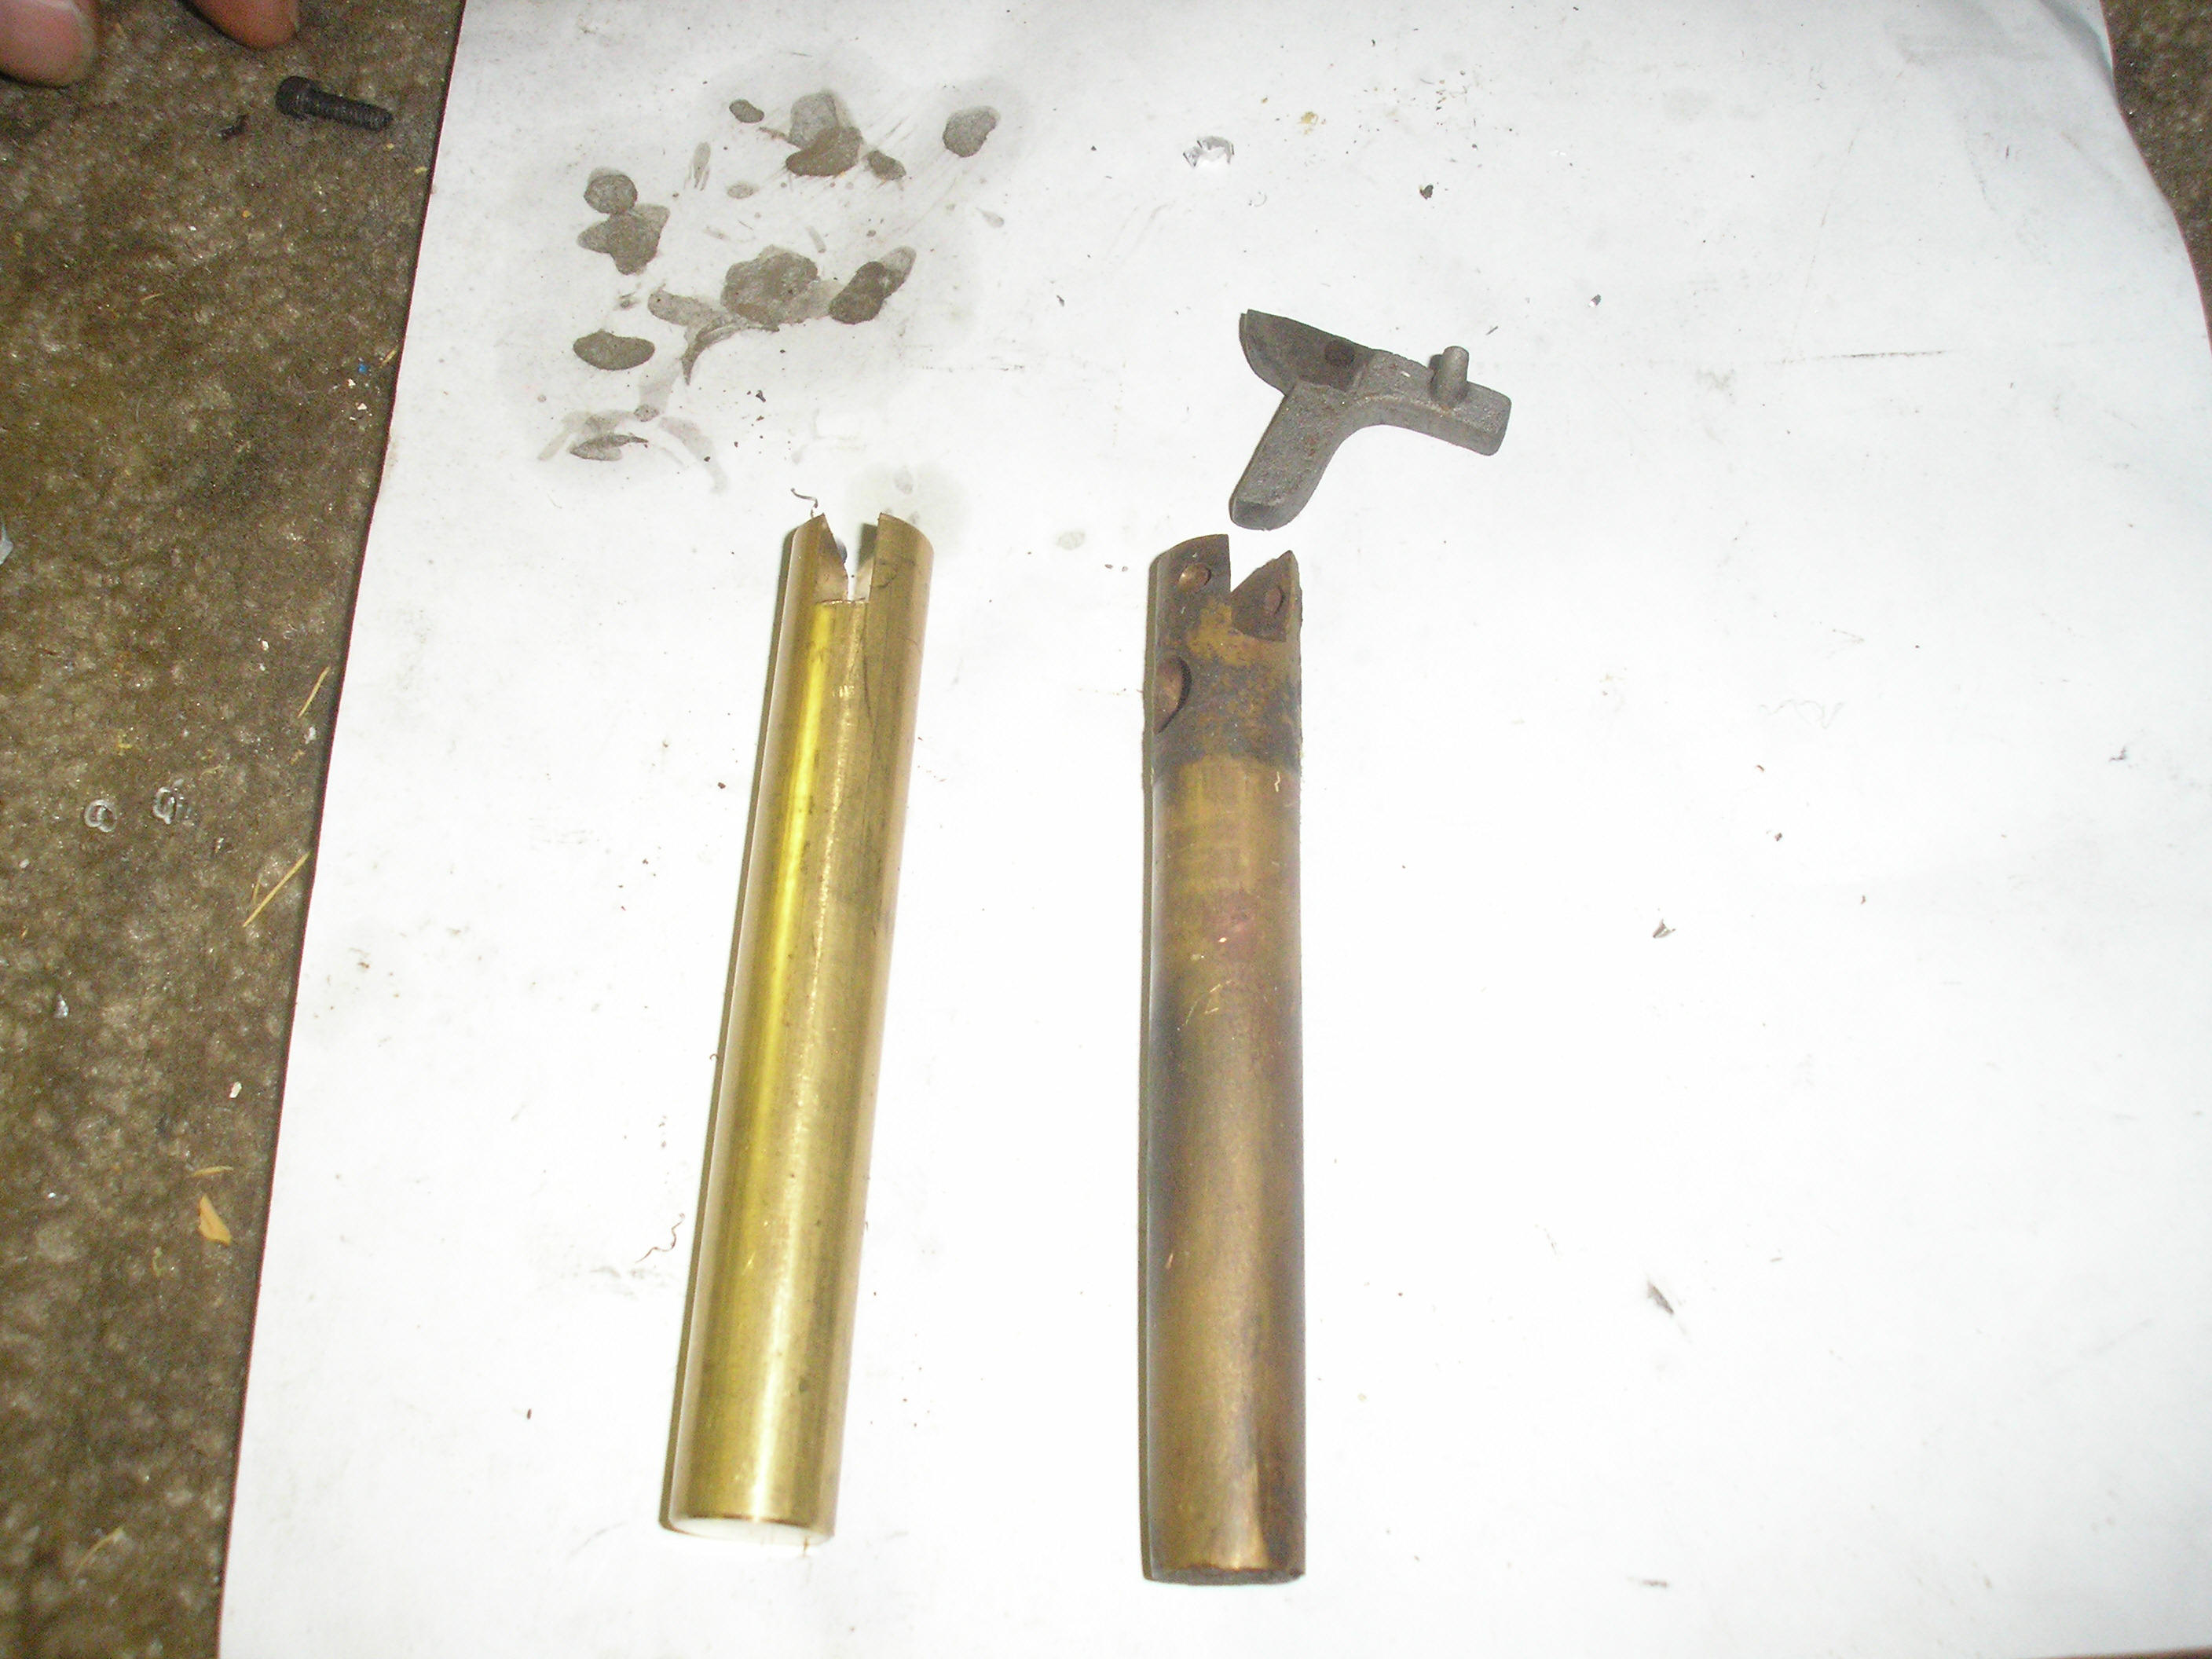
 Neat igniter. It has "C. Barker; Norwalk, CT; Pat. DEC 1 1903 stamped on
it. It shows a lot of wear.
Neat igniter. It has "C. Barker; Norwalk, CT; Pat. DEC 1 1903 stamped on
it. It shows a lot of wear.
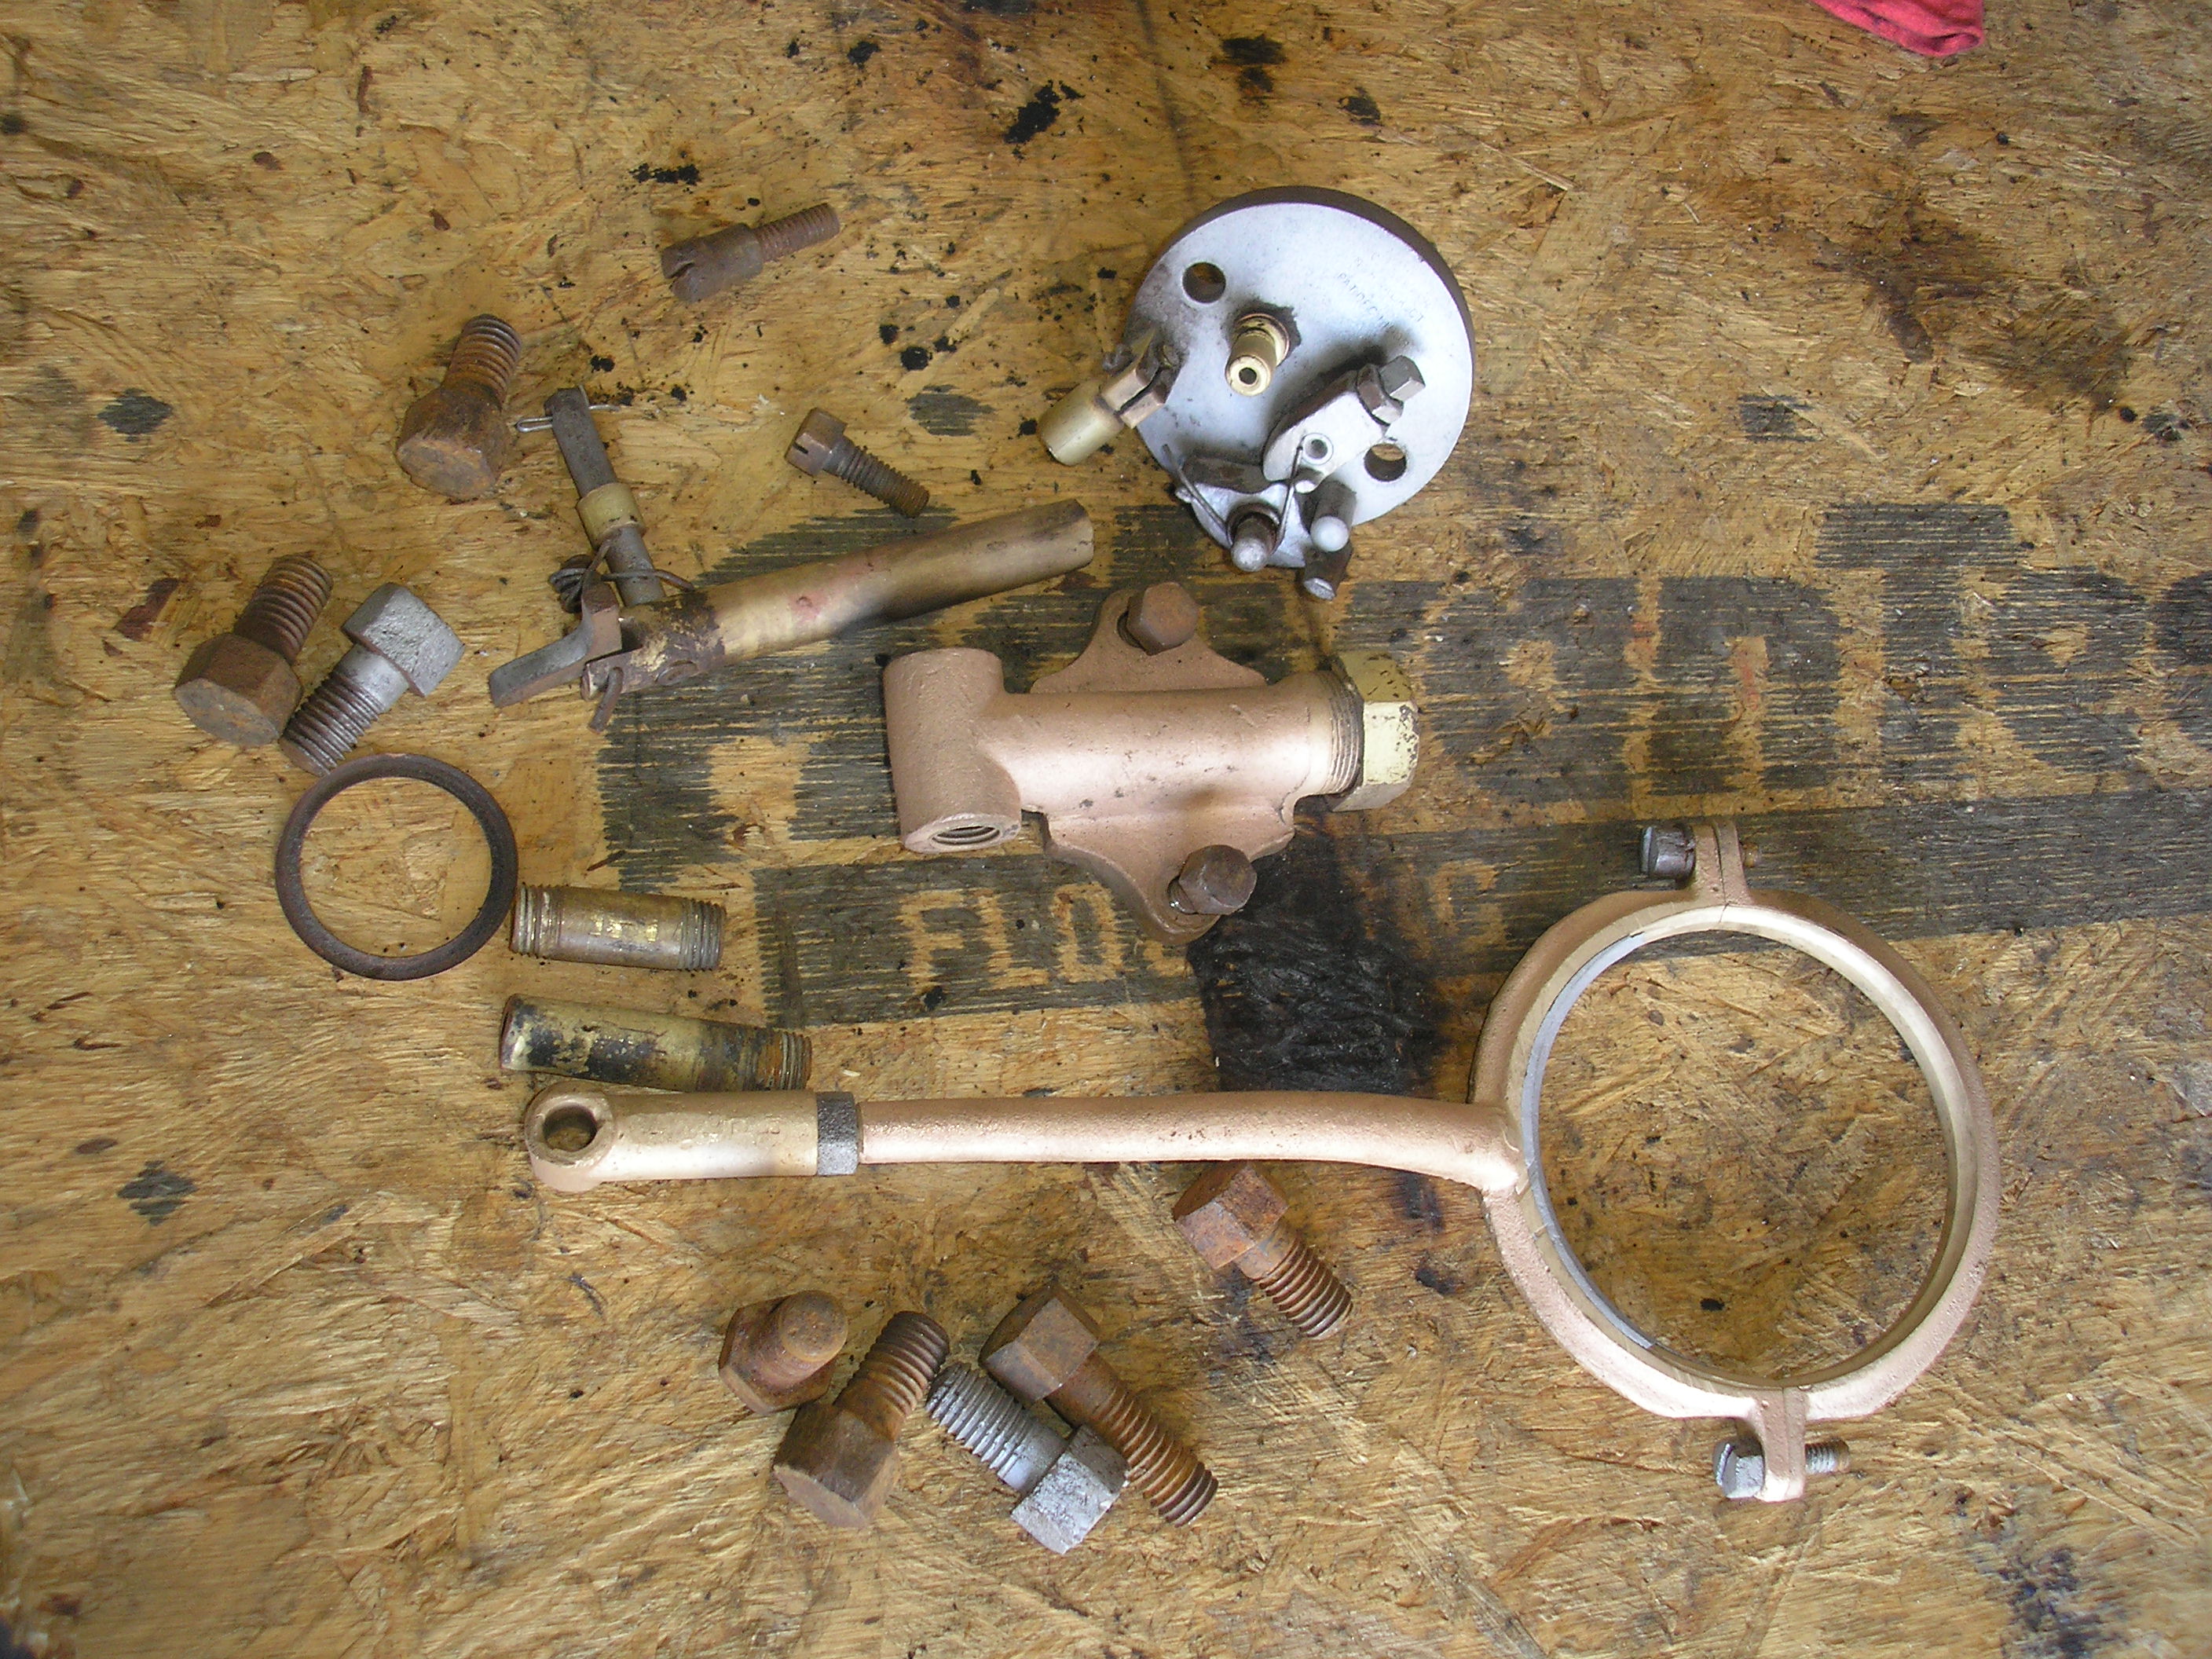
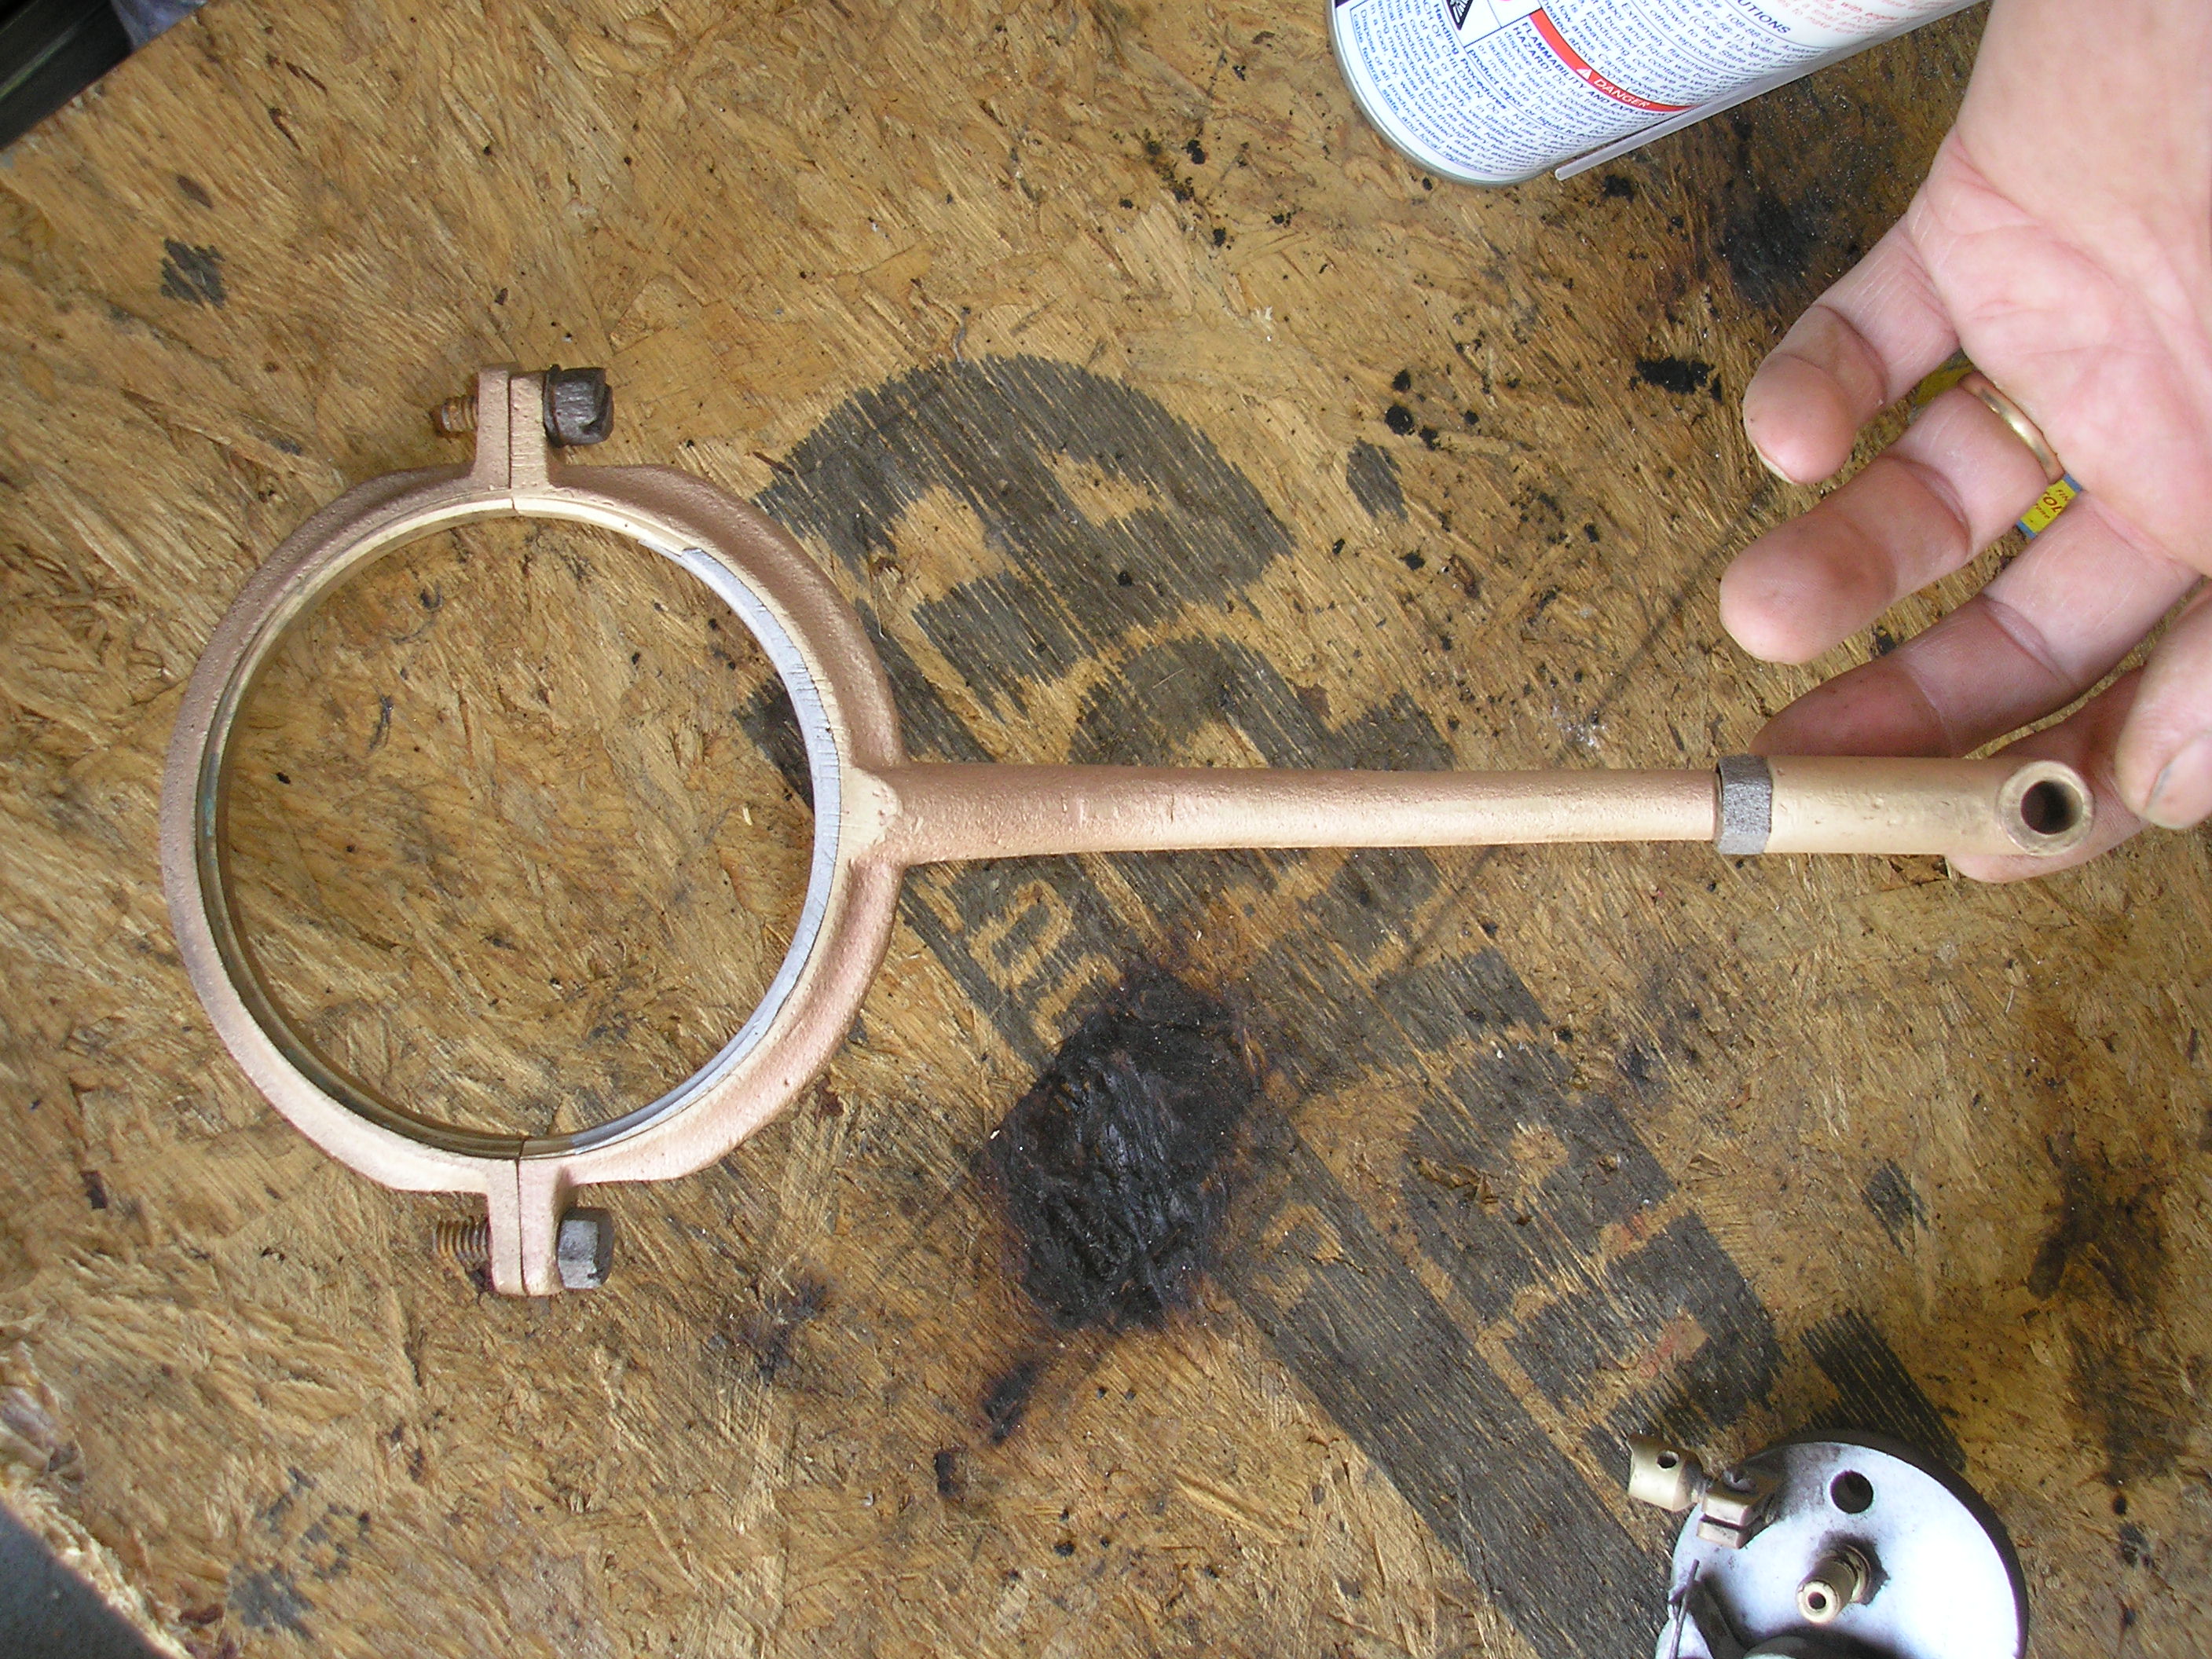
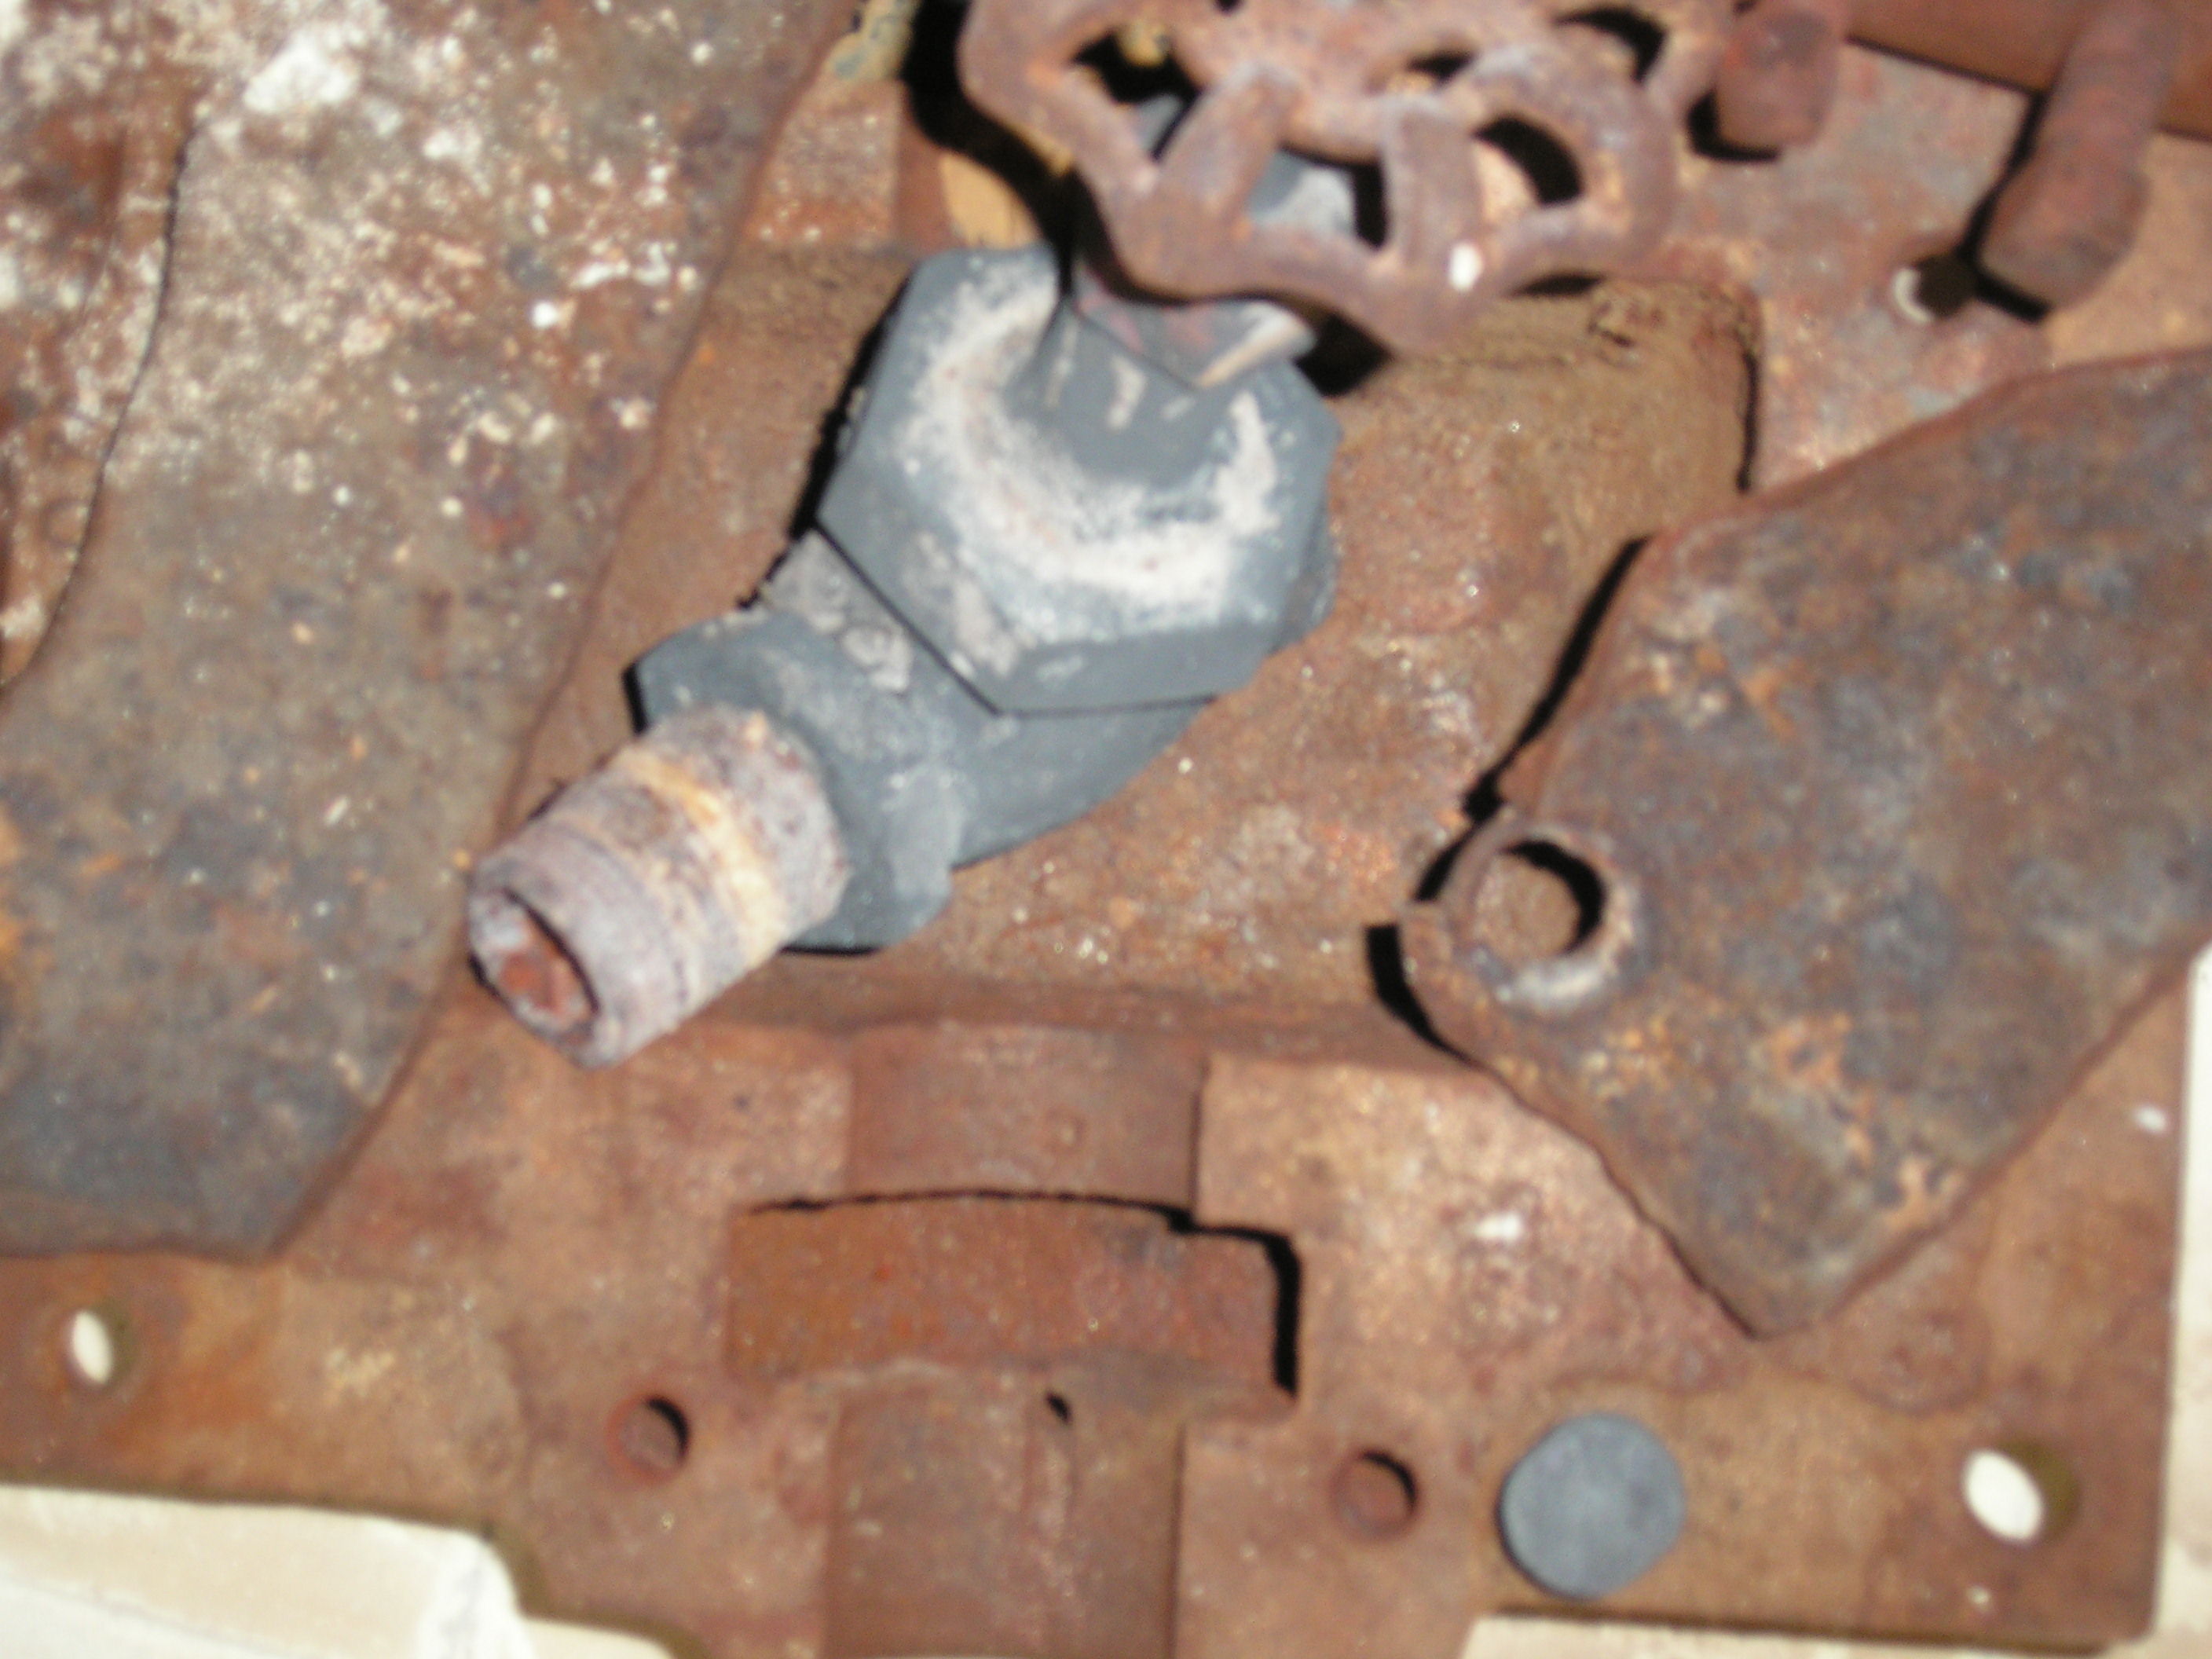
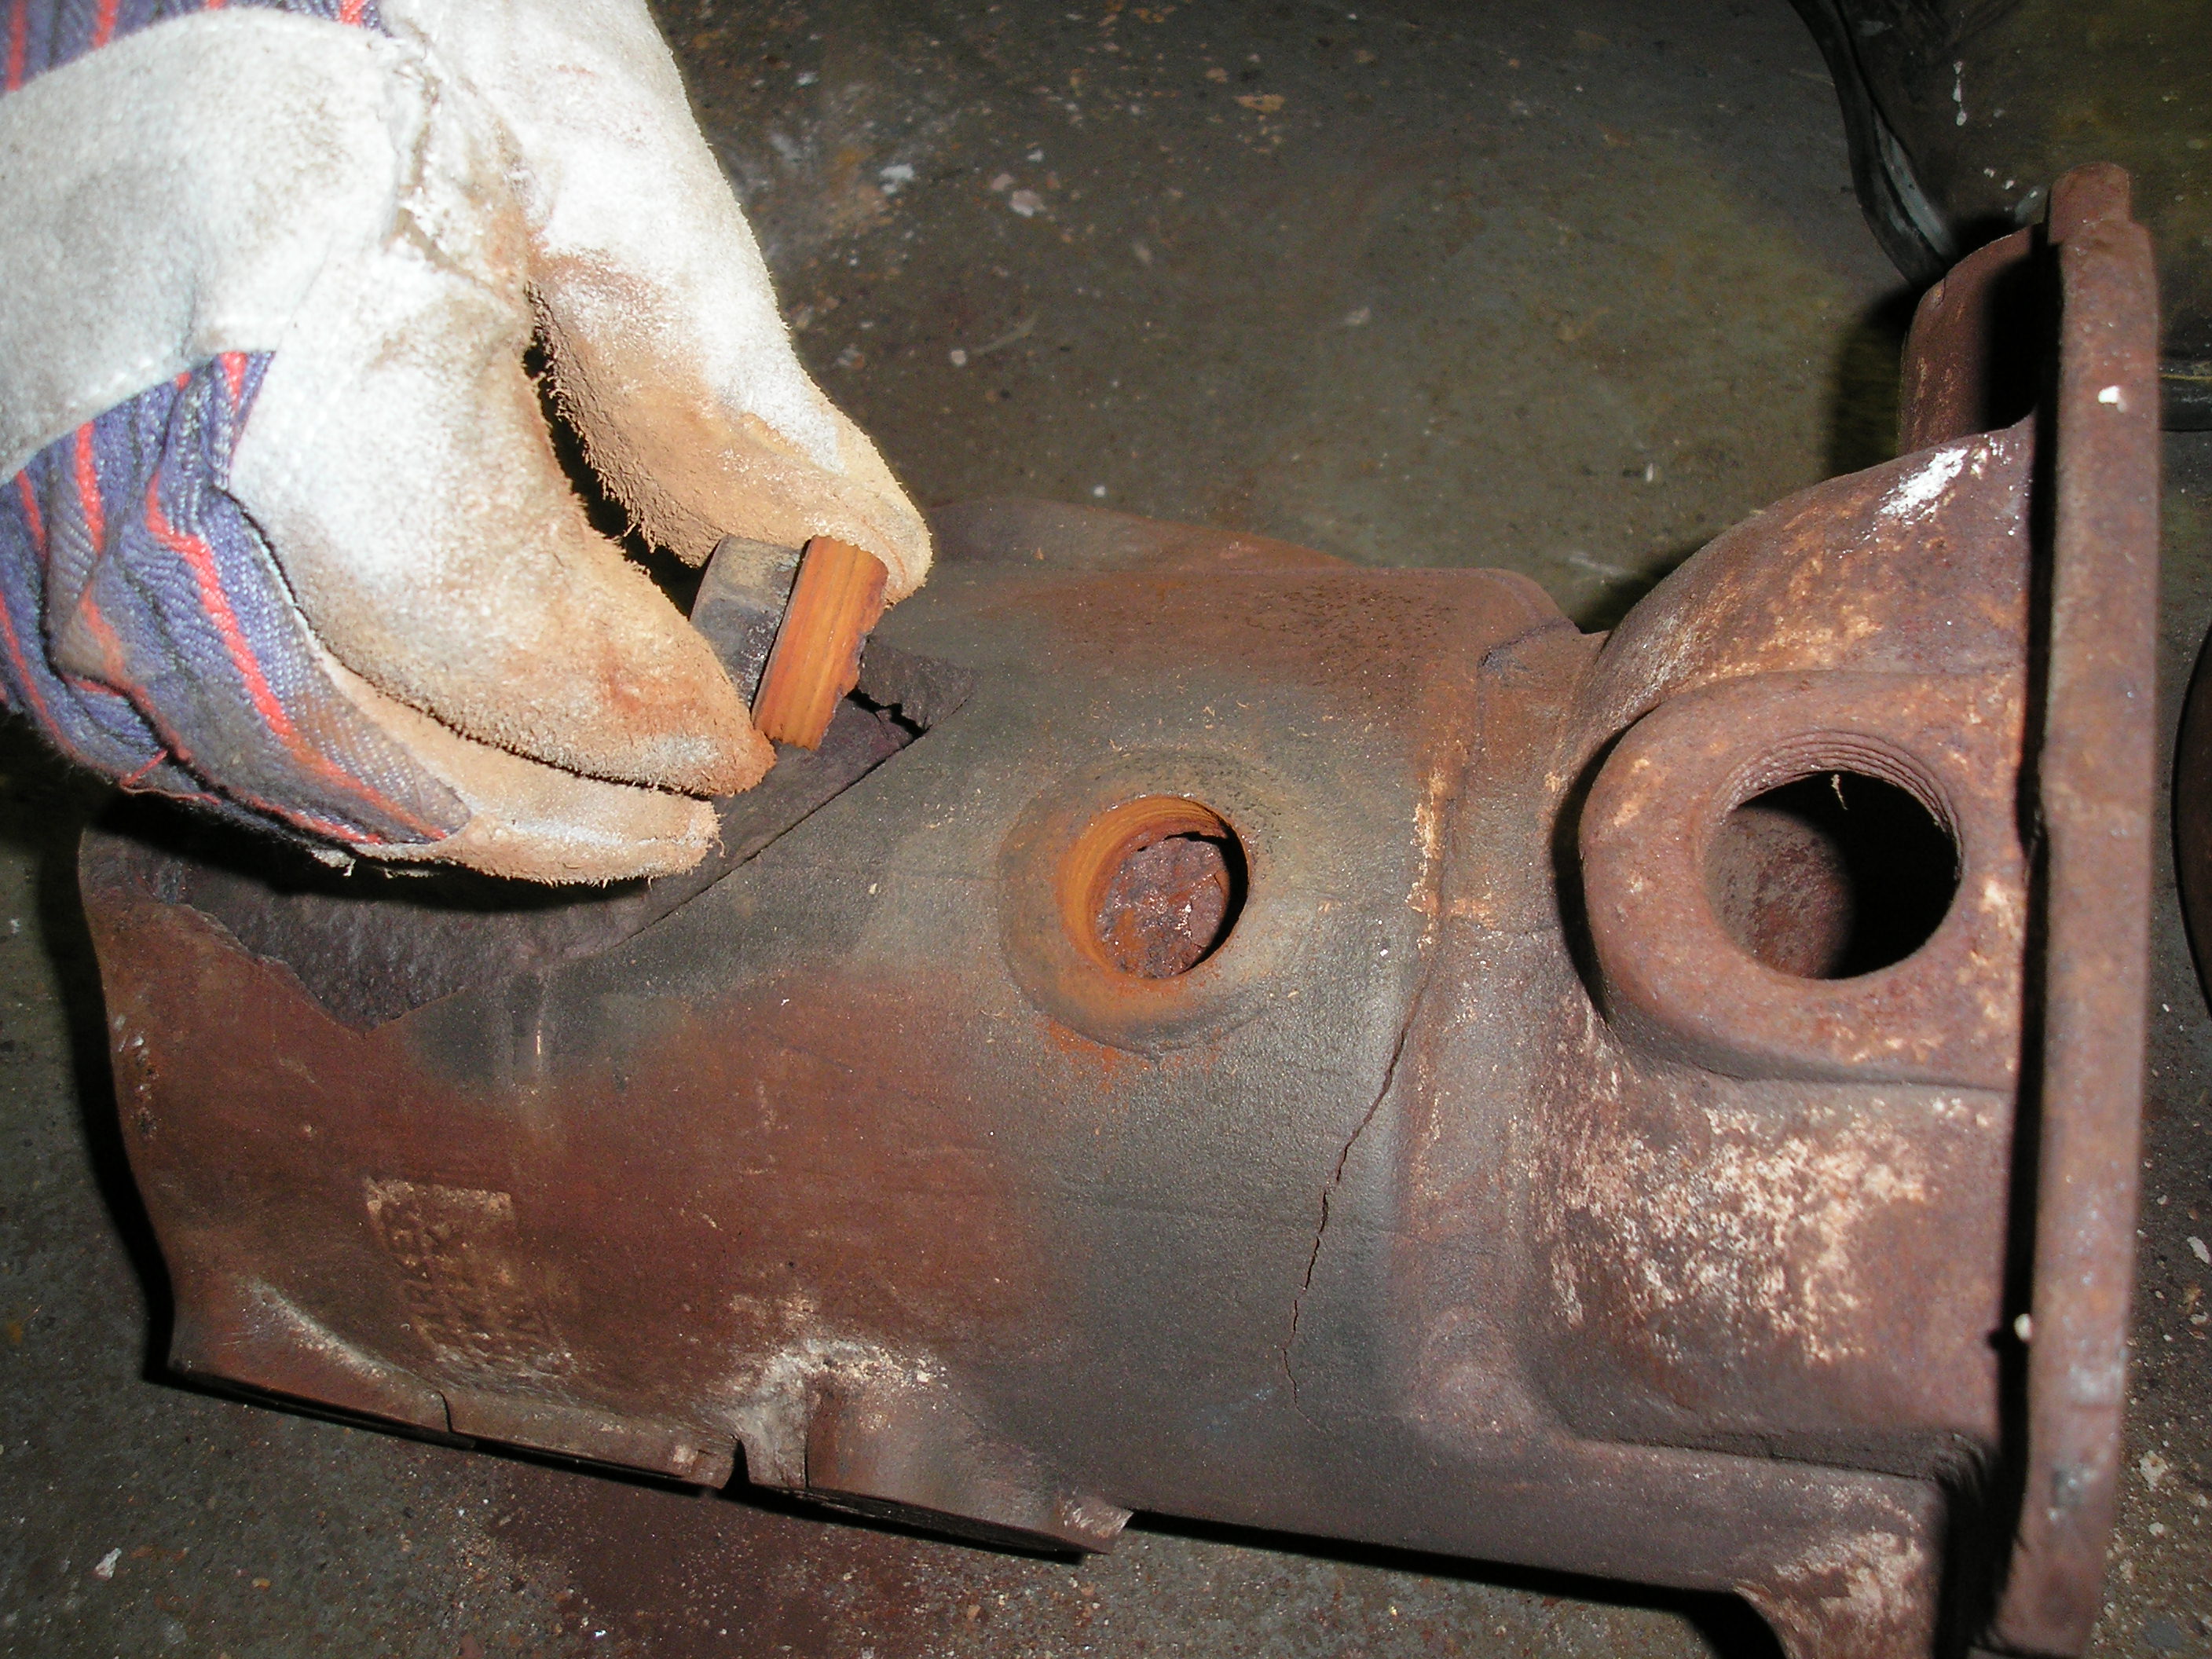
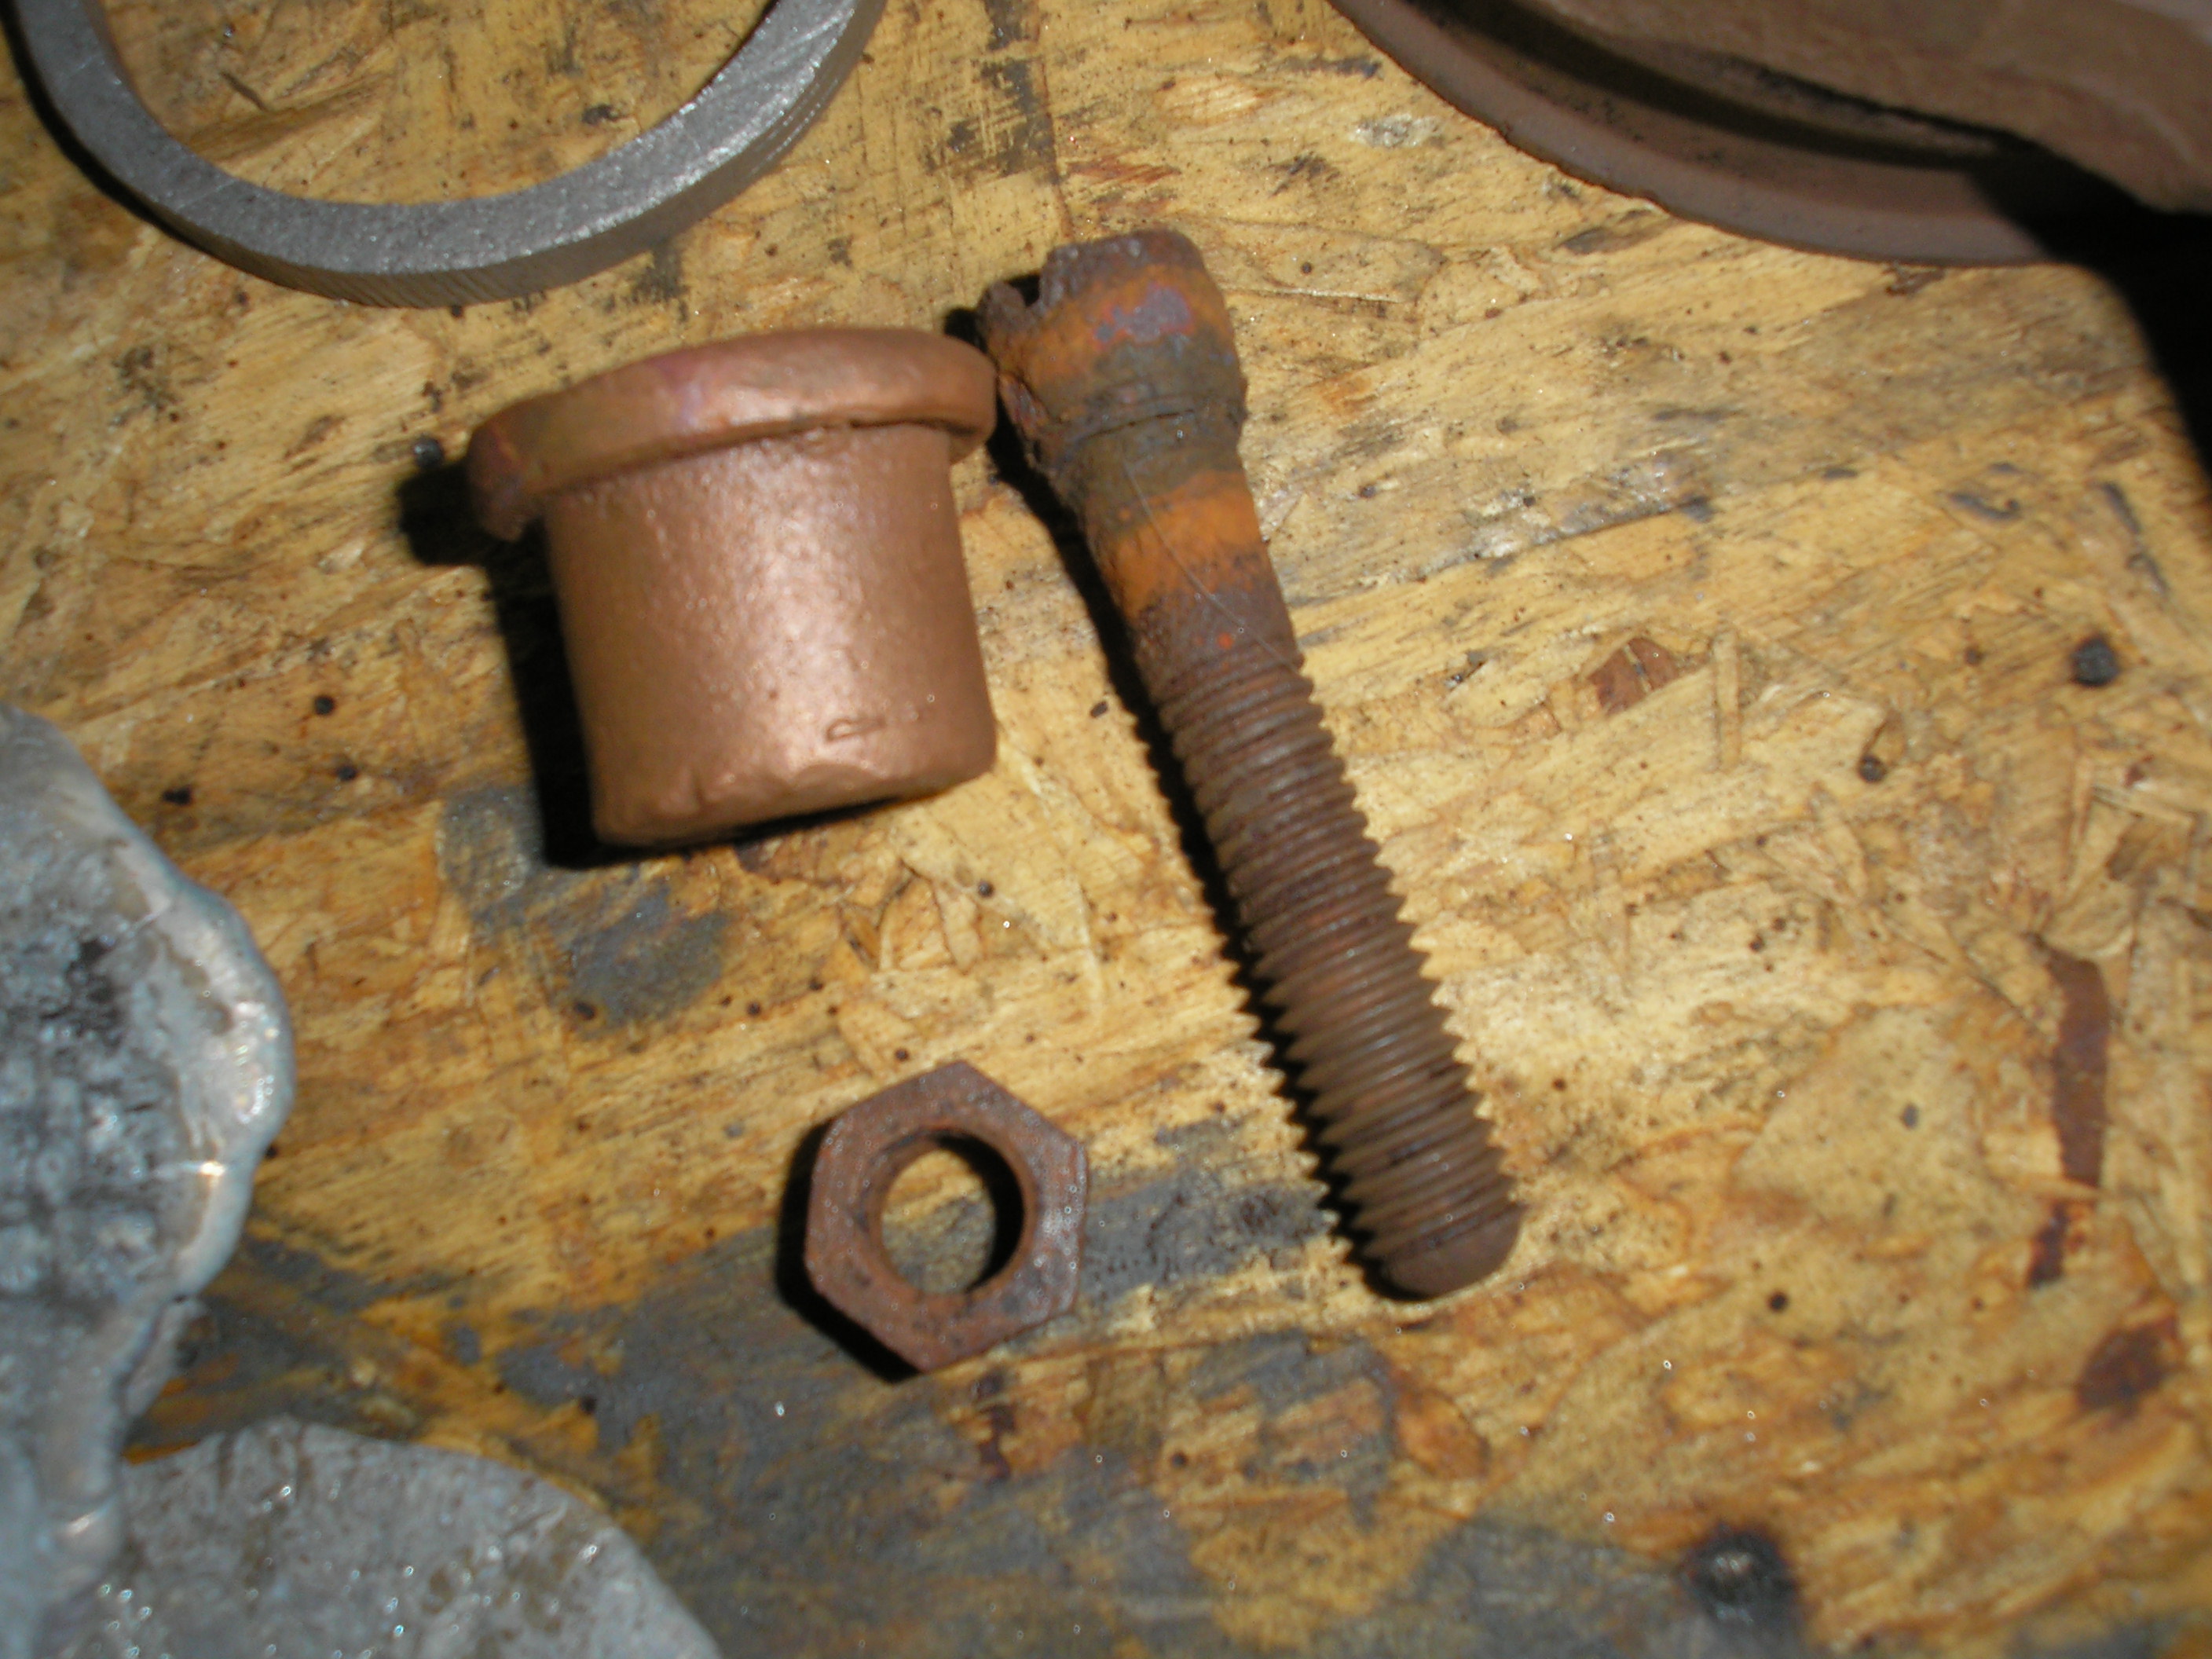
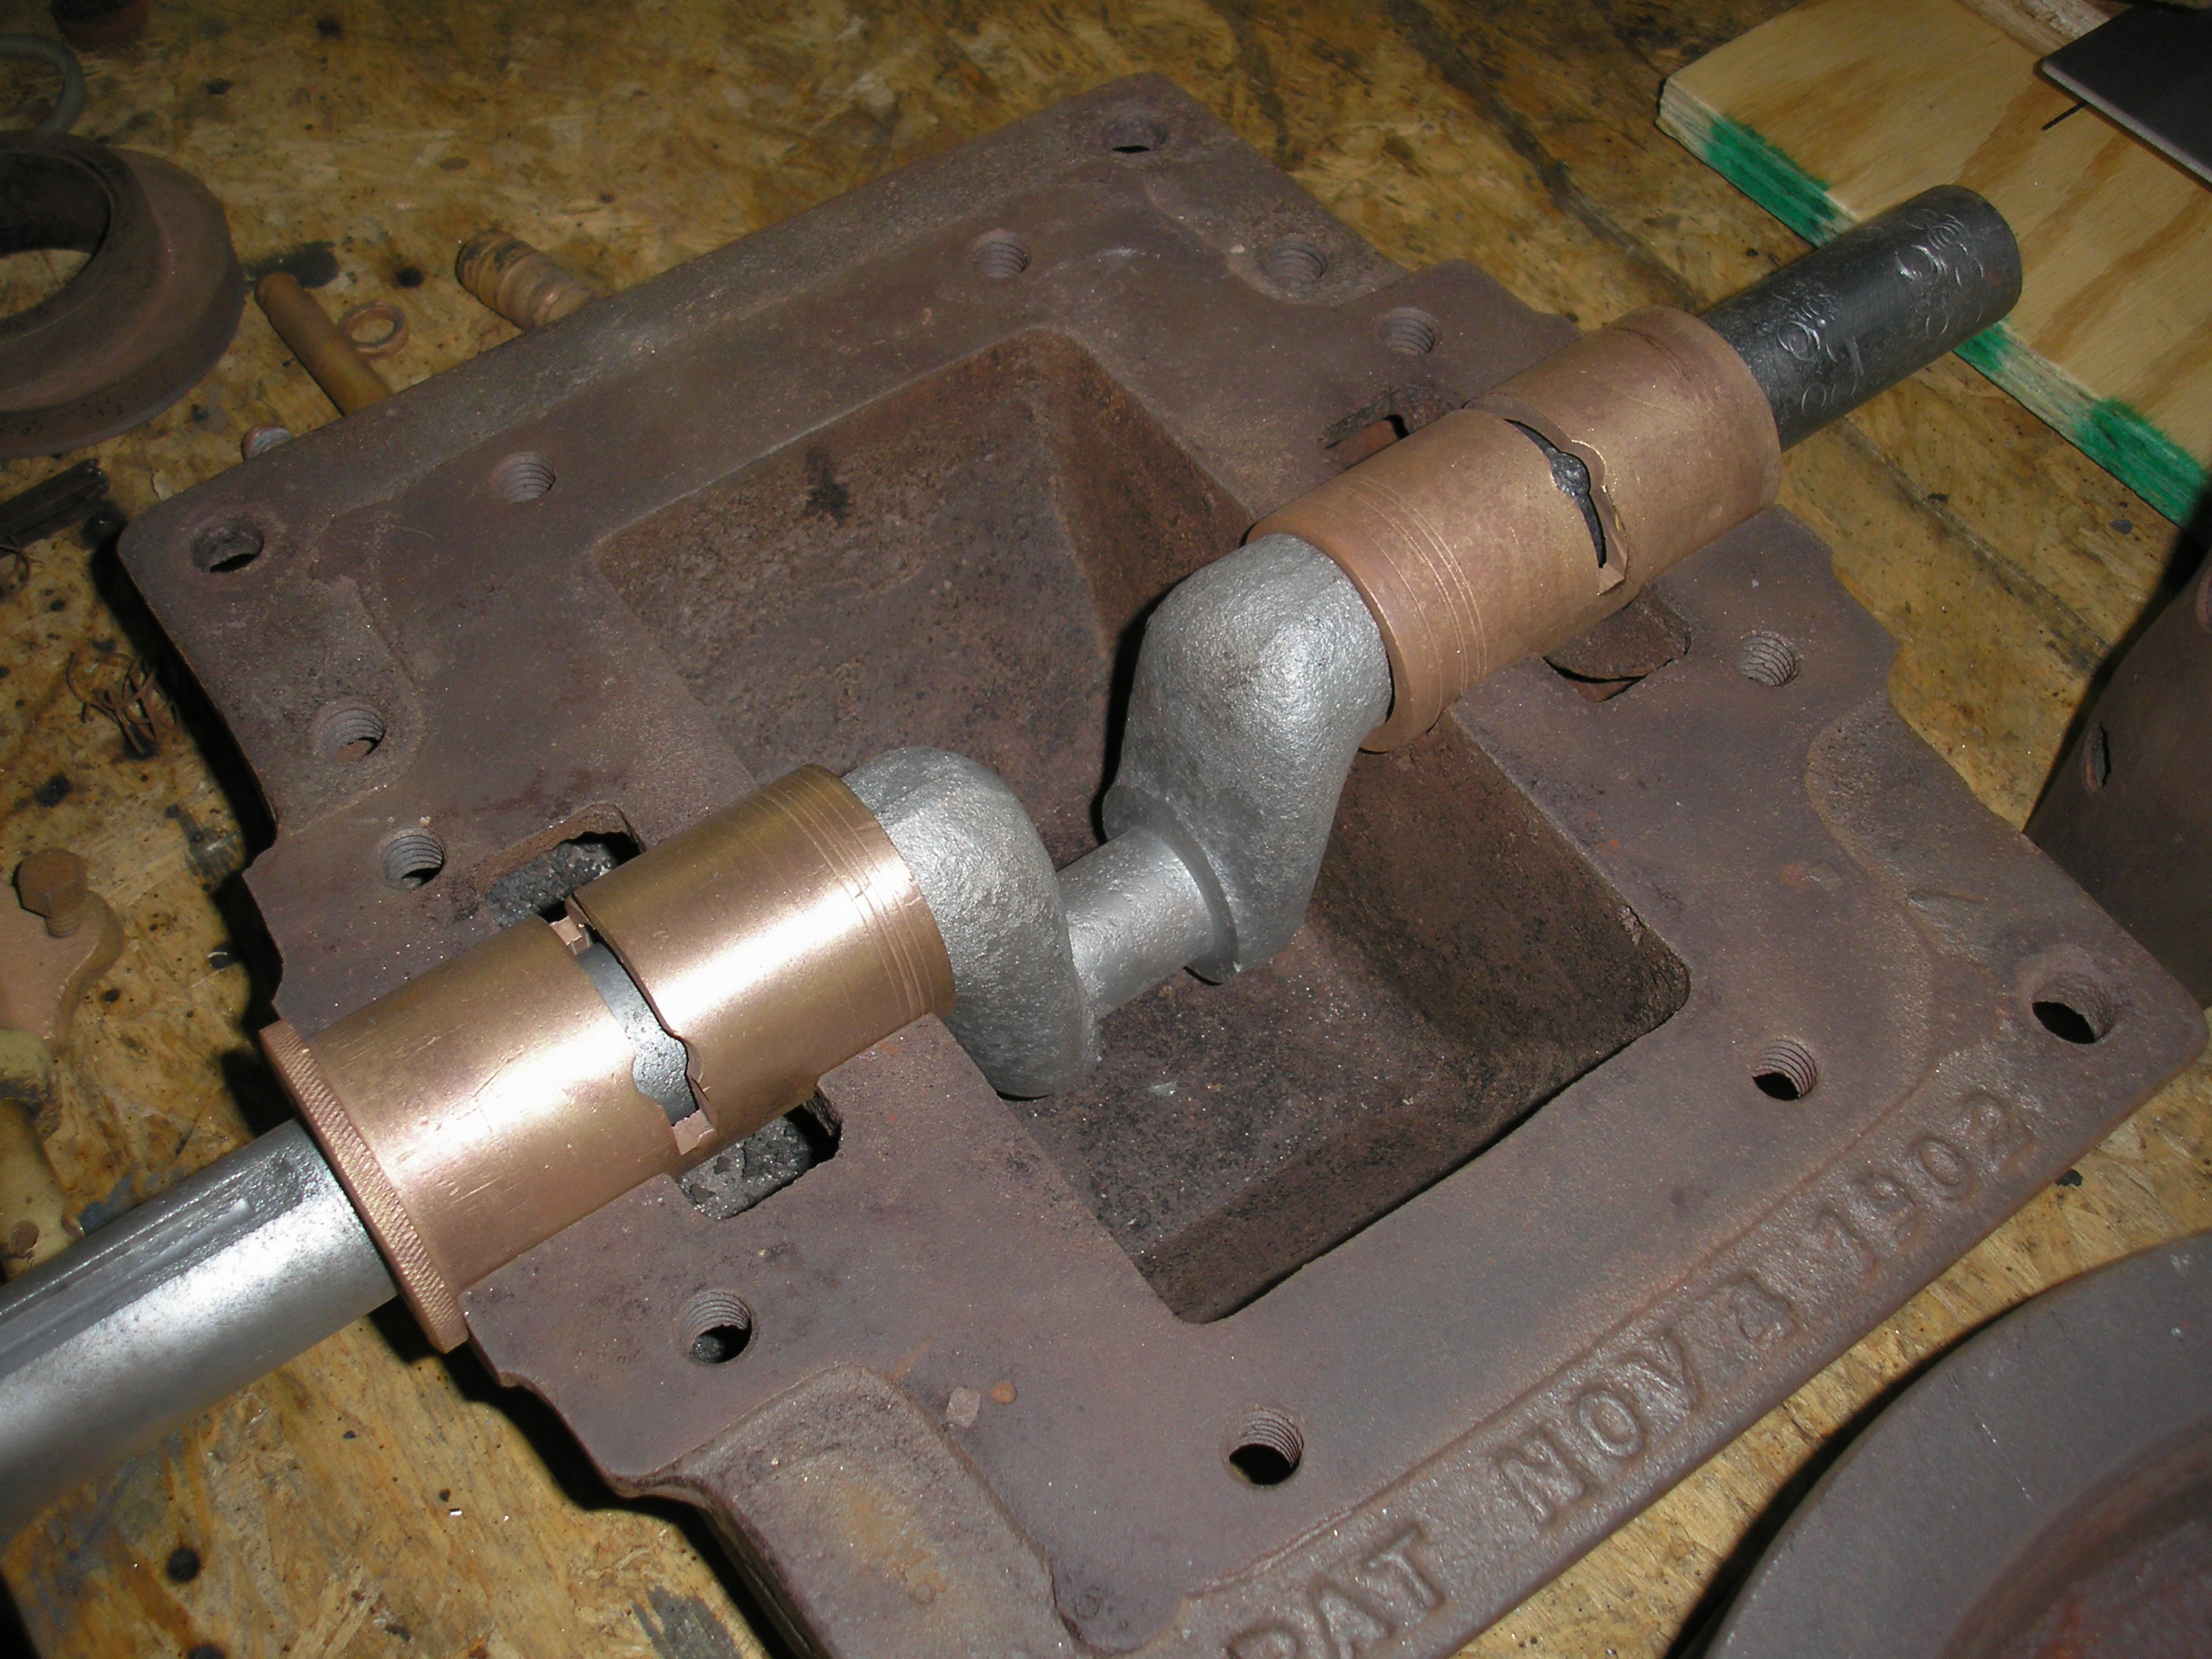
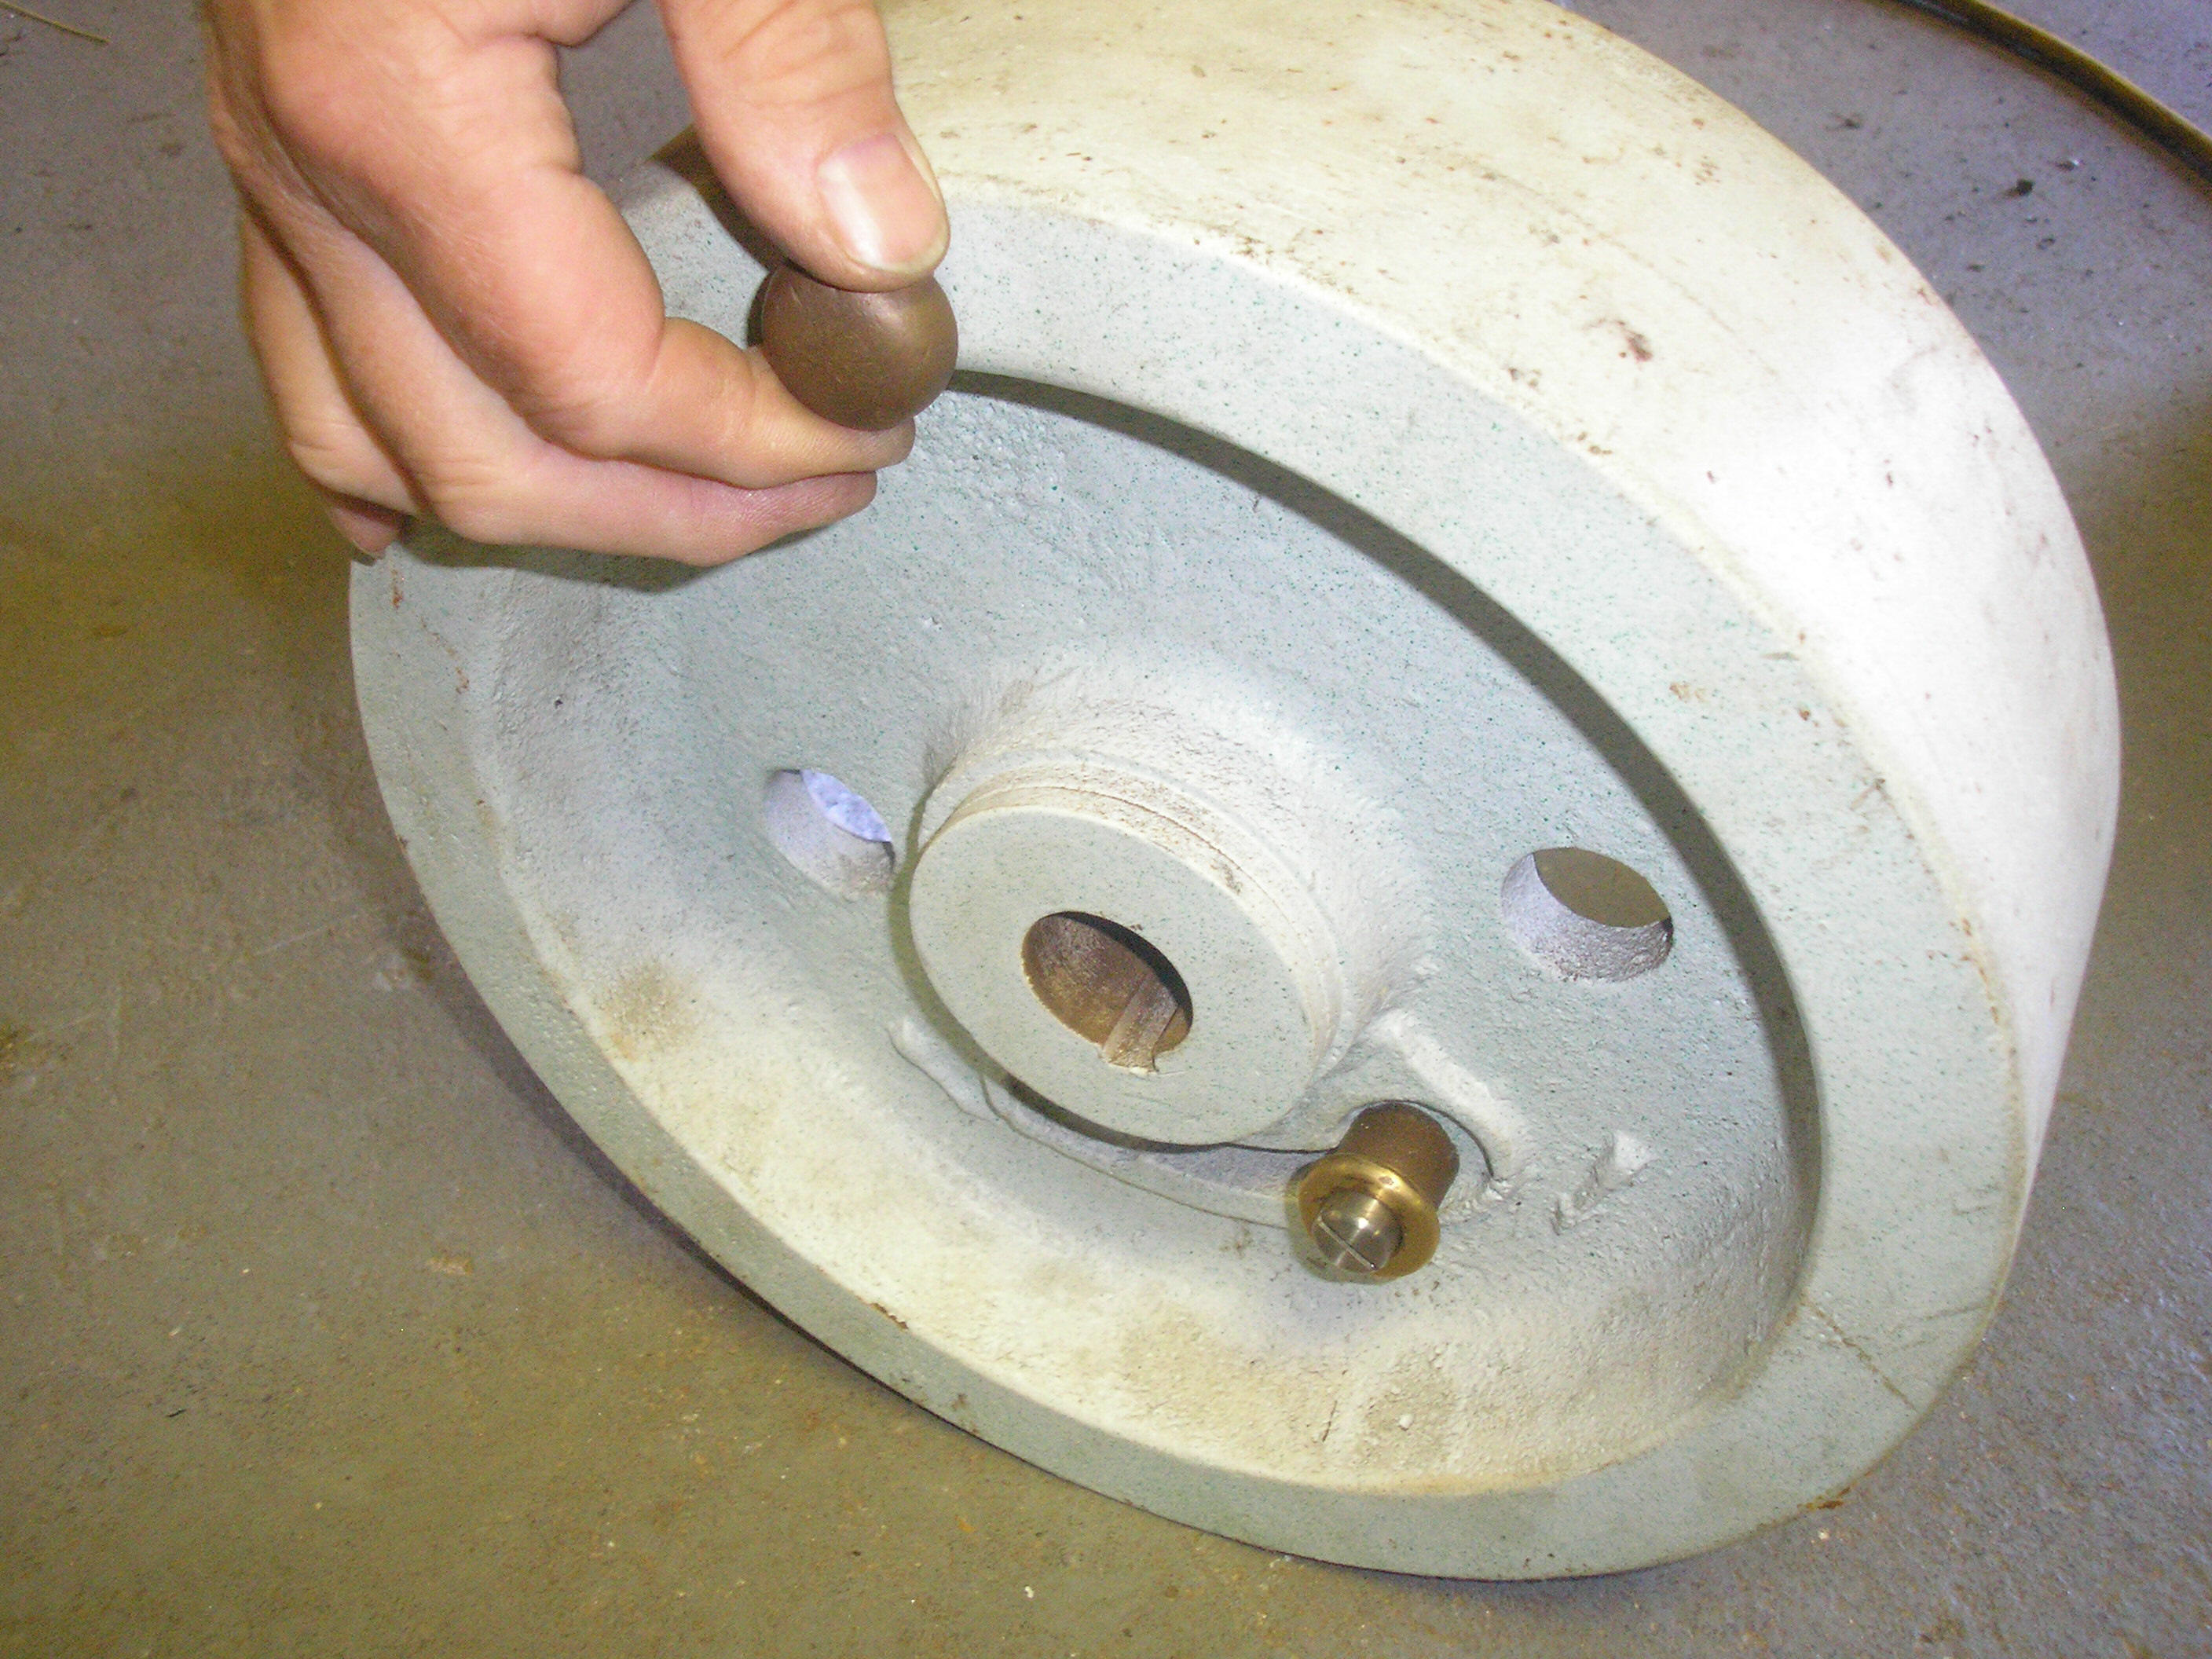
 Water pump and timer eccentric also show a lot of wear and a repair or two.
The Barker must have been a good runner to have so much wear and repair. I'm hopeful it'll 'bark' again!
The Barker and some other stuff is in the furnace as I write this. Tomorrow I'll post pictures after the first burn-out.
September 1, 2006
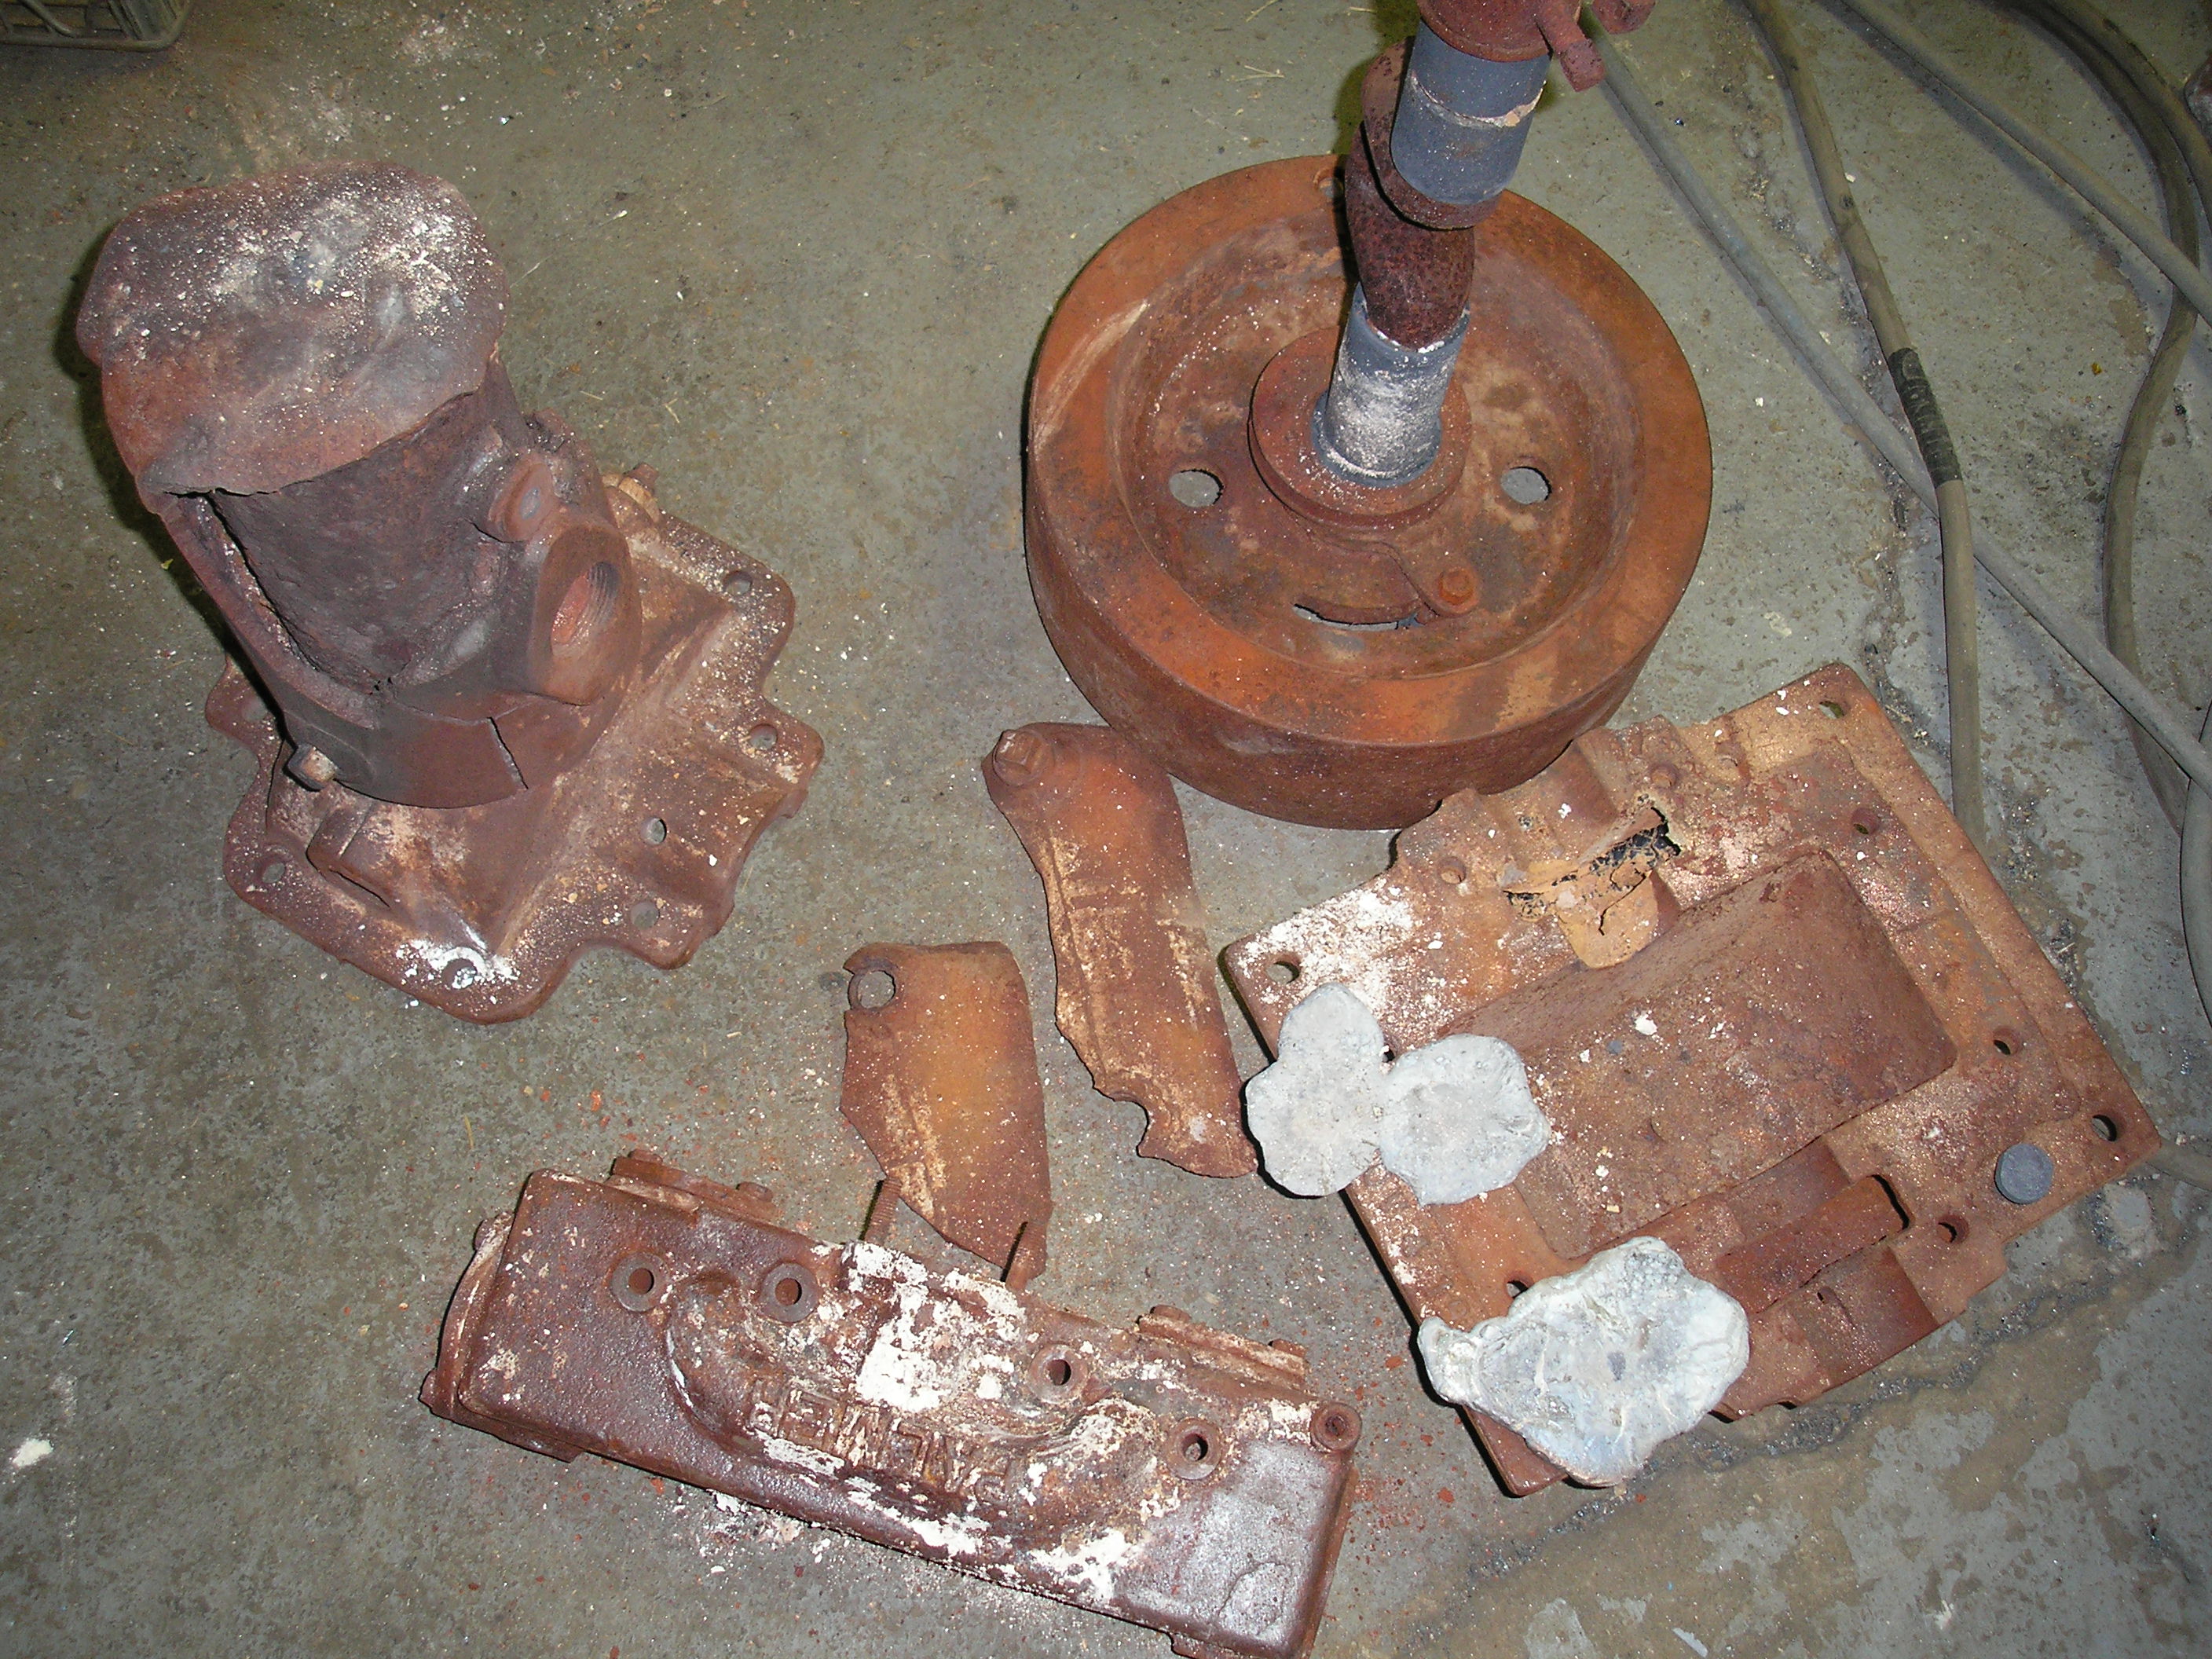
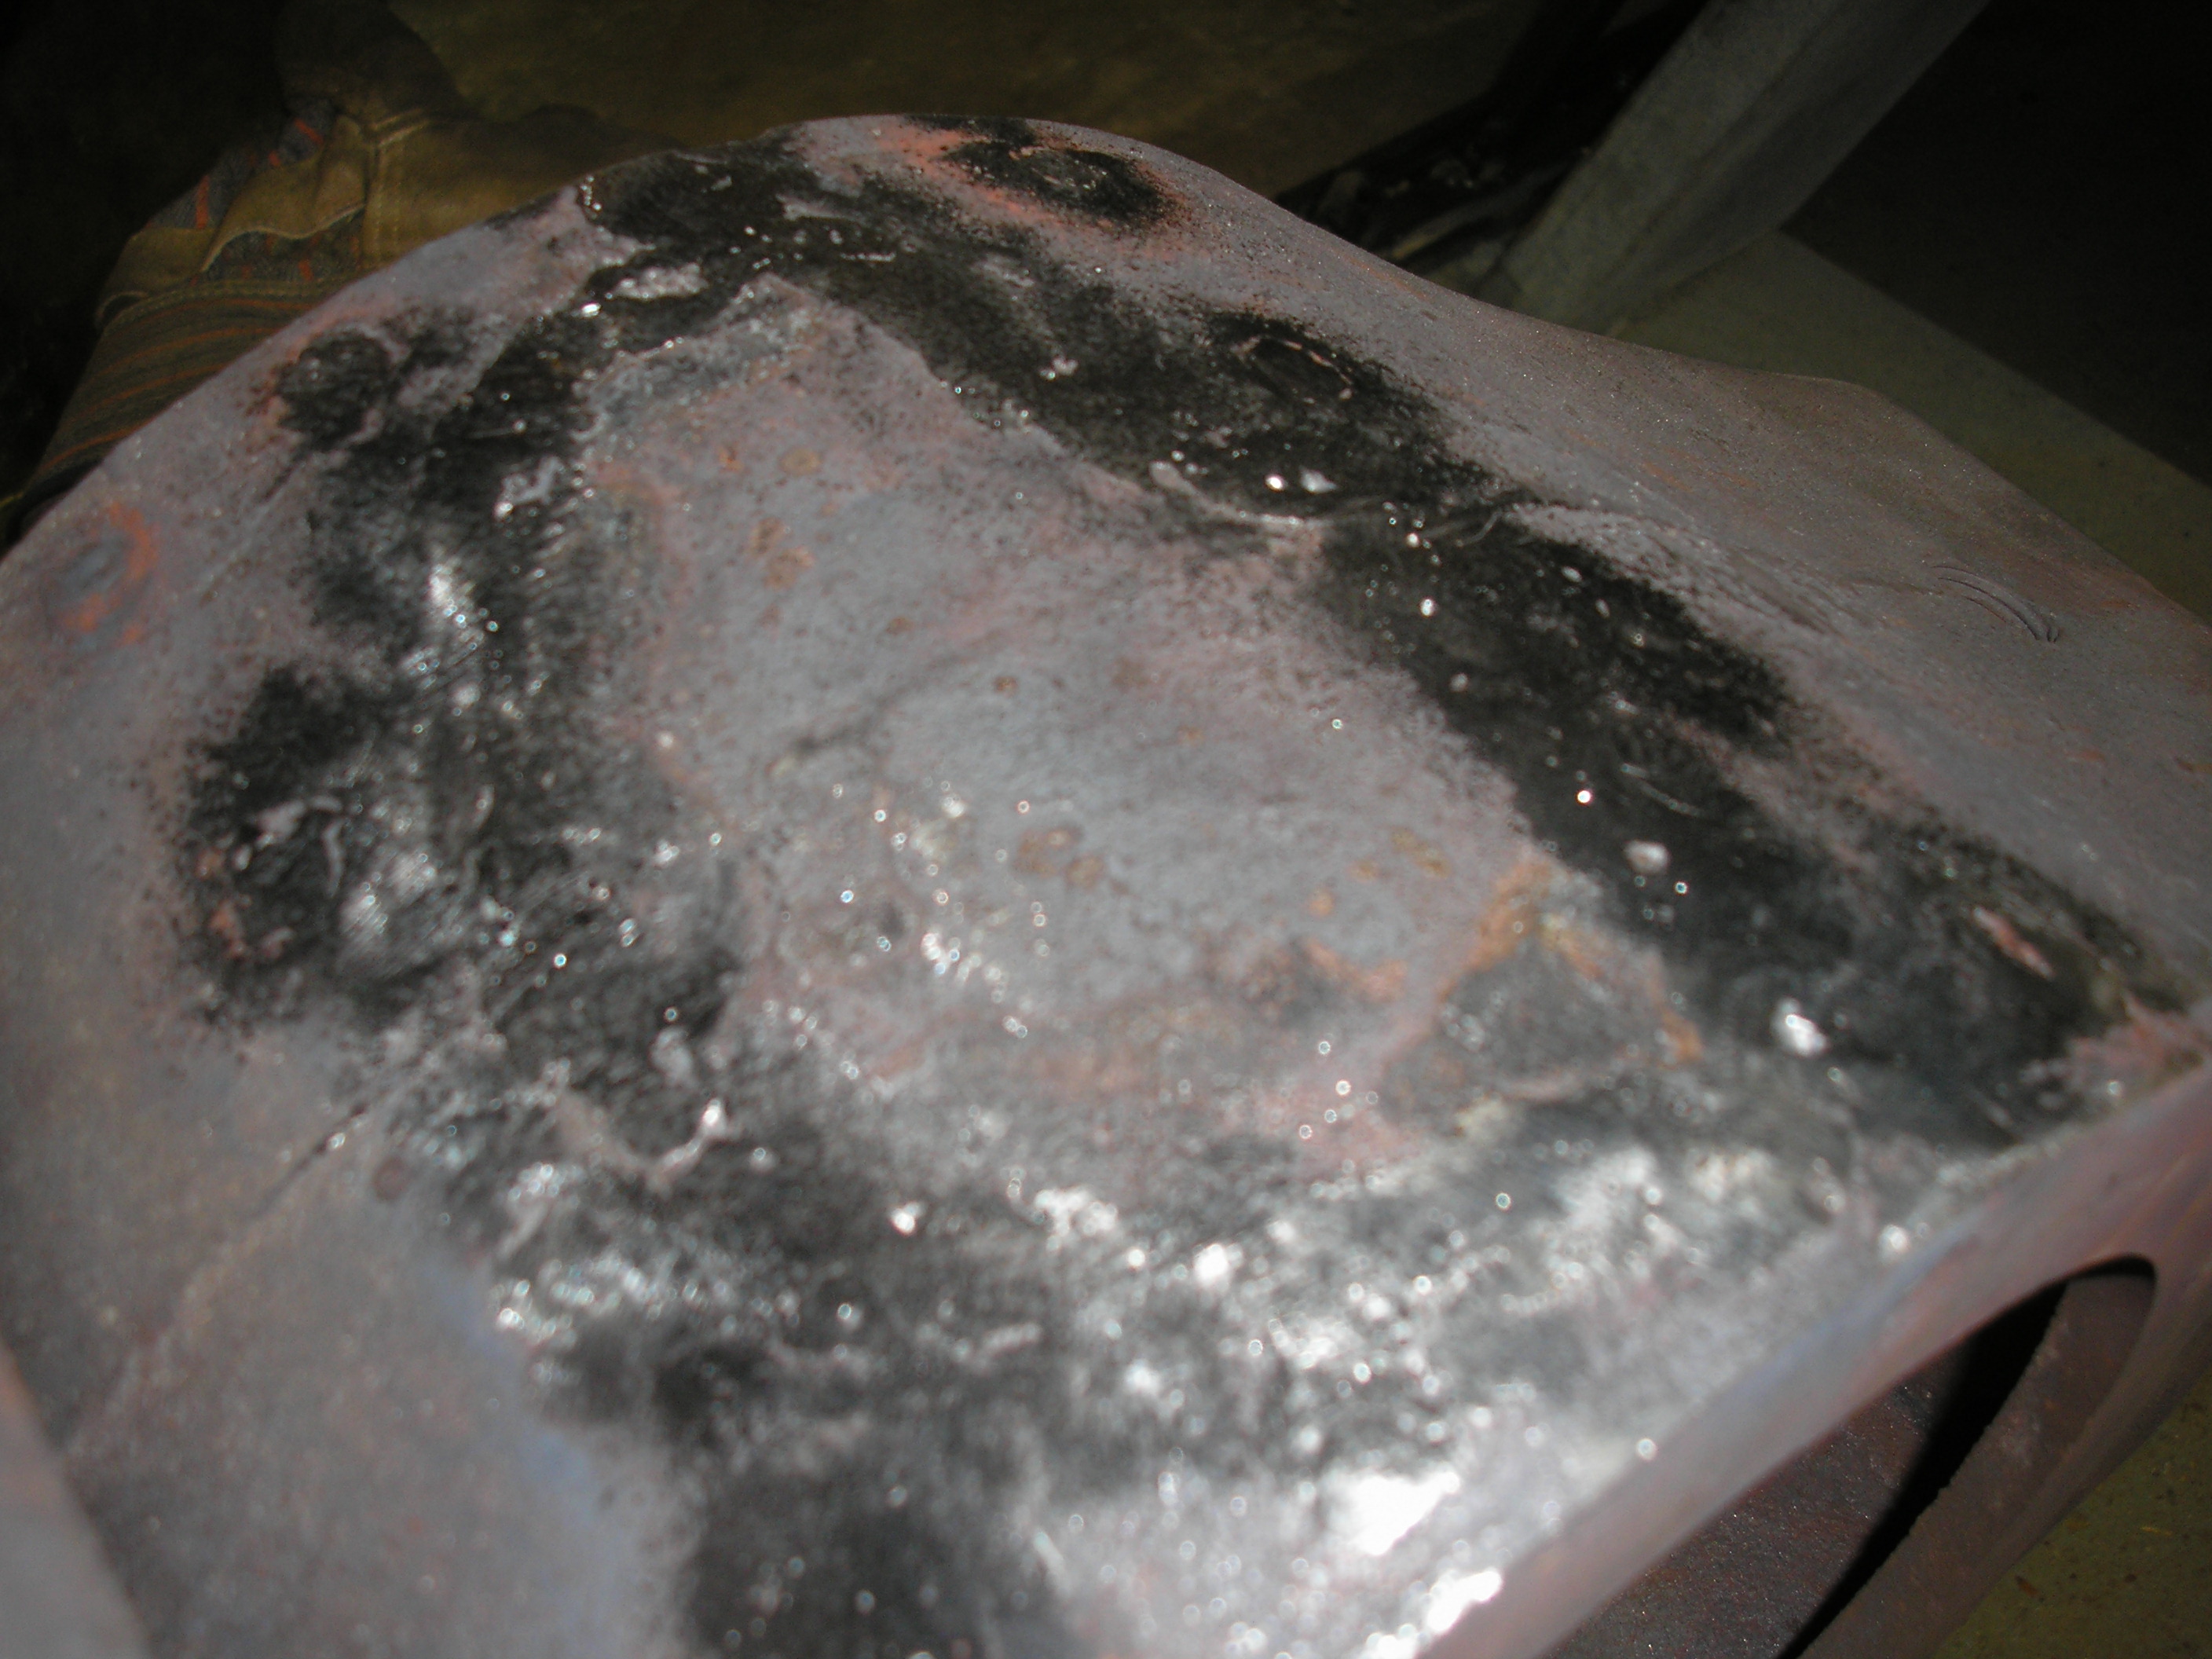
Just out of the furnace this morning from the first of what looks like will take three heats. Everything looks good, and with 2 hours work it's knocked apart.

September 14, 2006
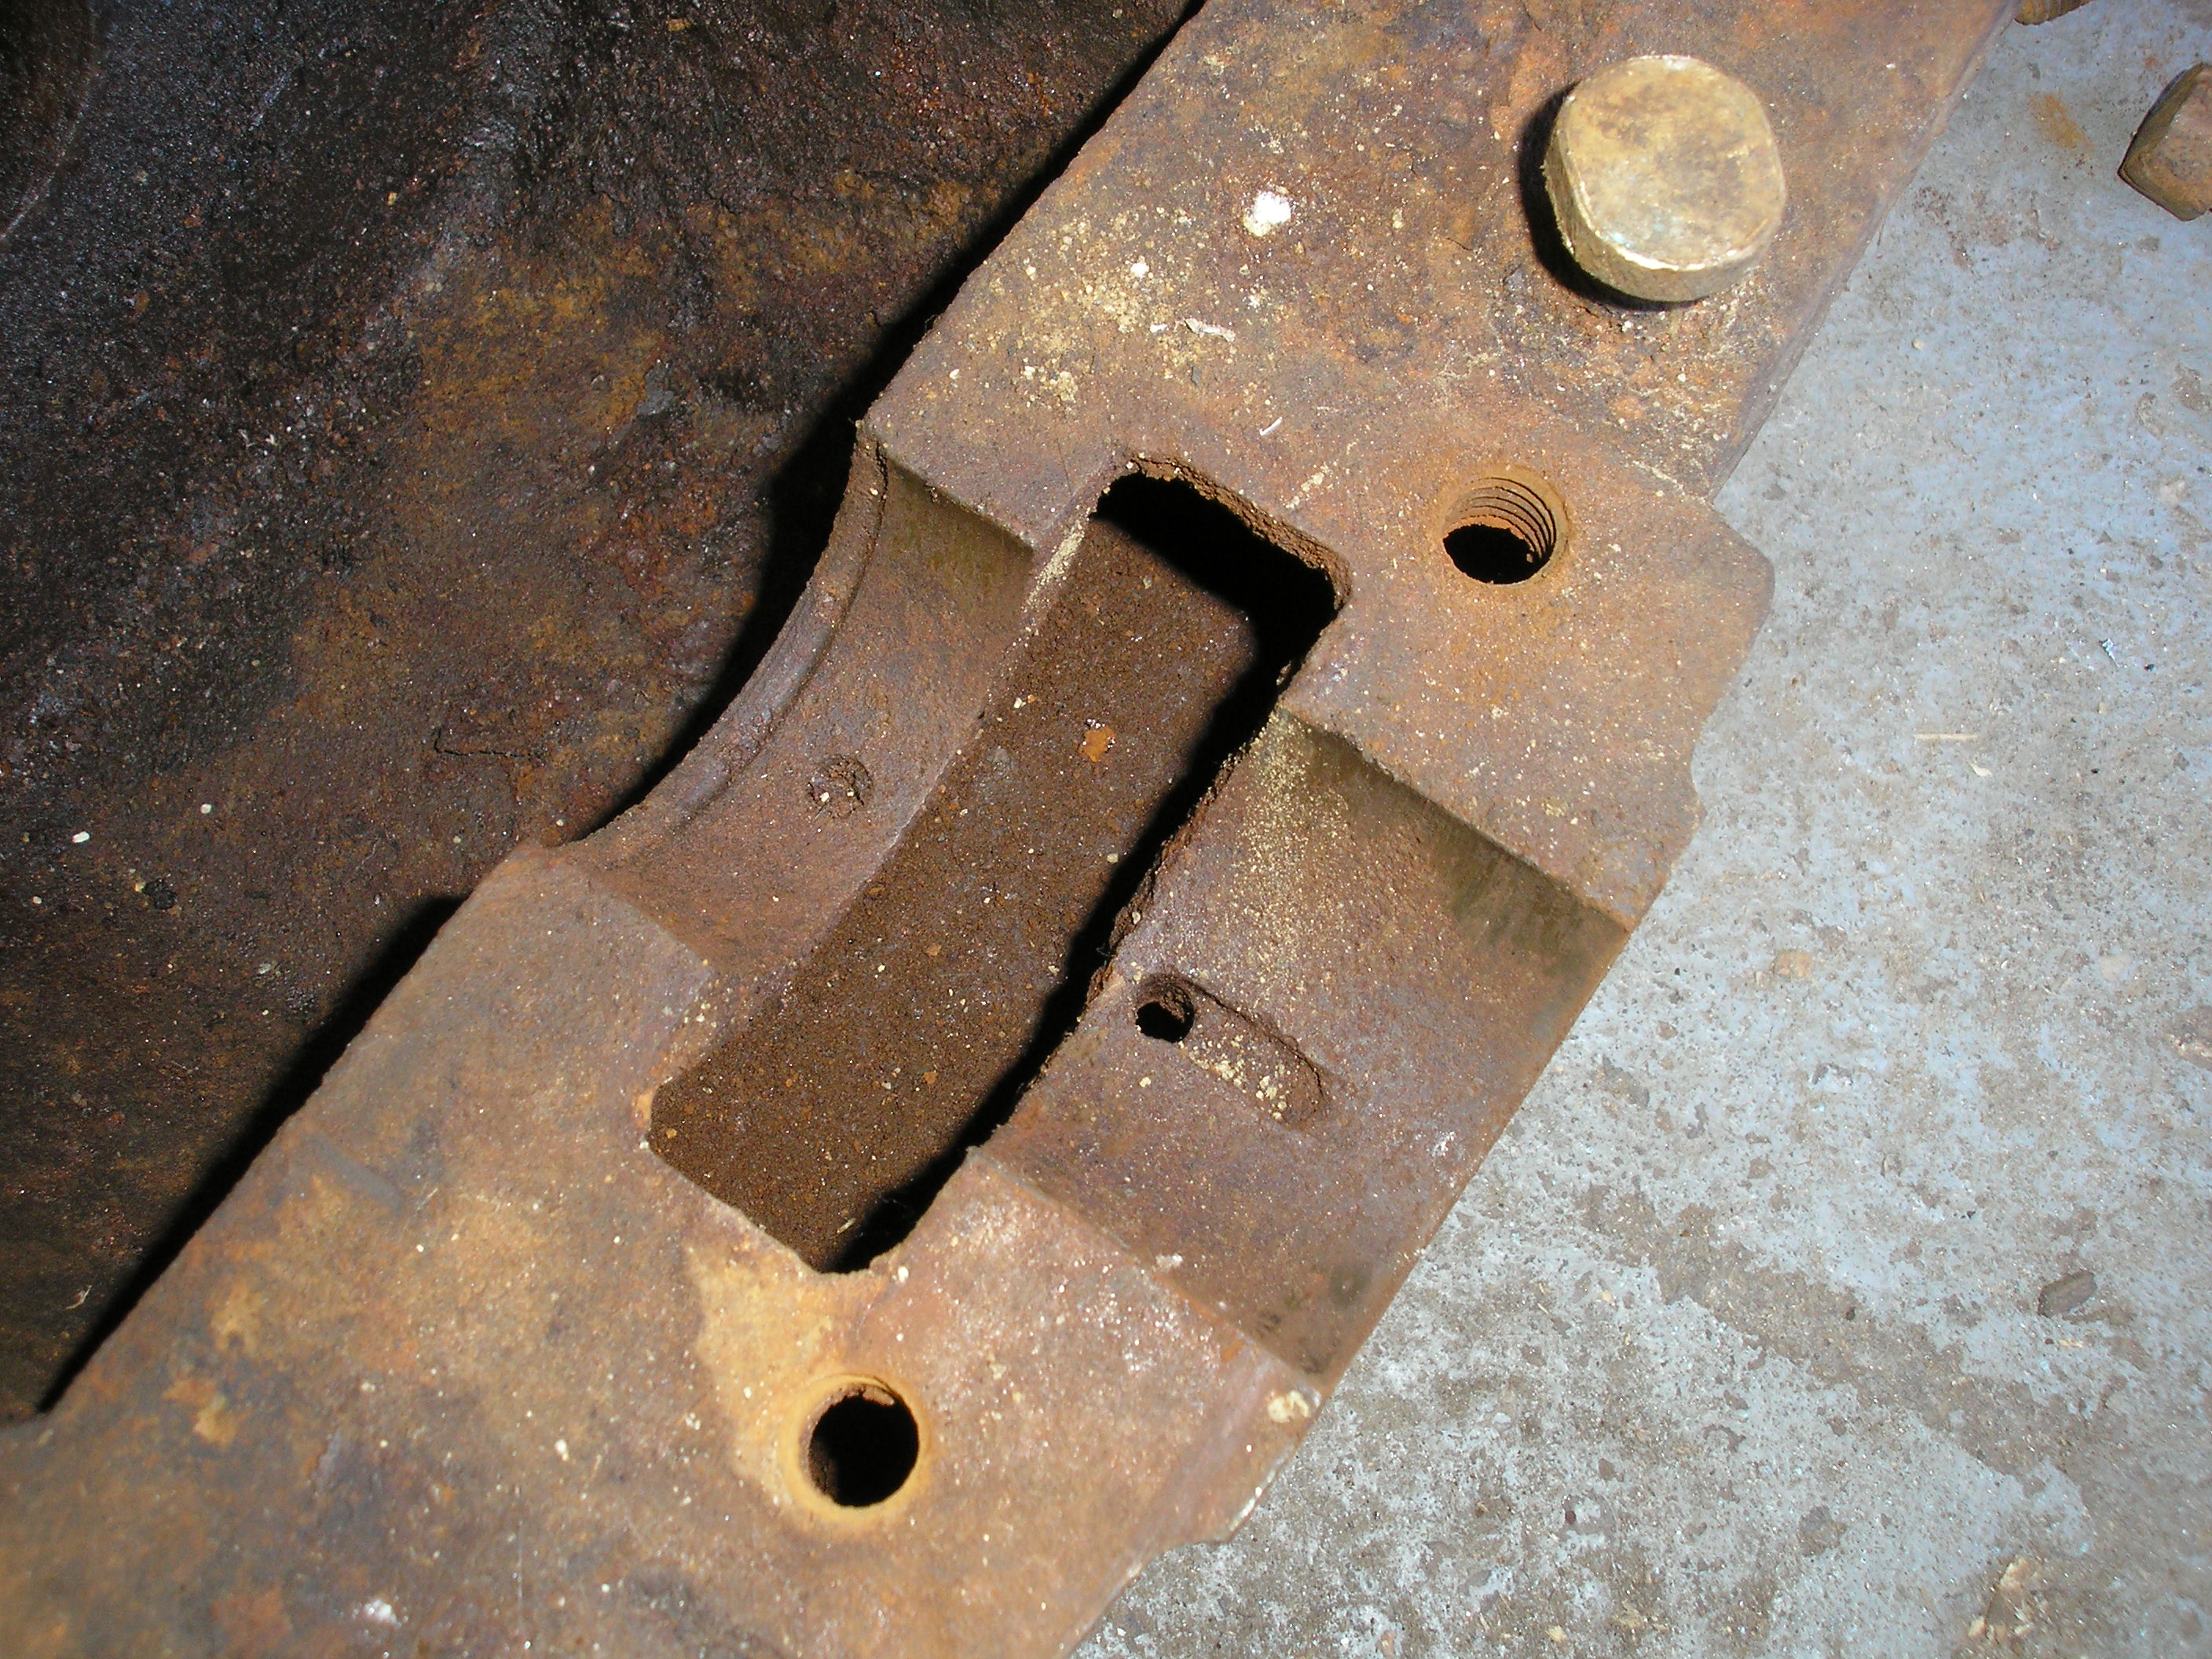
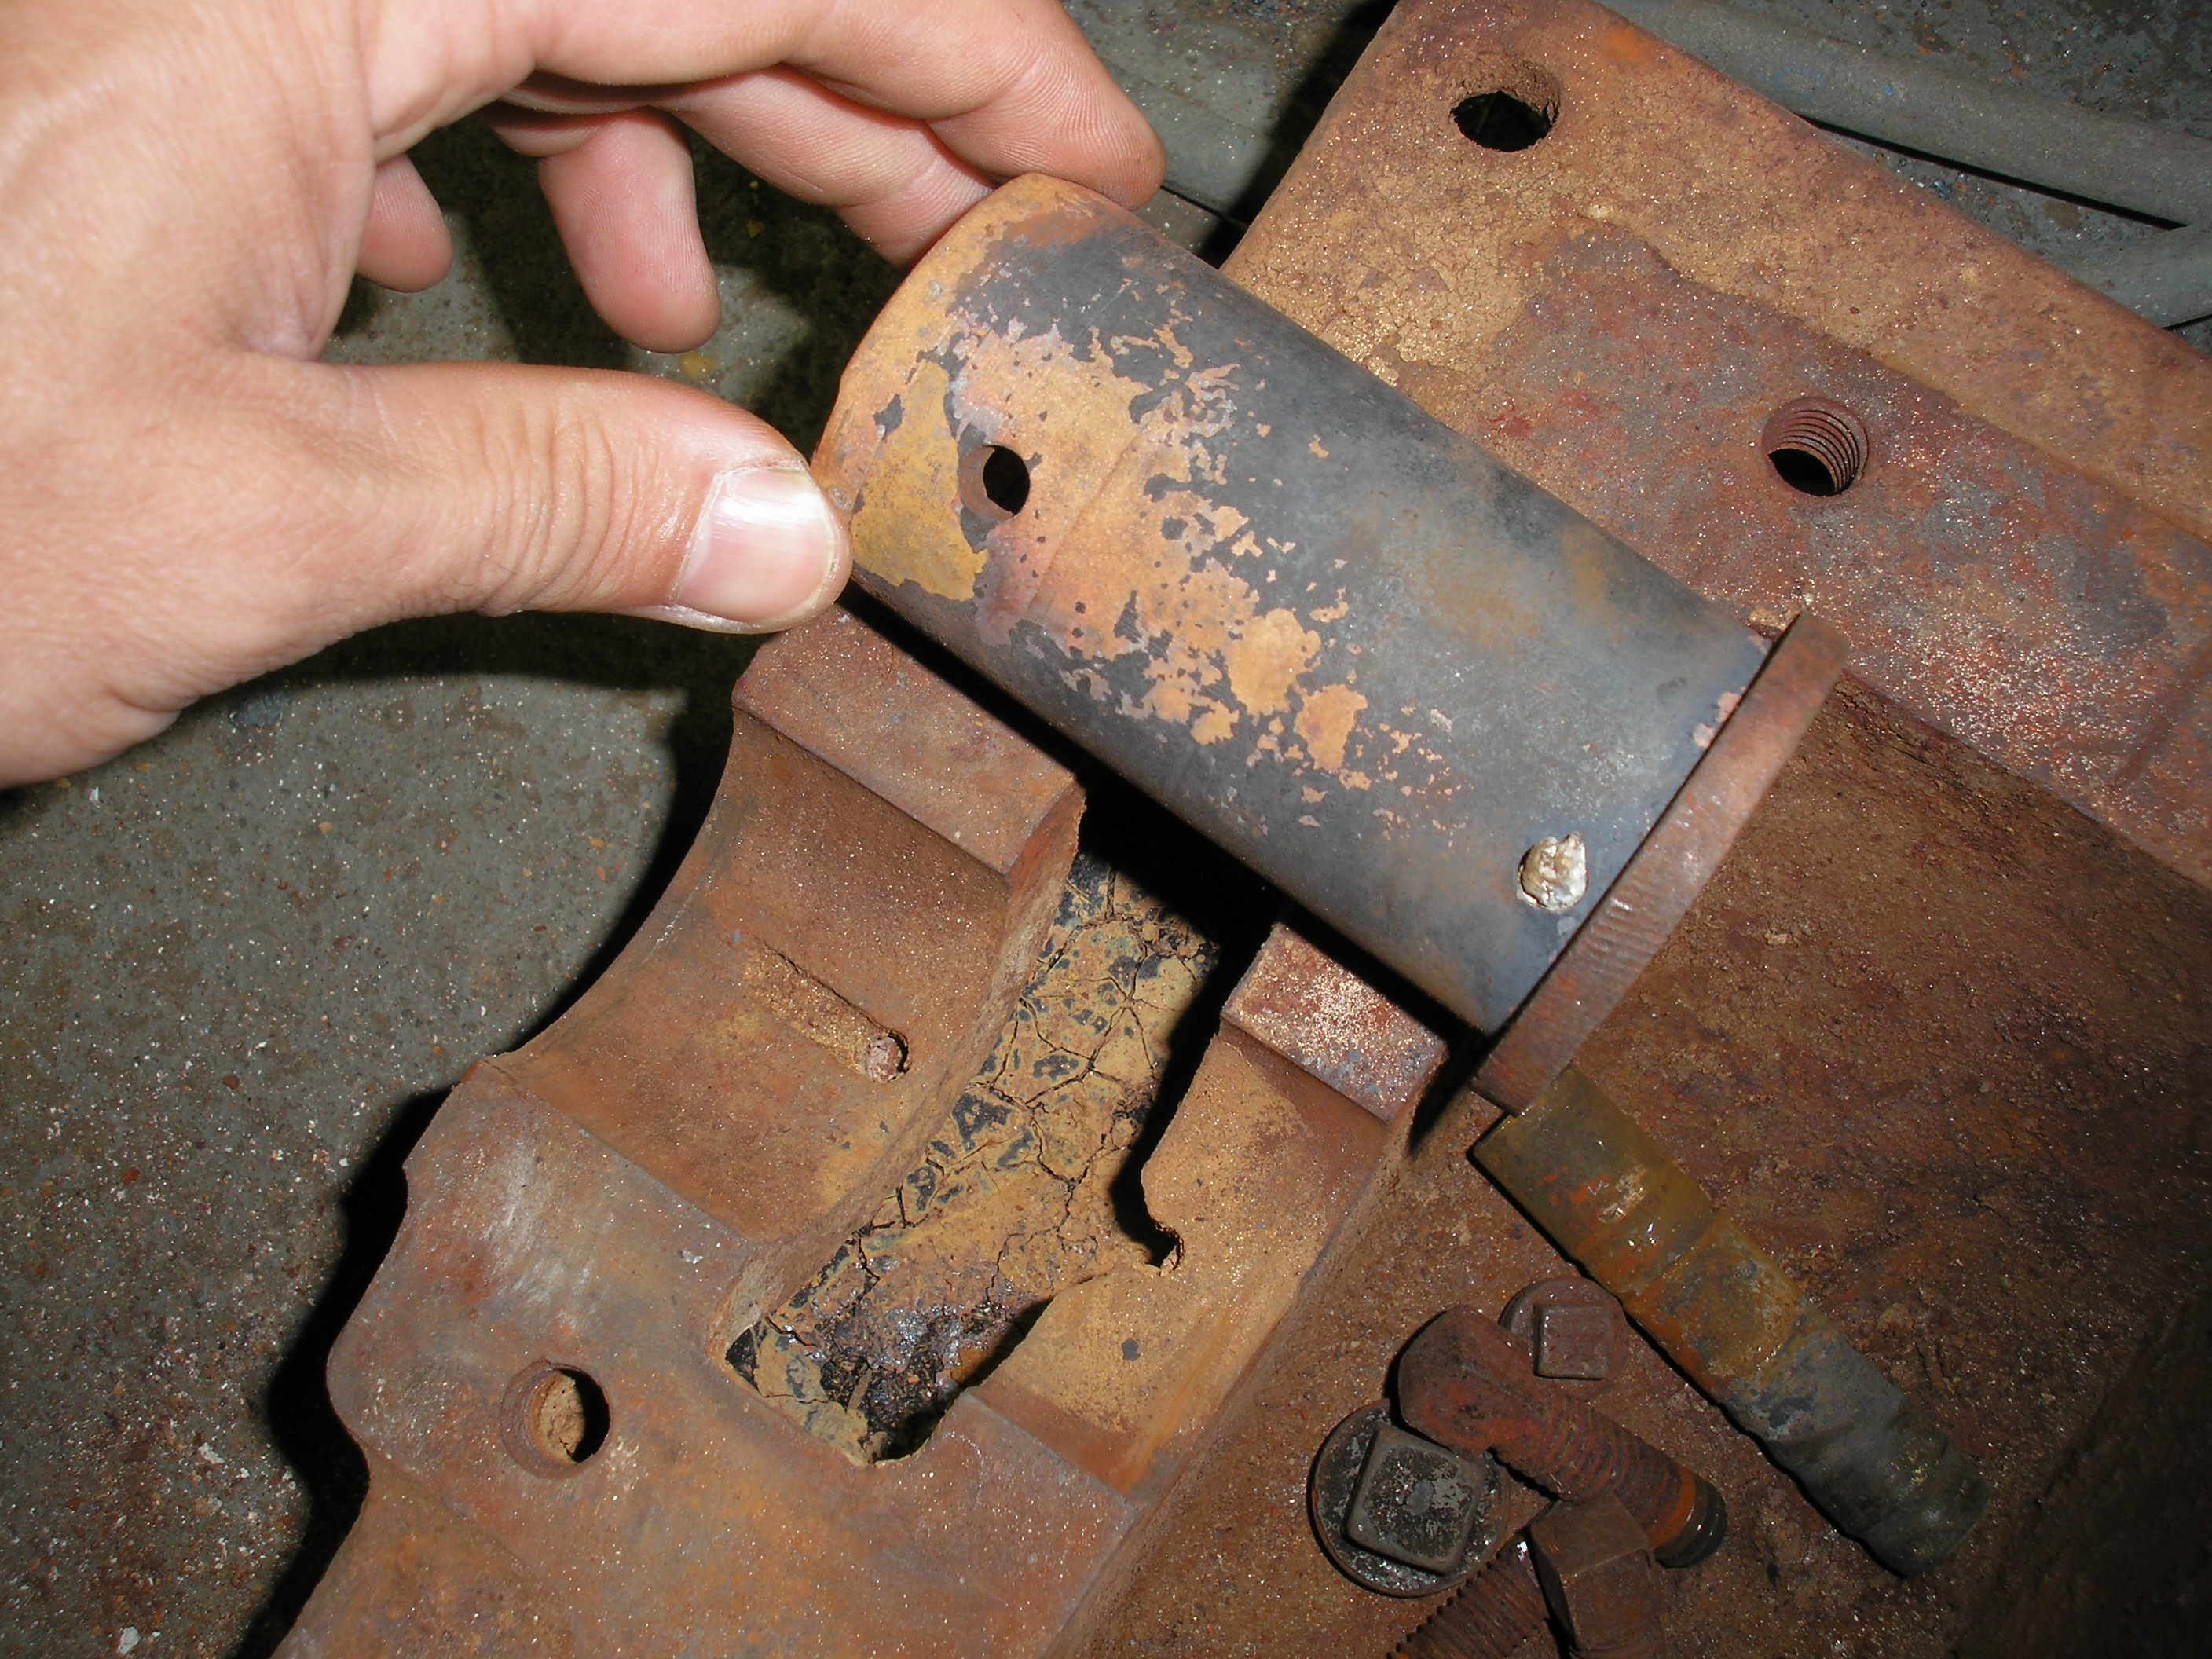
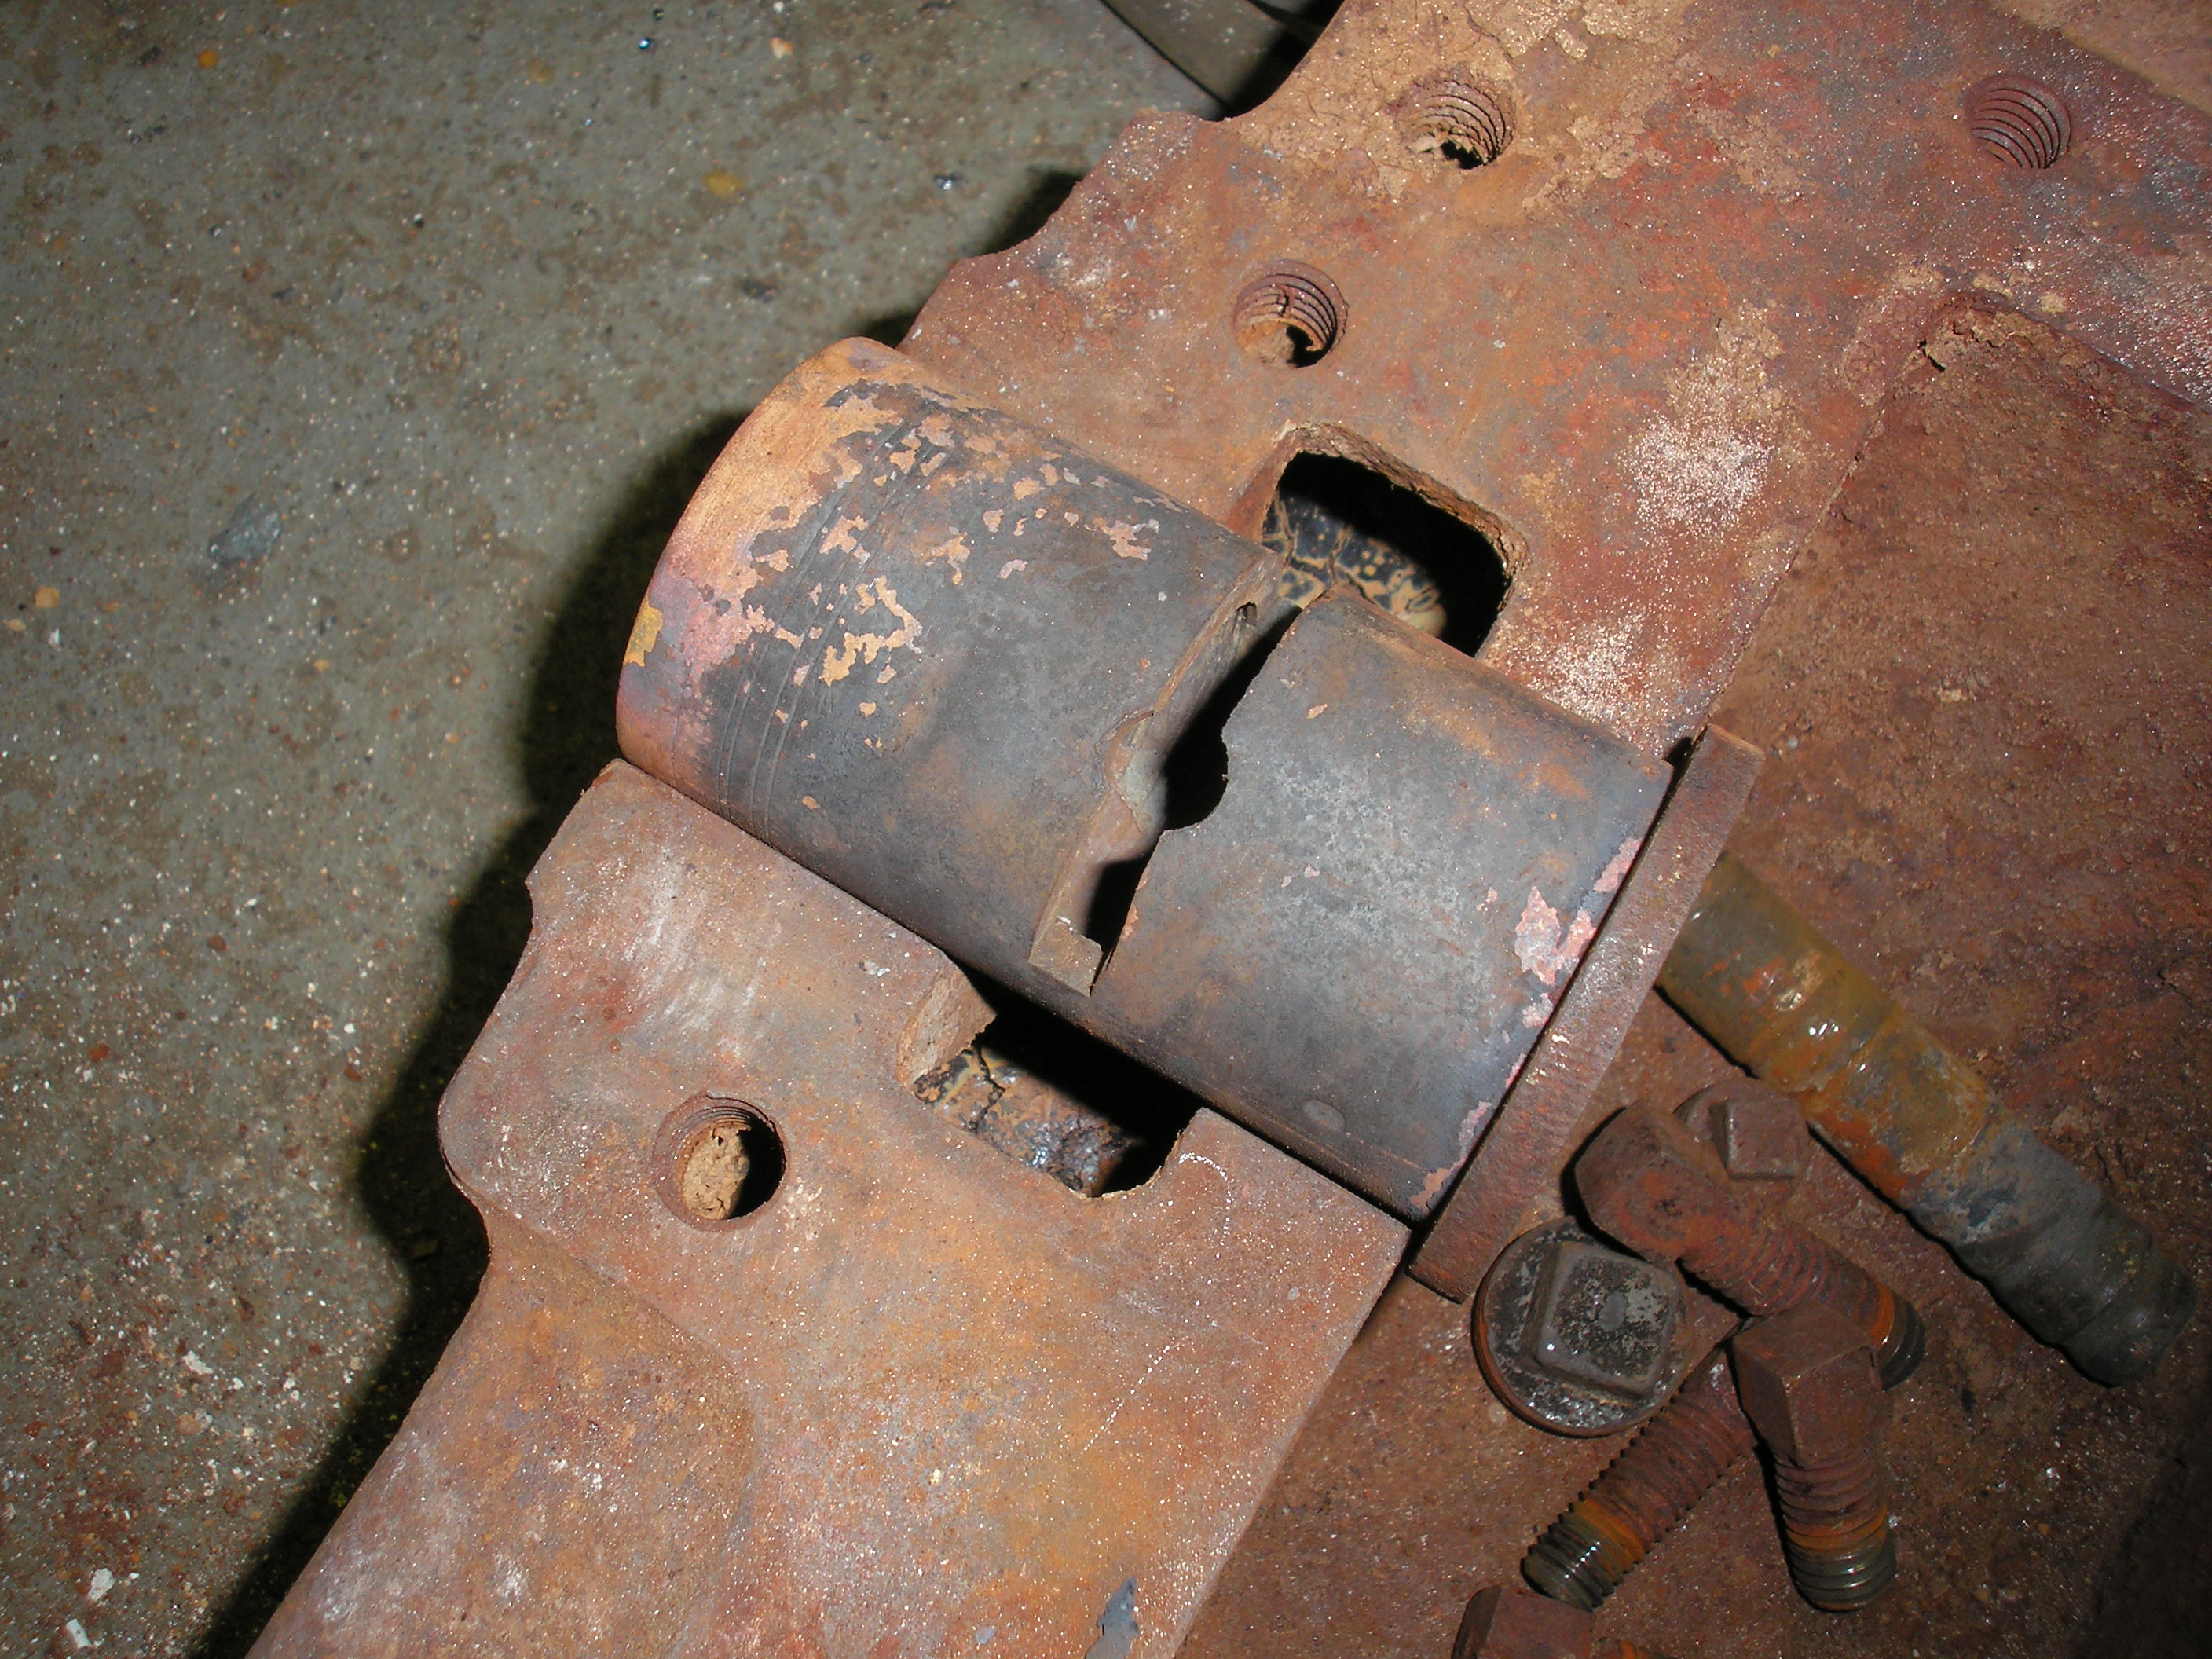
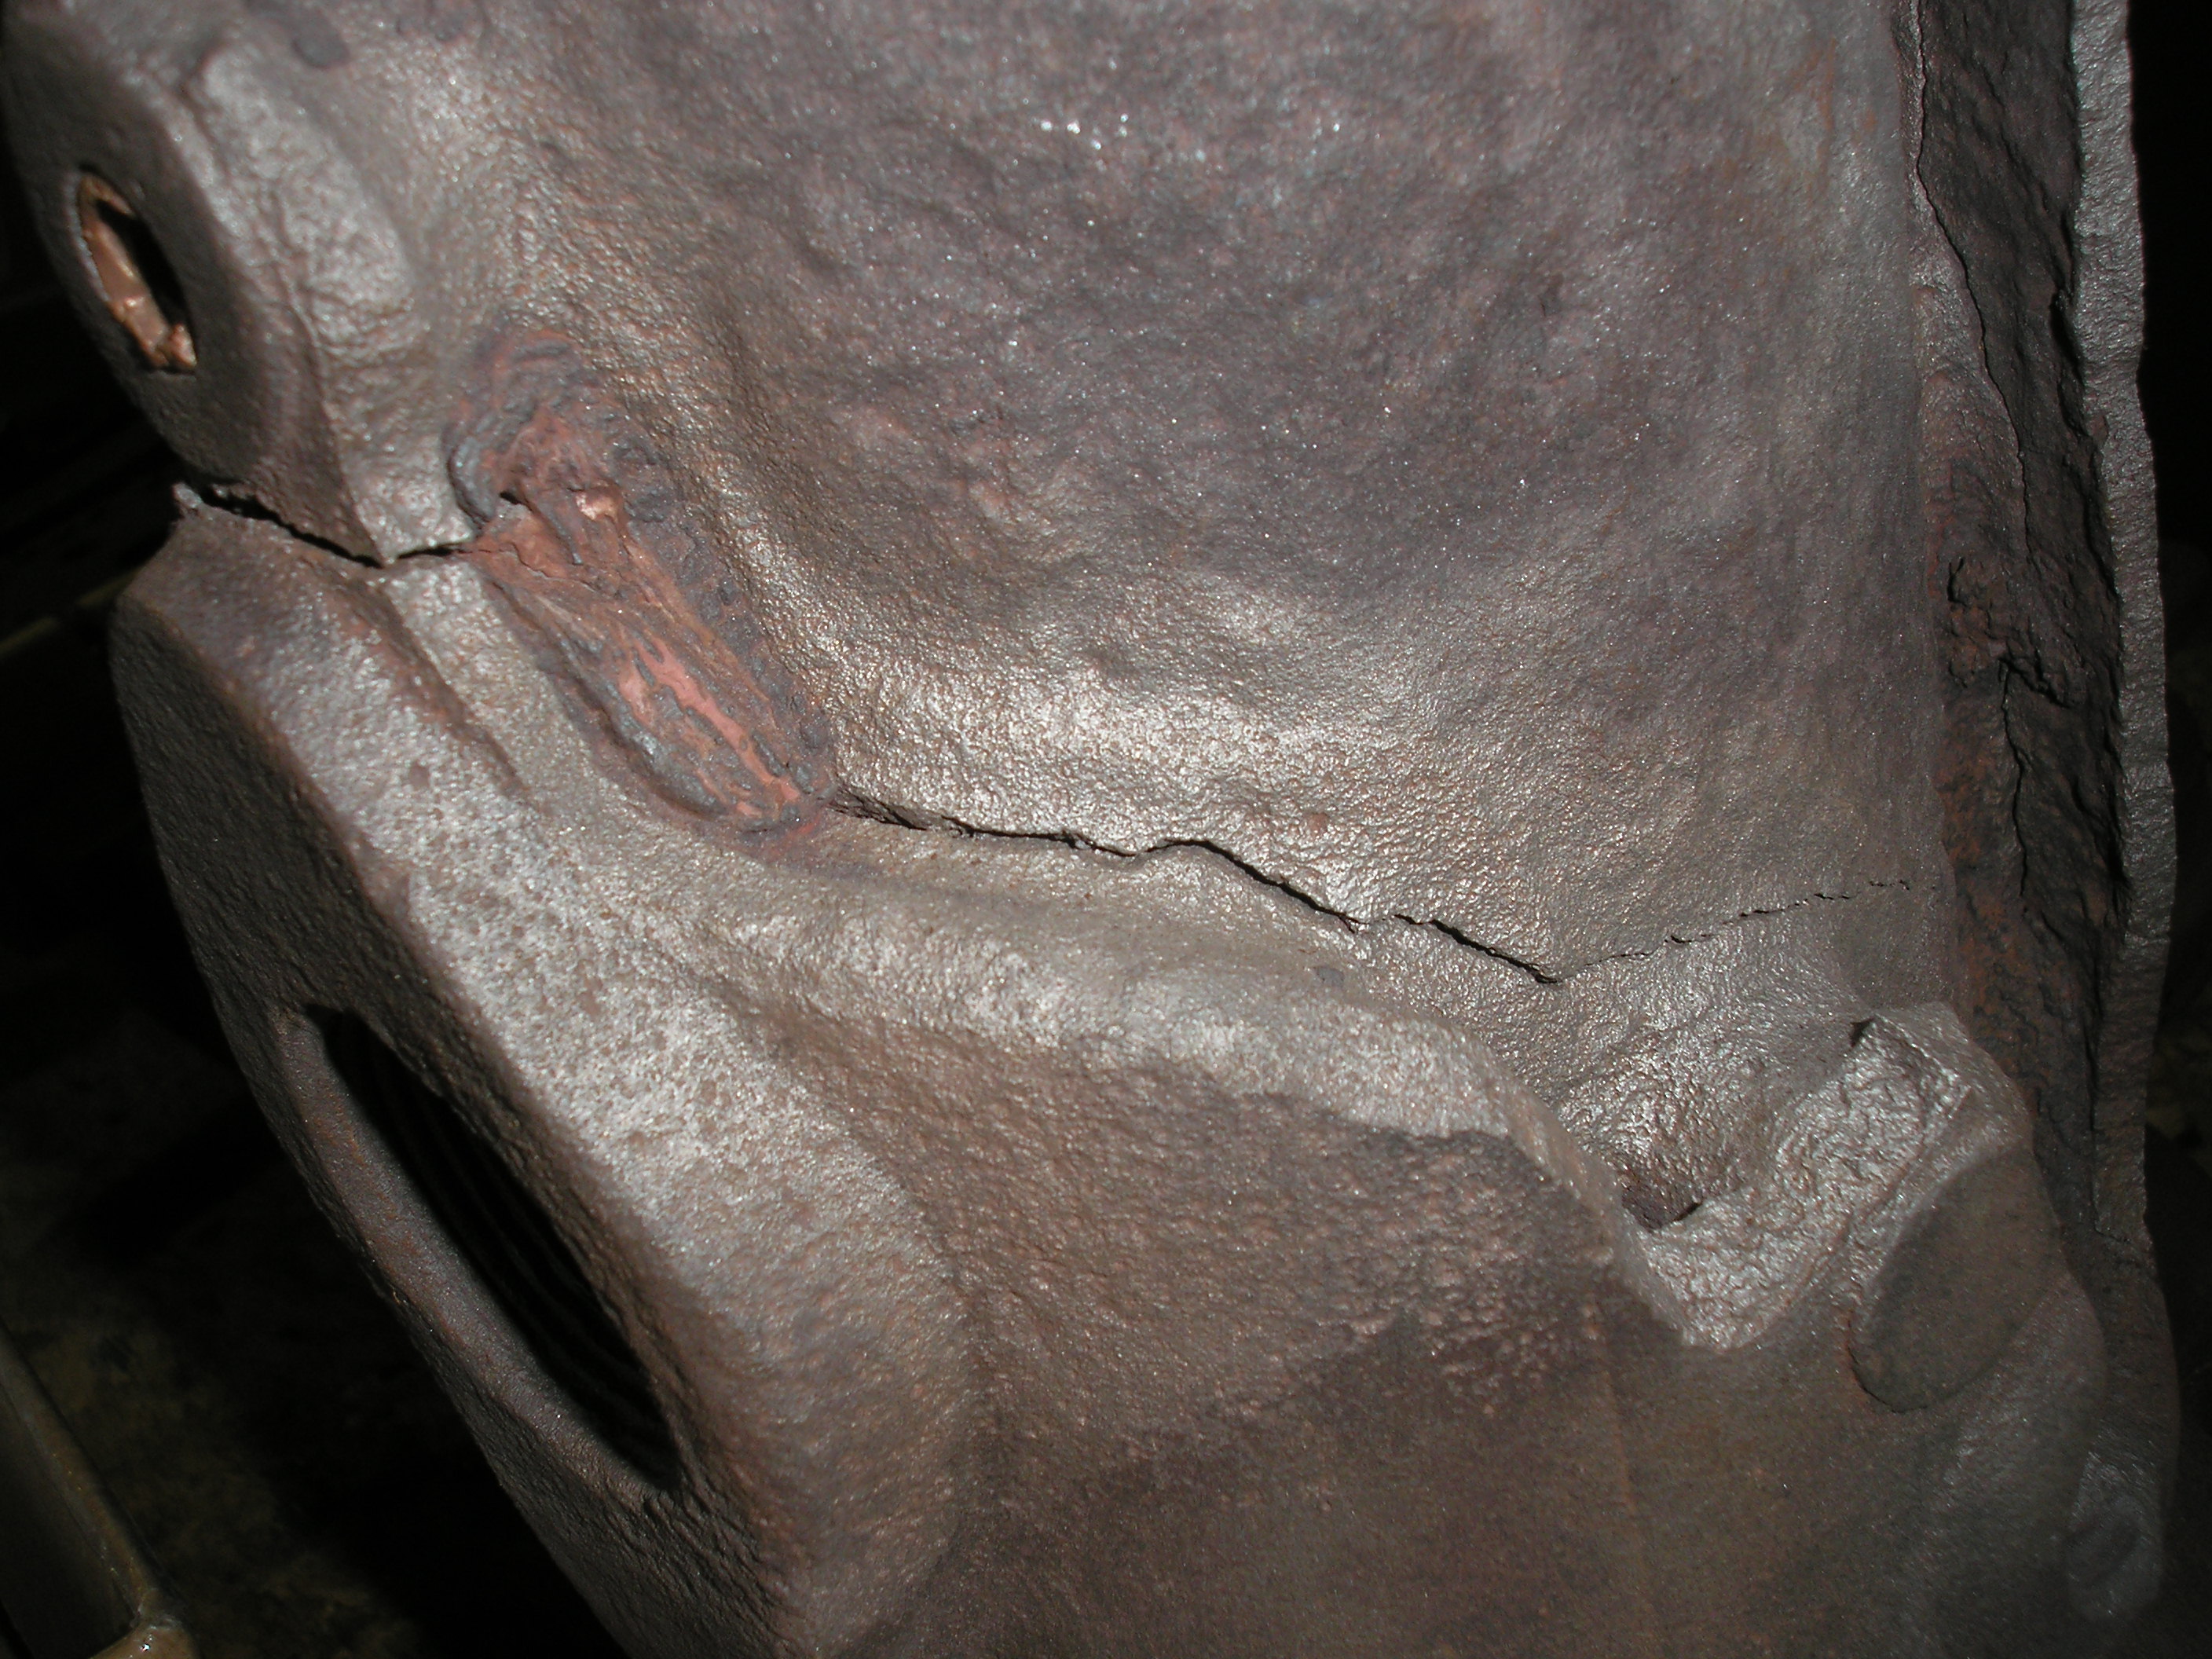
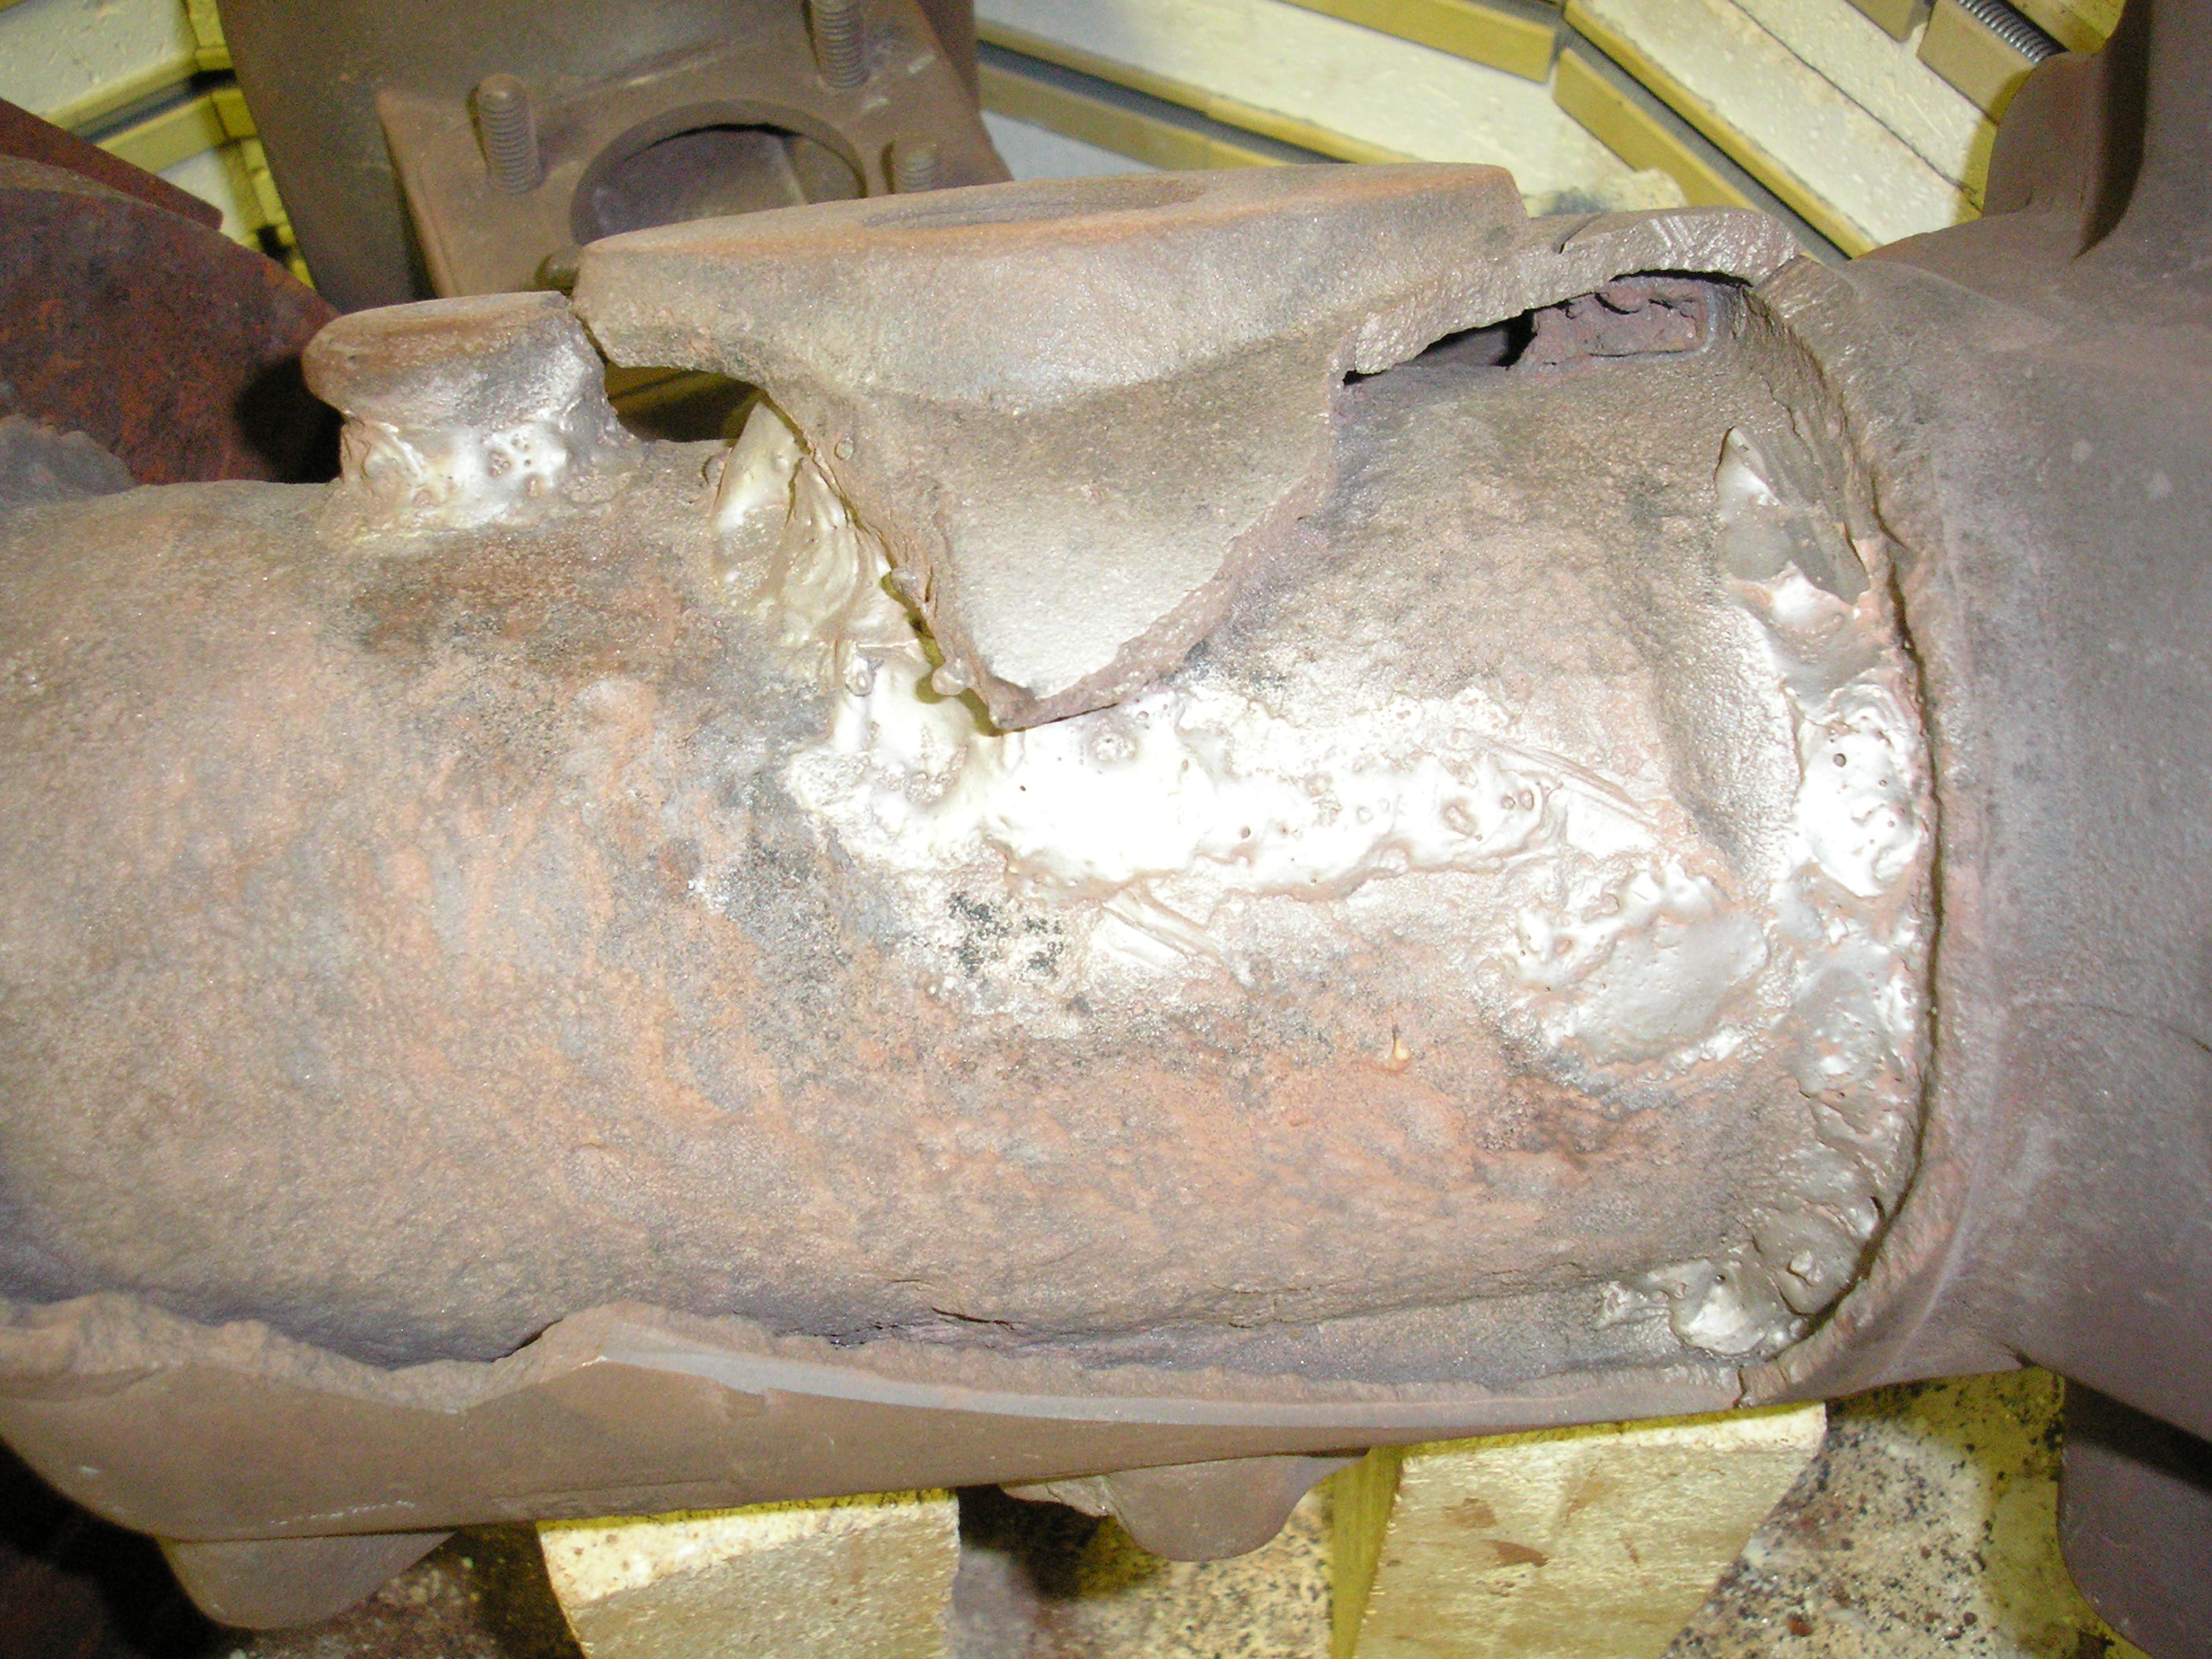
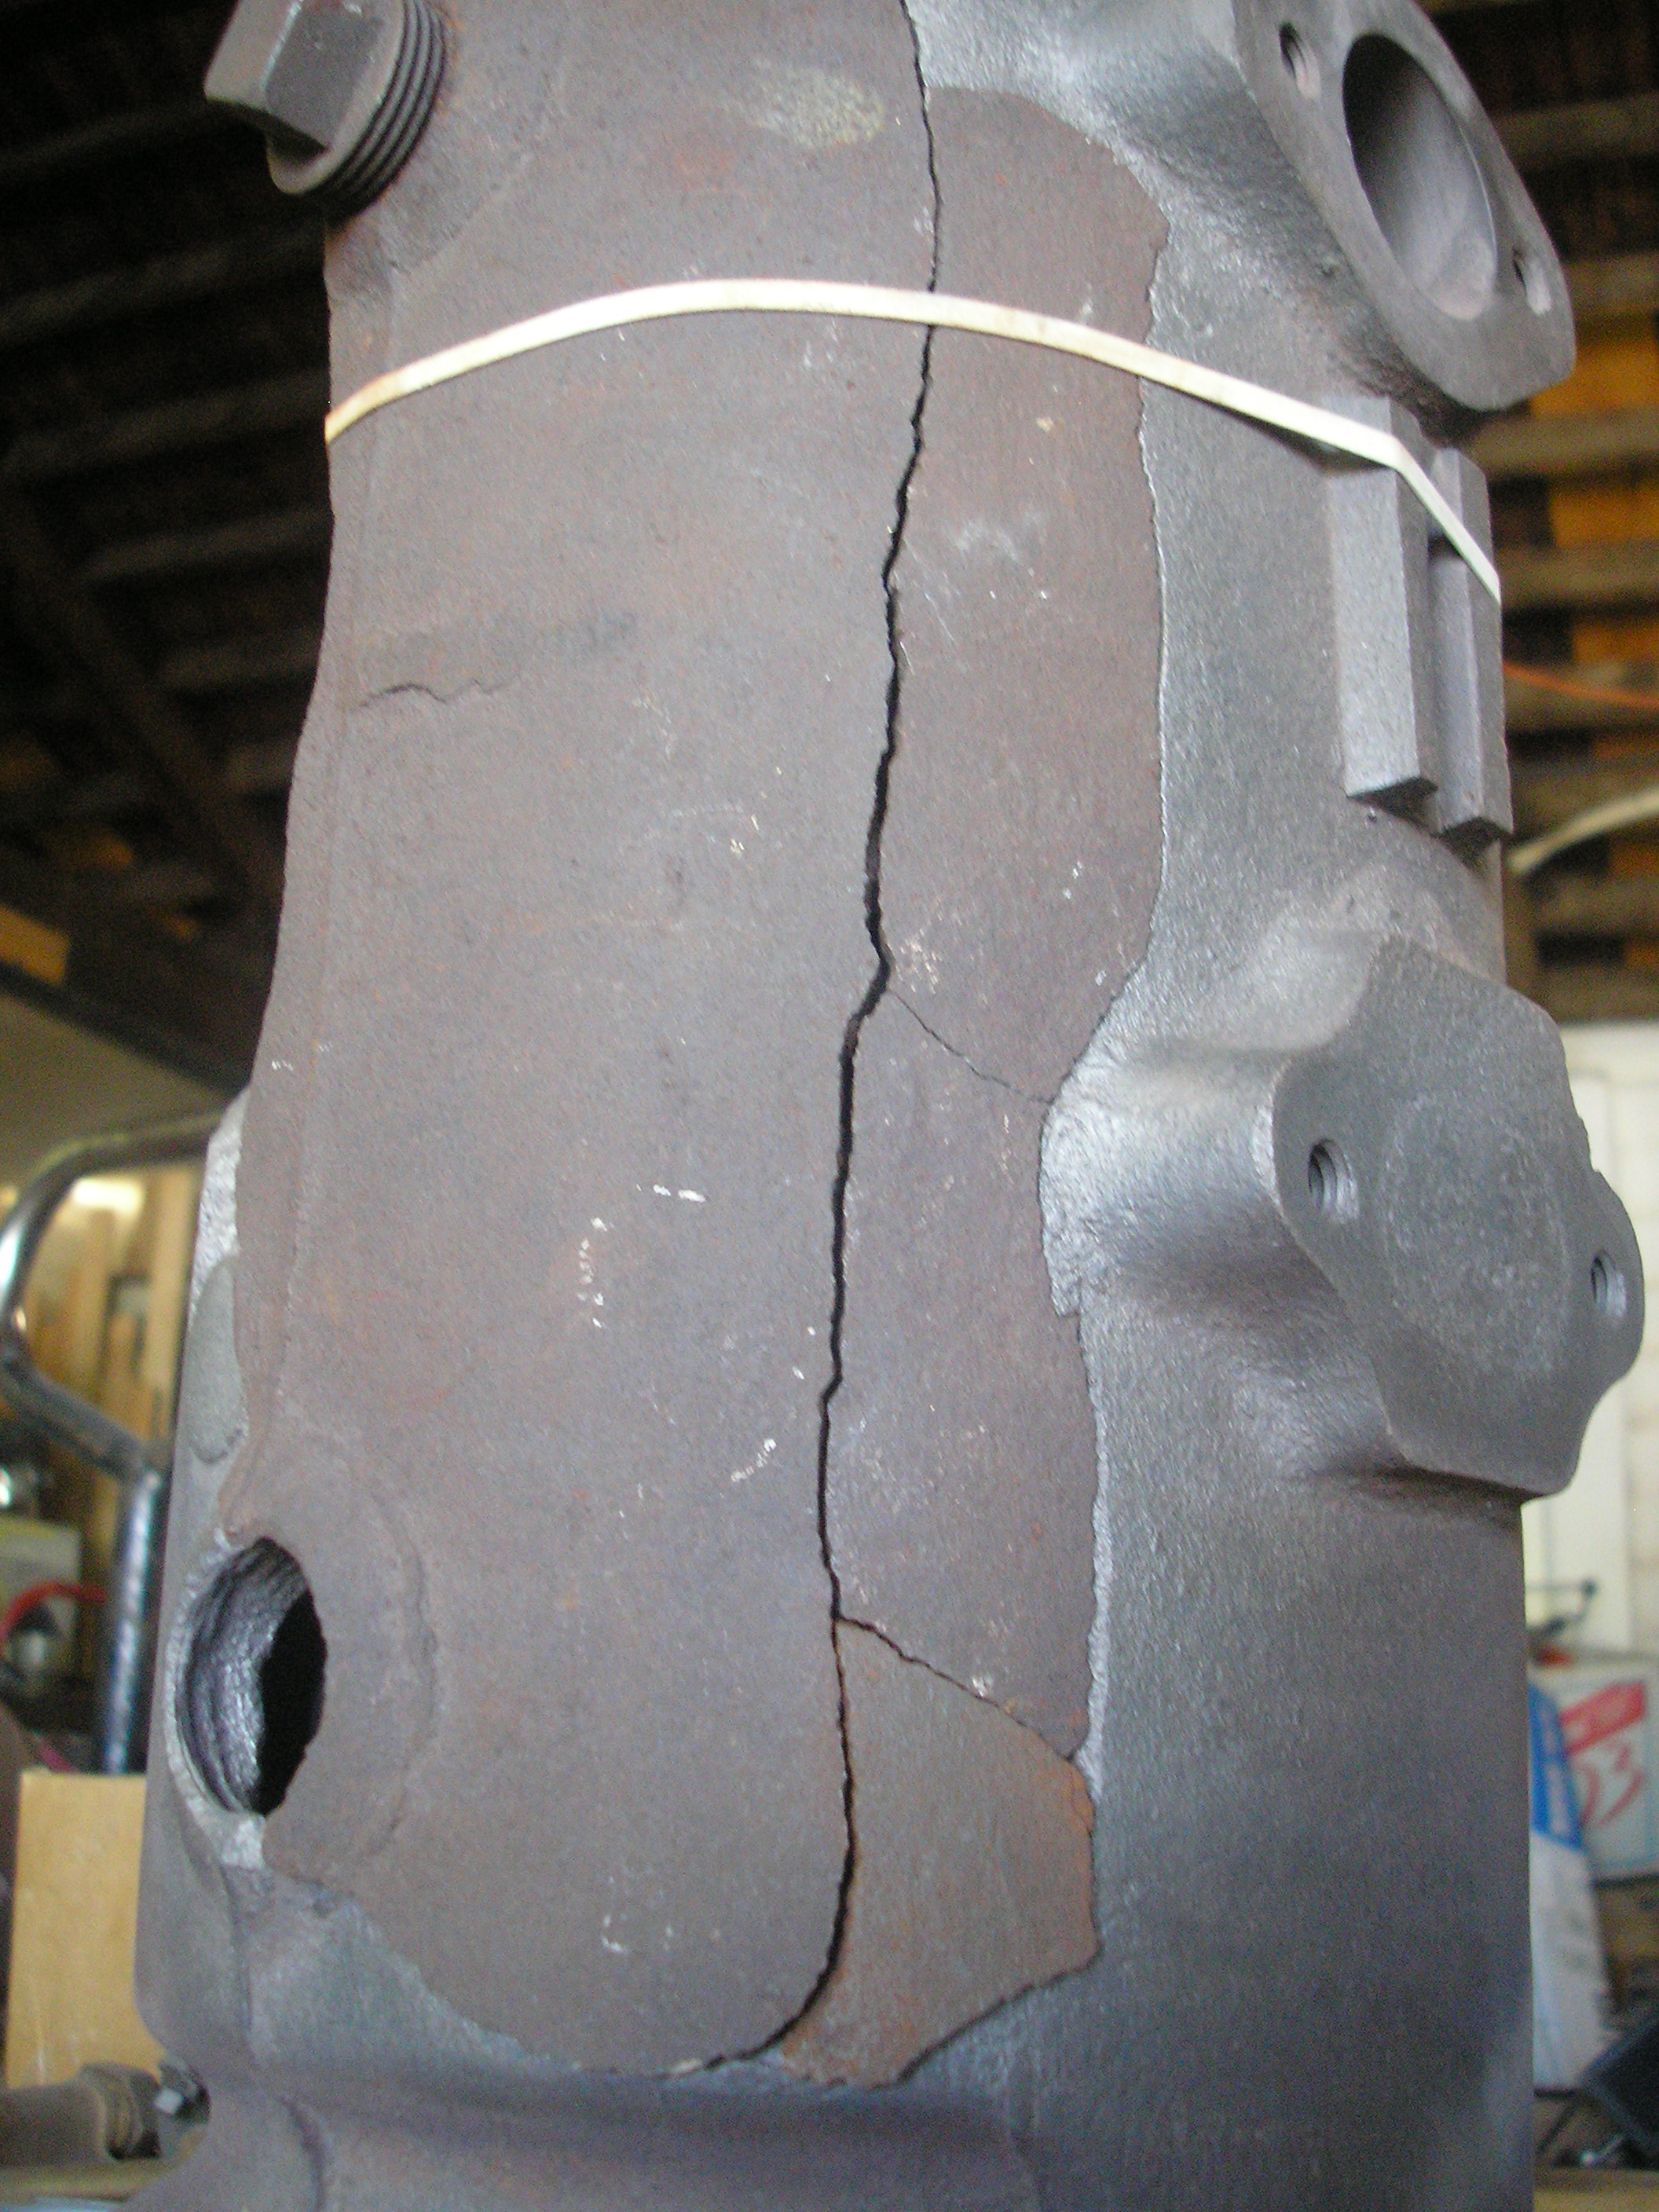
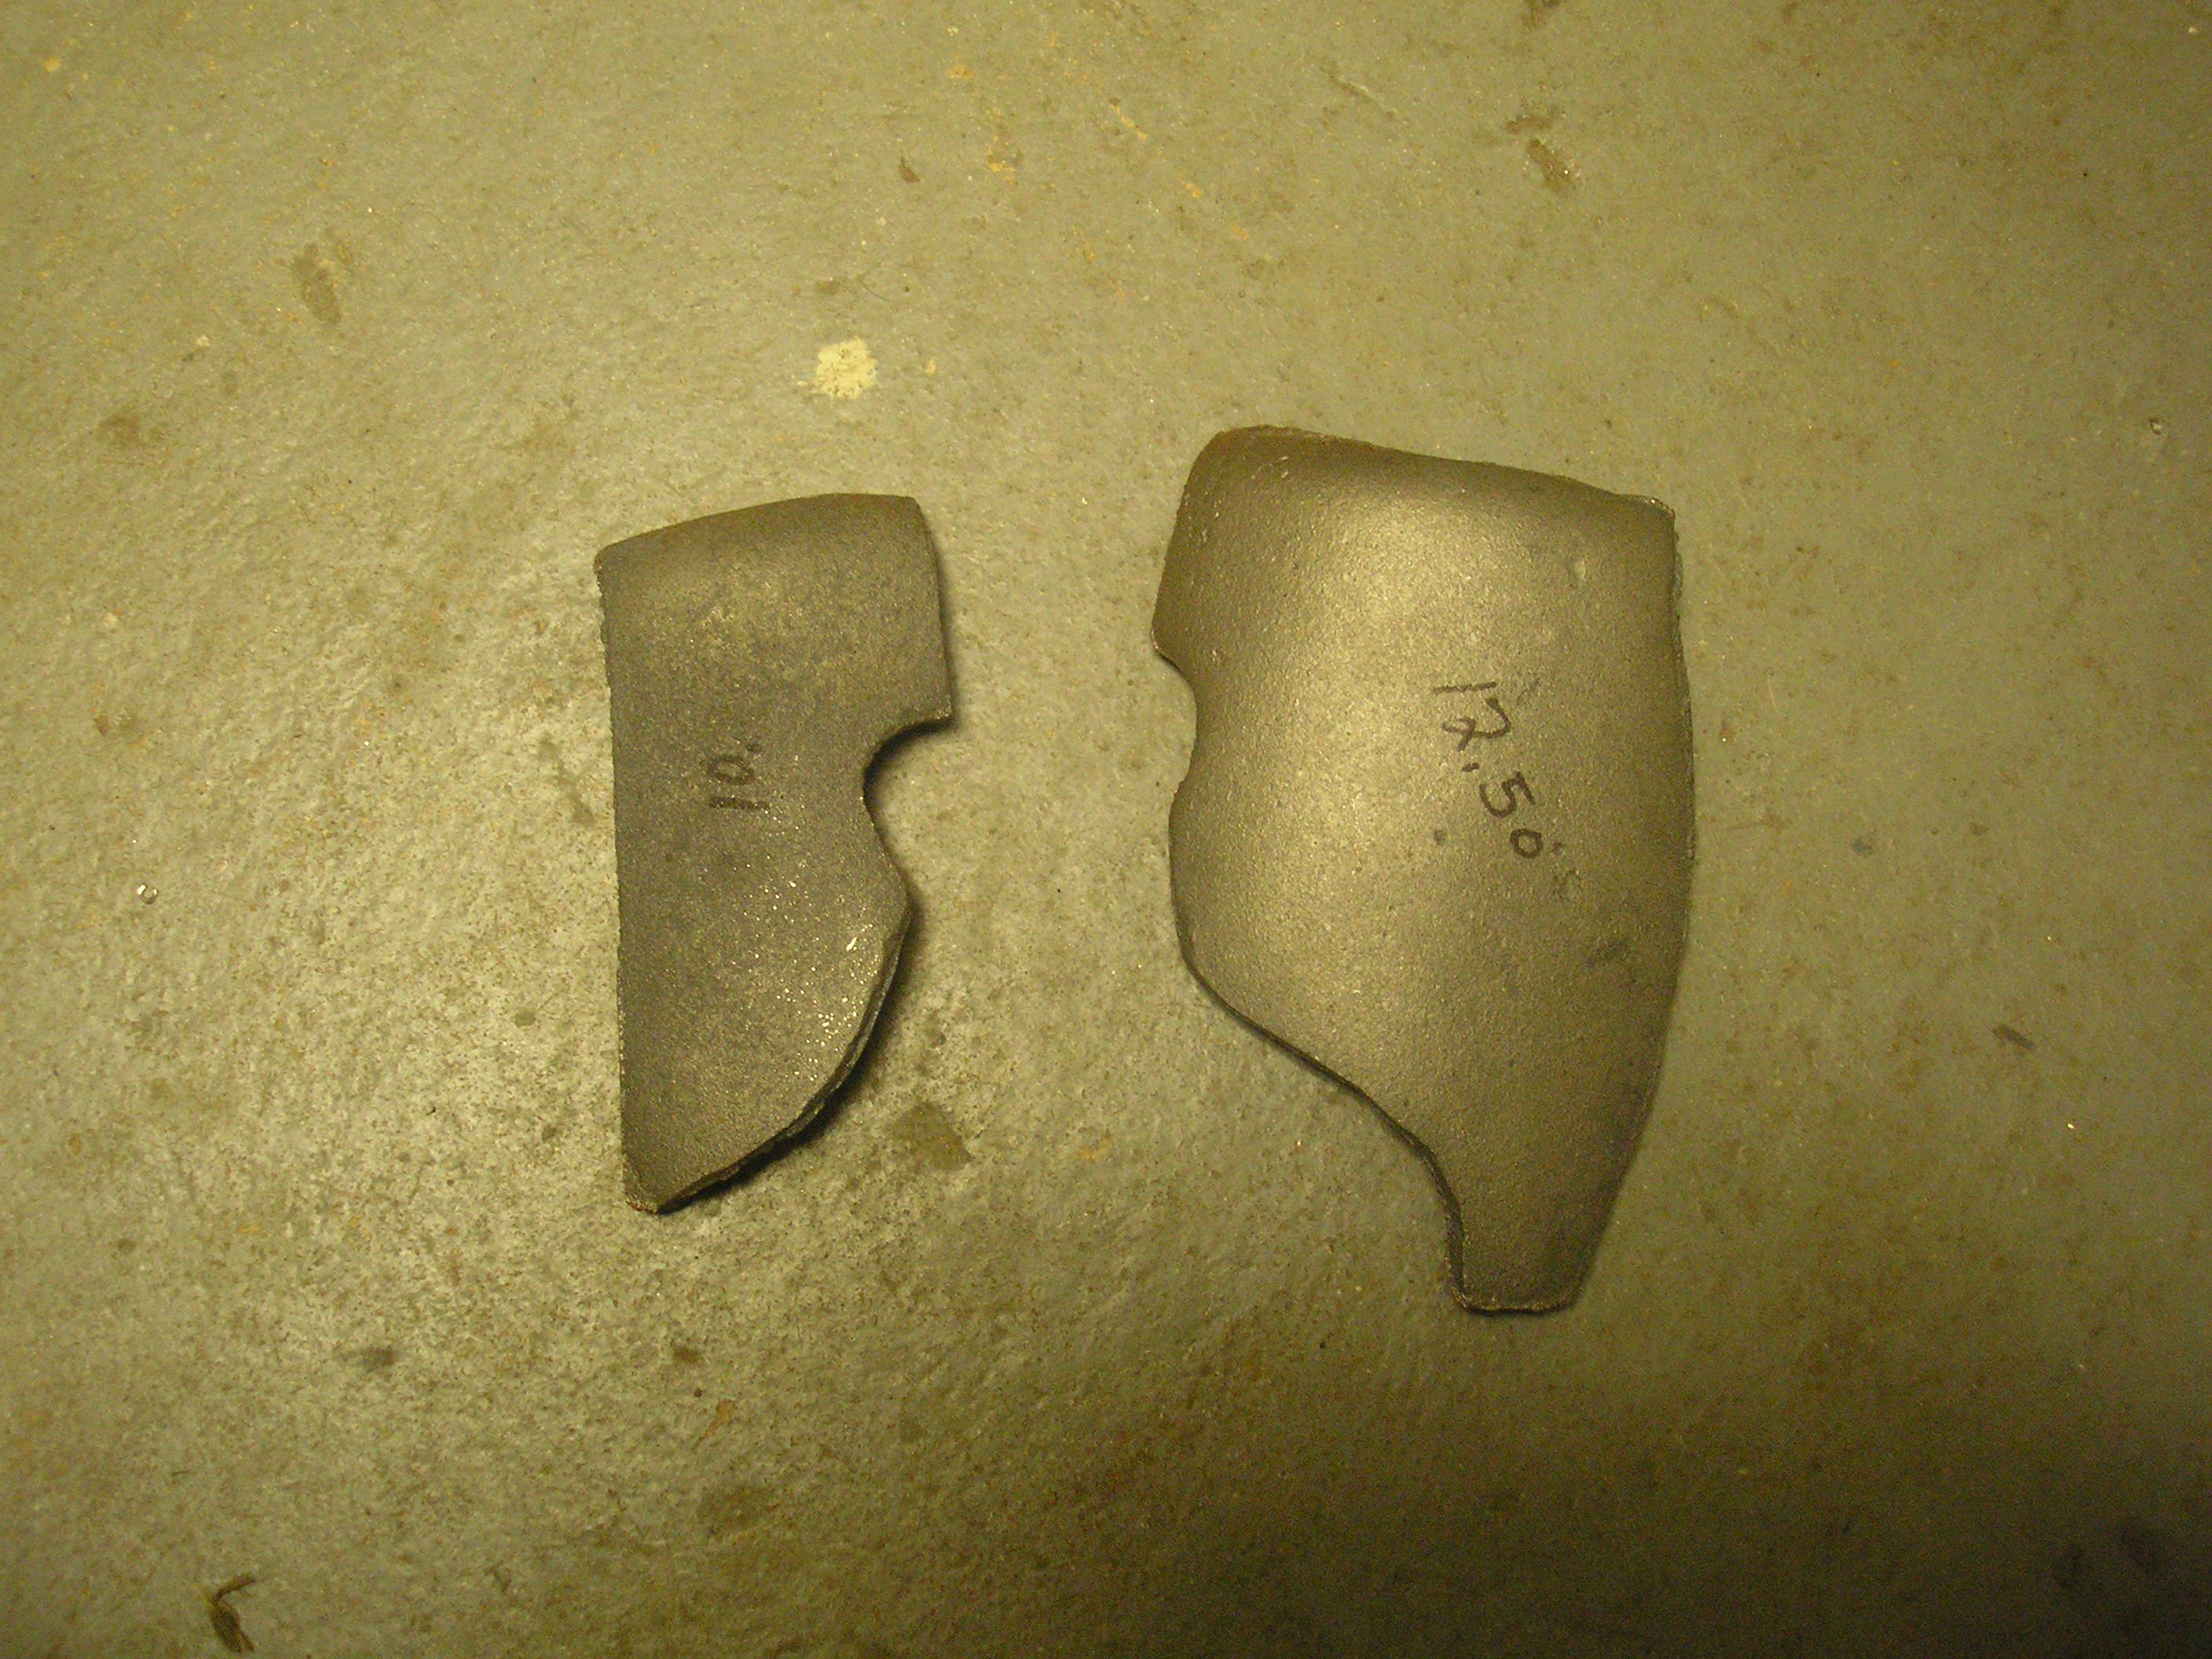
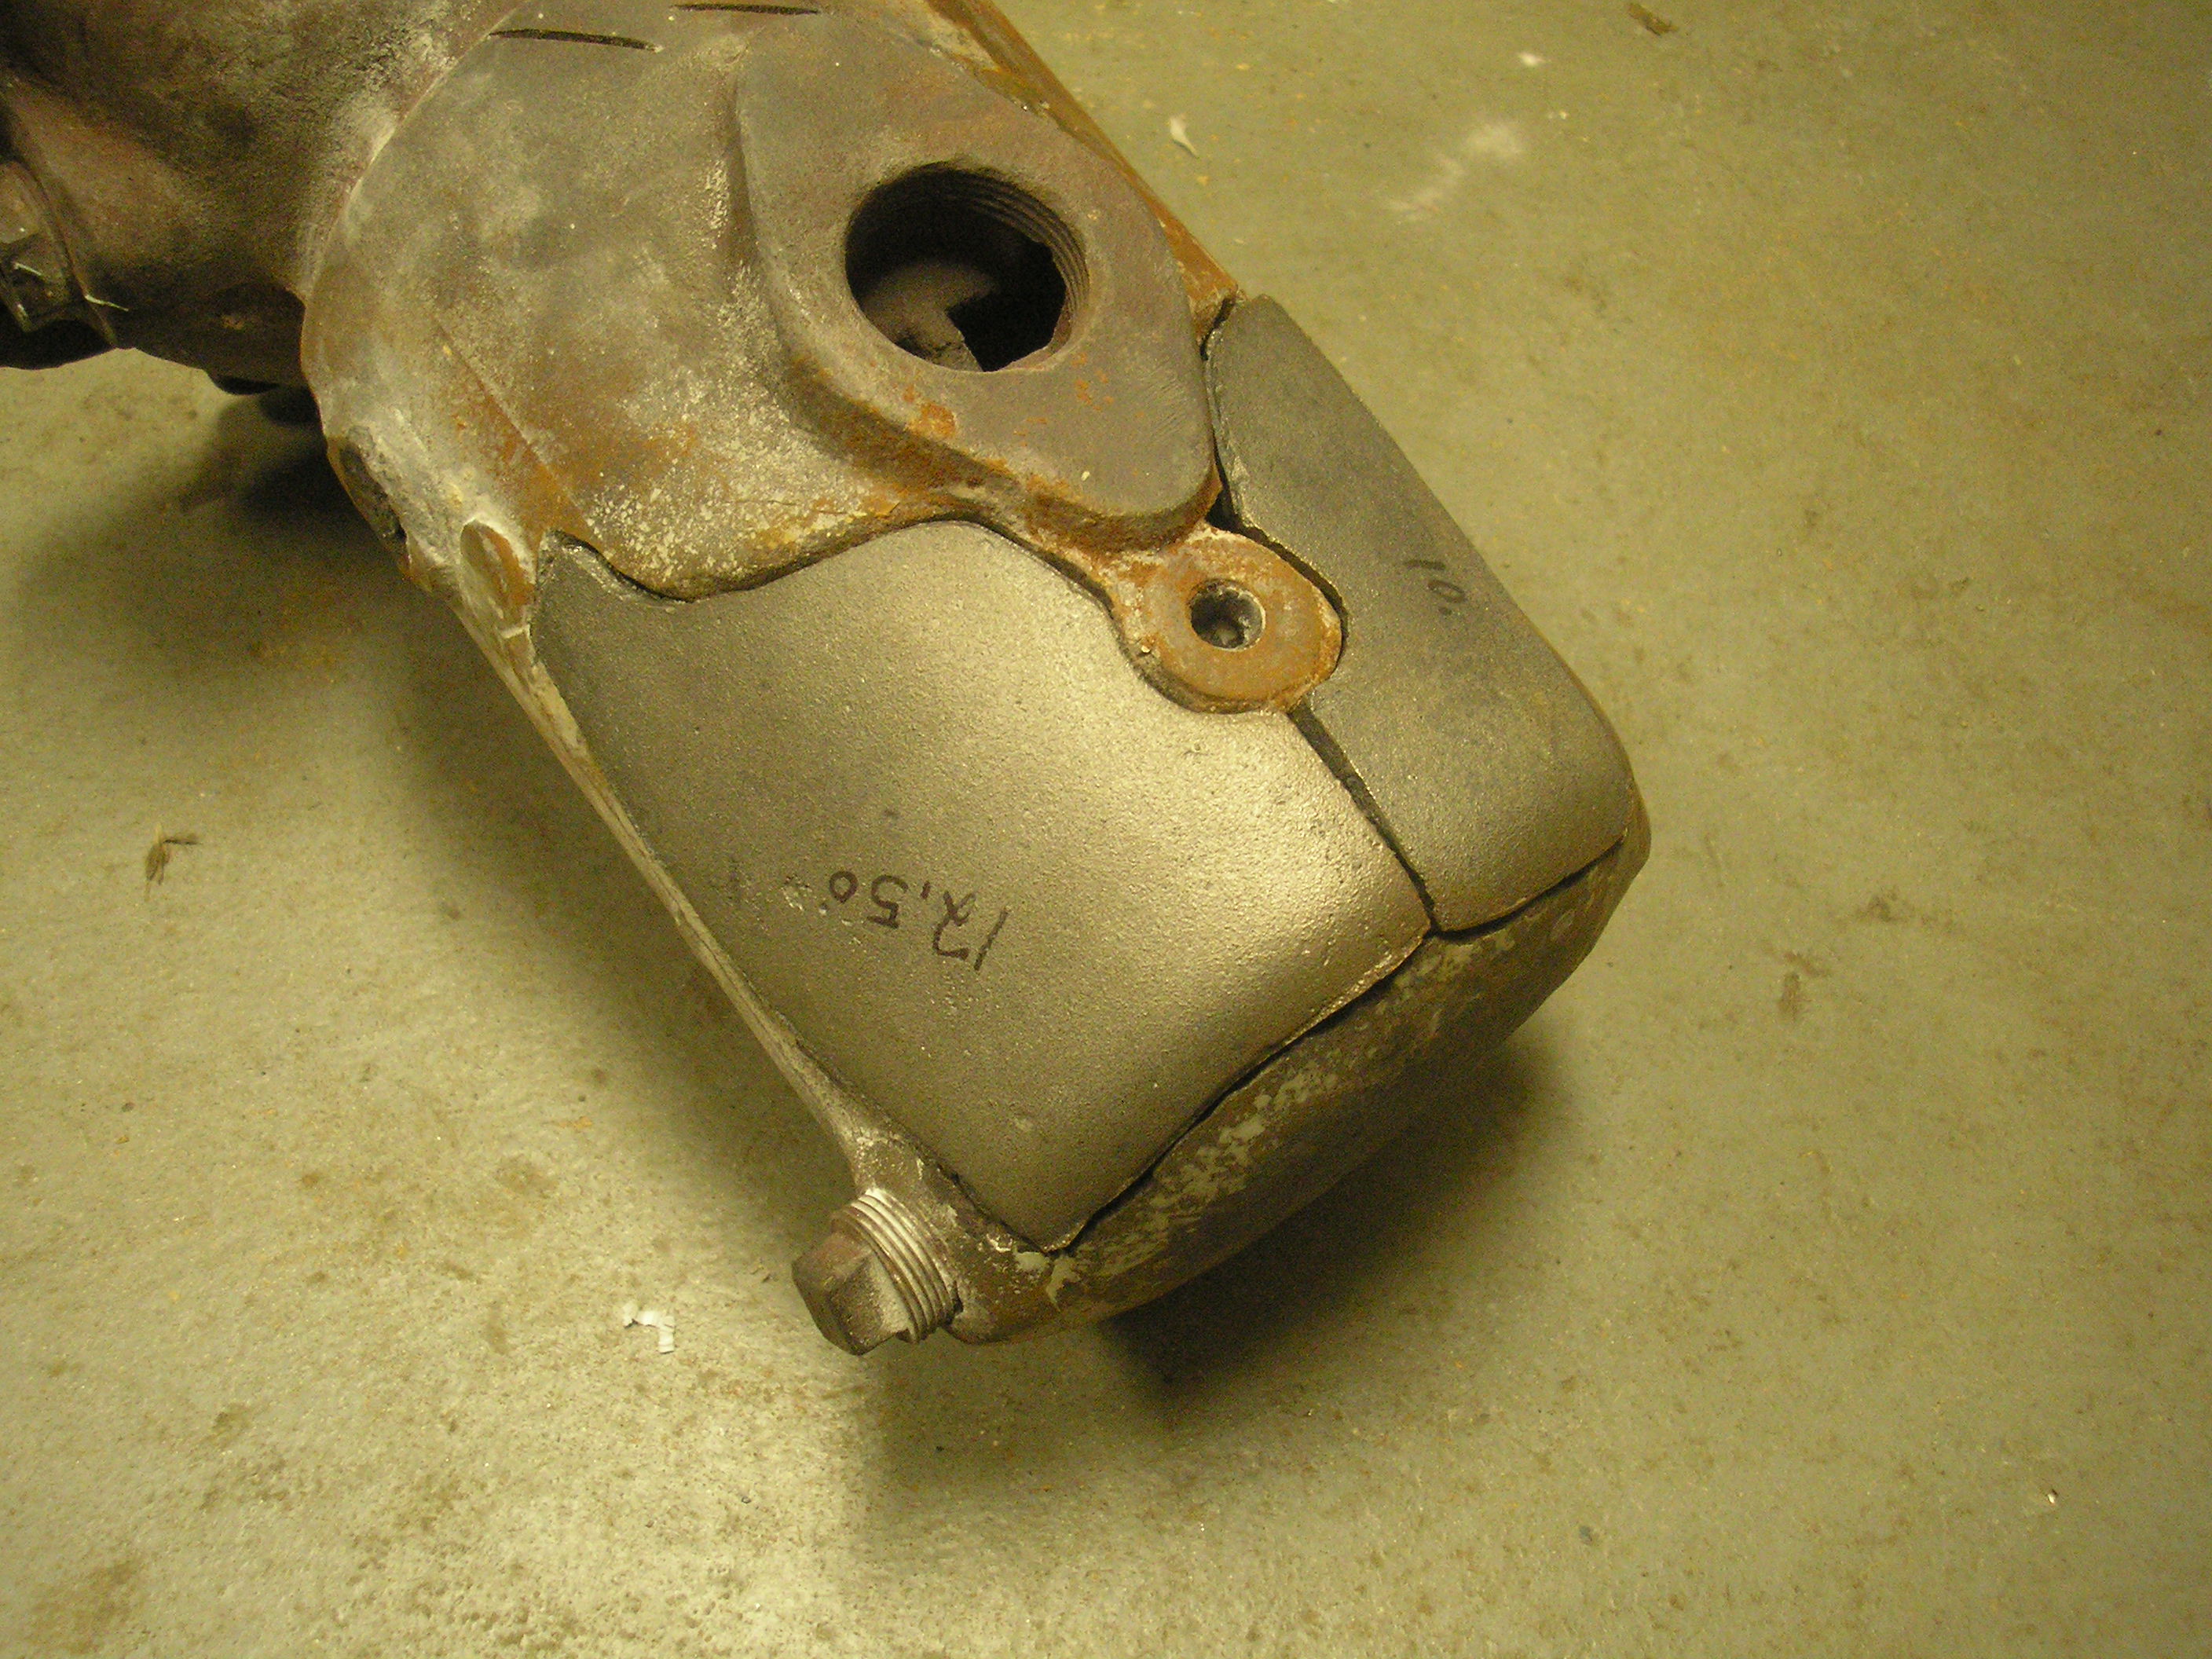
 After the second heat, we found a hole and a crack and needed to remove a part
of the water jacket to gain access. The hard crusties in the bottom of the
water jacket are nasty stuff. You can also really see the hole behind the
drain plug. It sort of an argument against using bronze plugs, isn't it.
After the second heat, we found a hole and a crack and needed to remove a part
of the water jacket to gain access. The hard crusties in the bottom of the
water jacket are nasty stuff. You can also really see the hole behind the
drain plug. It sort of an argument against using bronze plugs, isn't it.
September 15, 2006
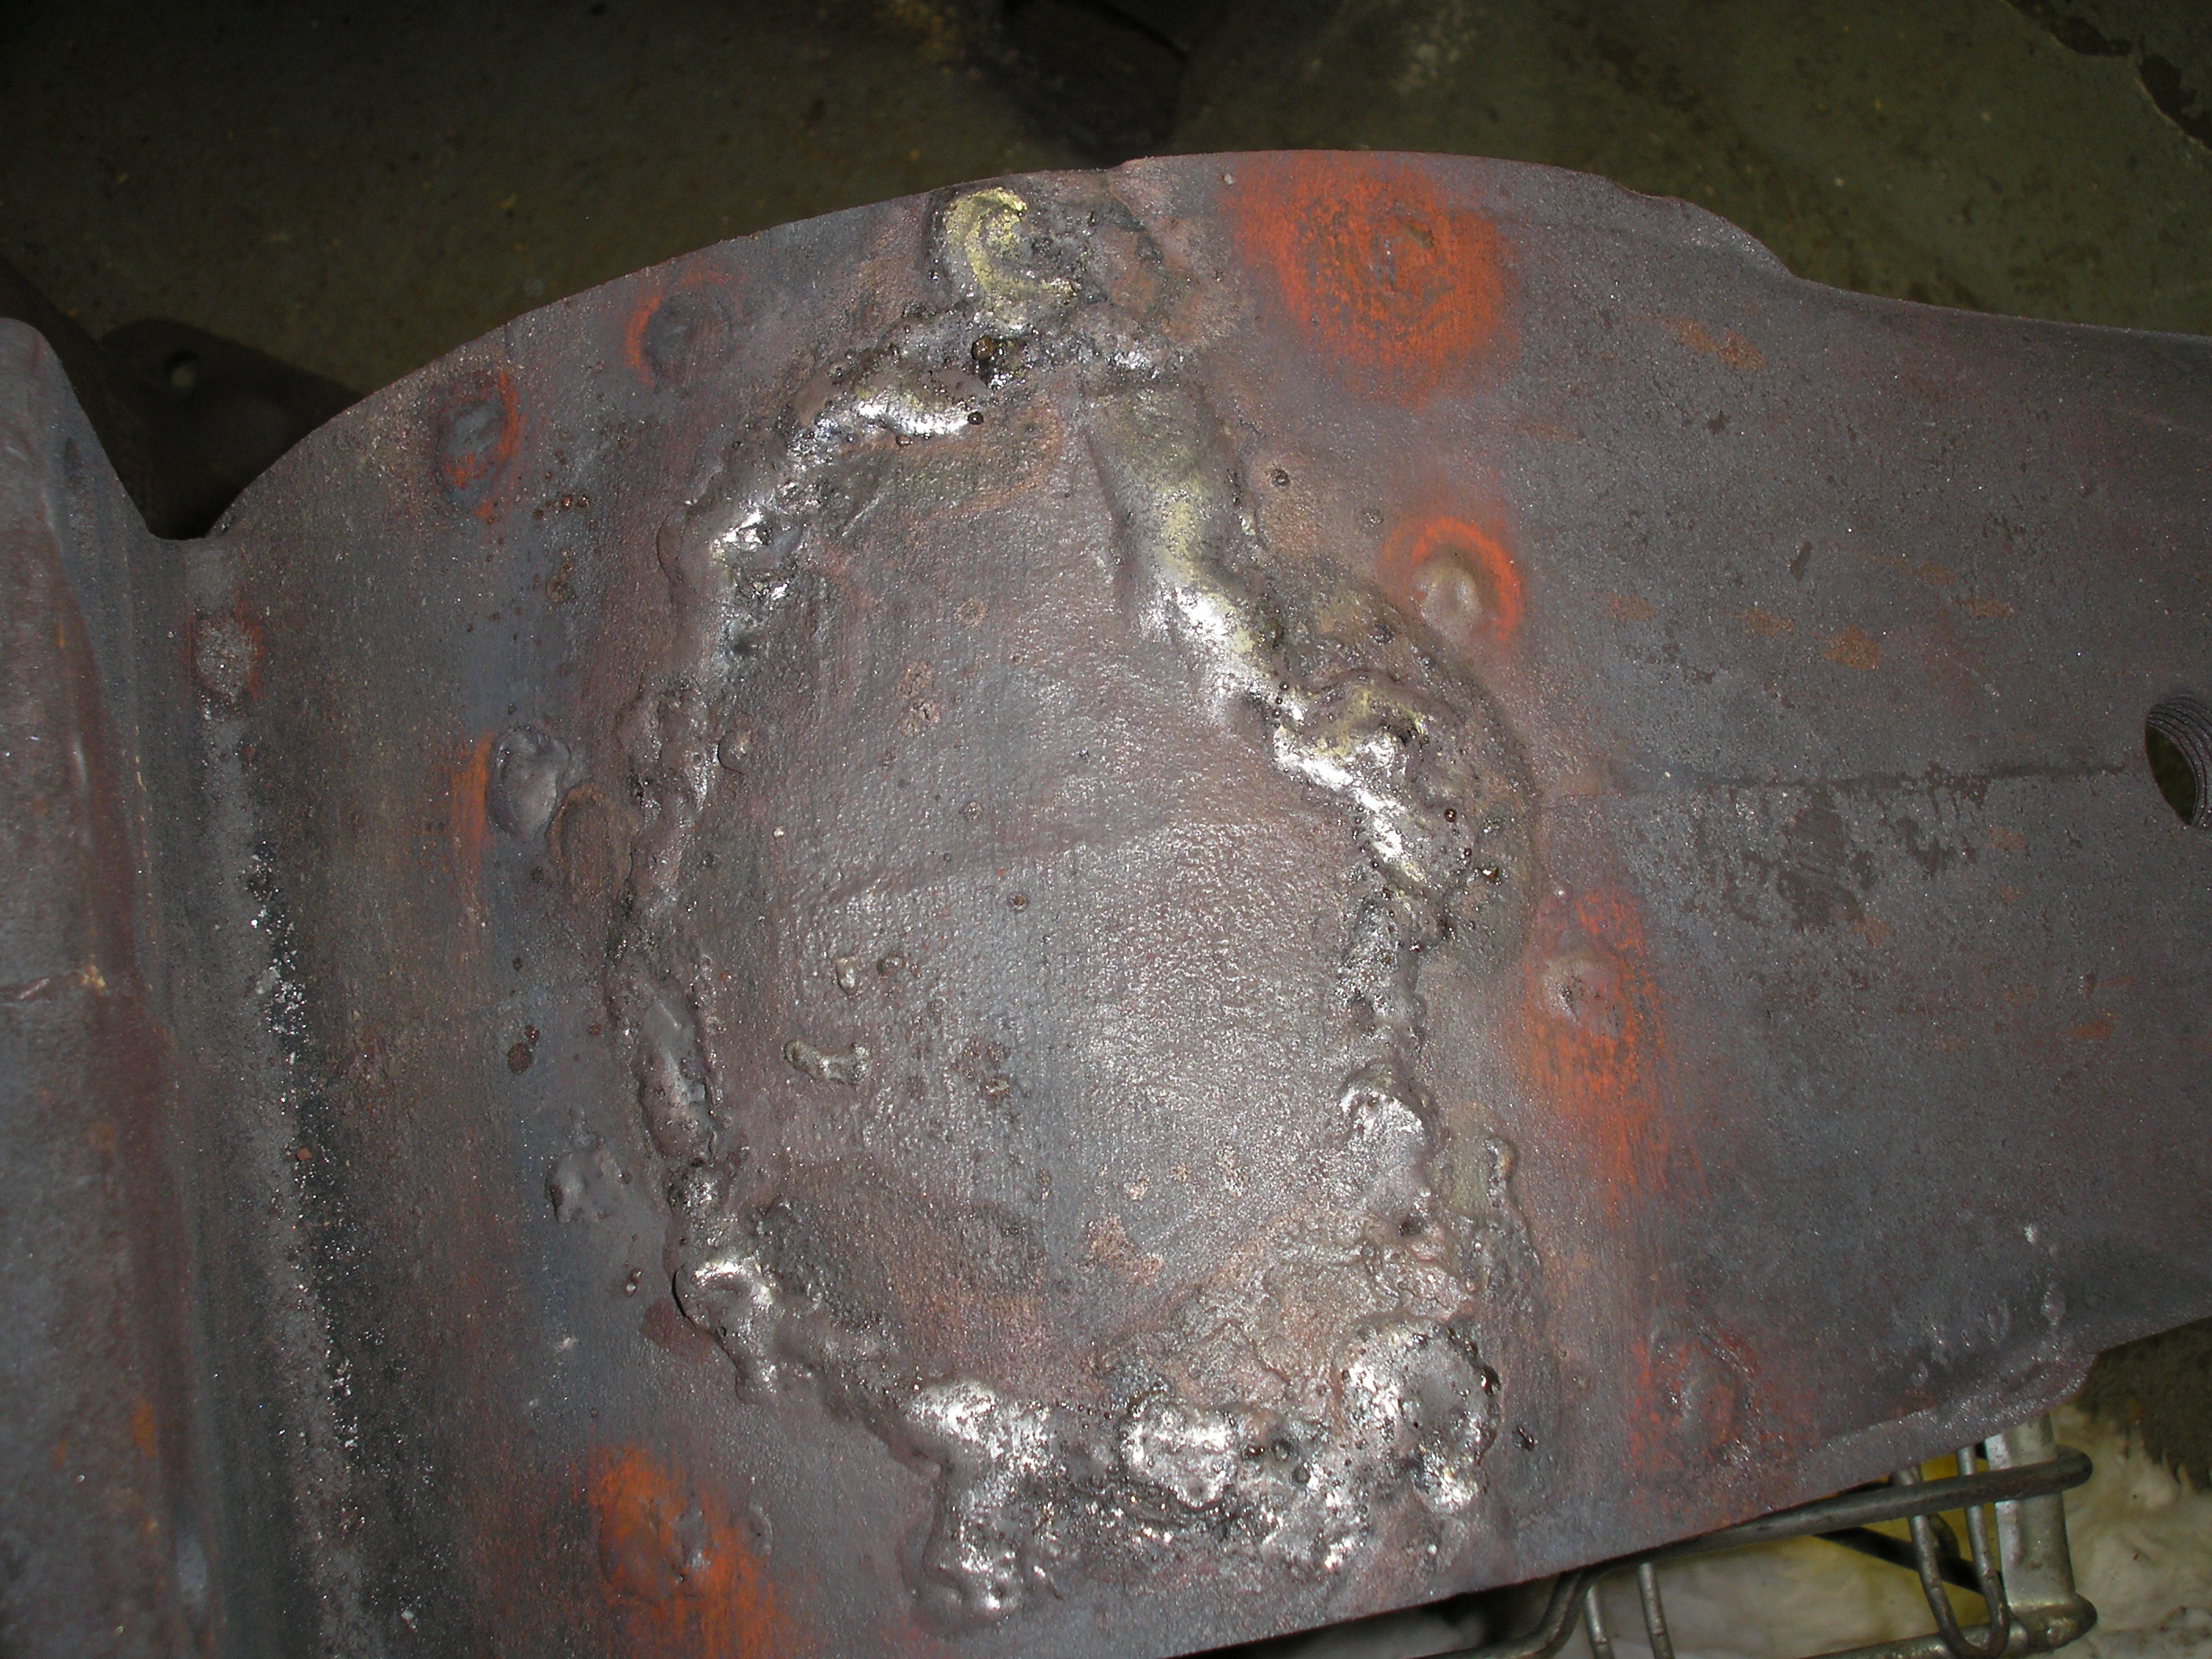
 After cleaning that stuff out of the water jacket, we clamped it to the table to
pull together some of the cracks and tack weld them. Then back into the
heat for stress relief!!!
After cleaning that stuff out of the water jacket, we clamped it to the table to
pull together some of the cracks and tack weld them. Then back into the
heat for stress relief!!!
September 19, 2006
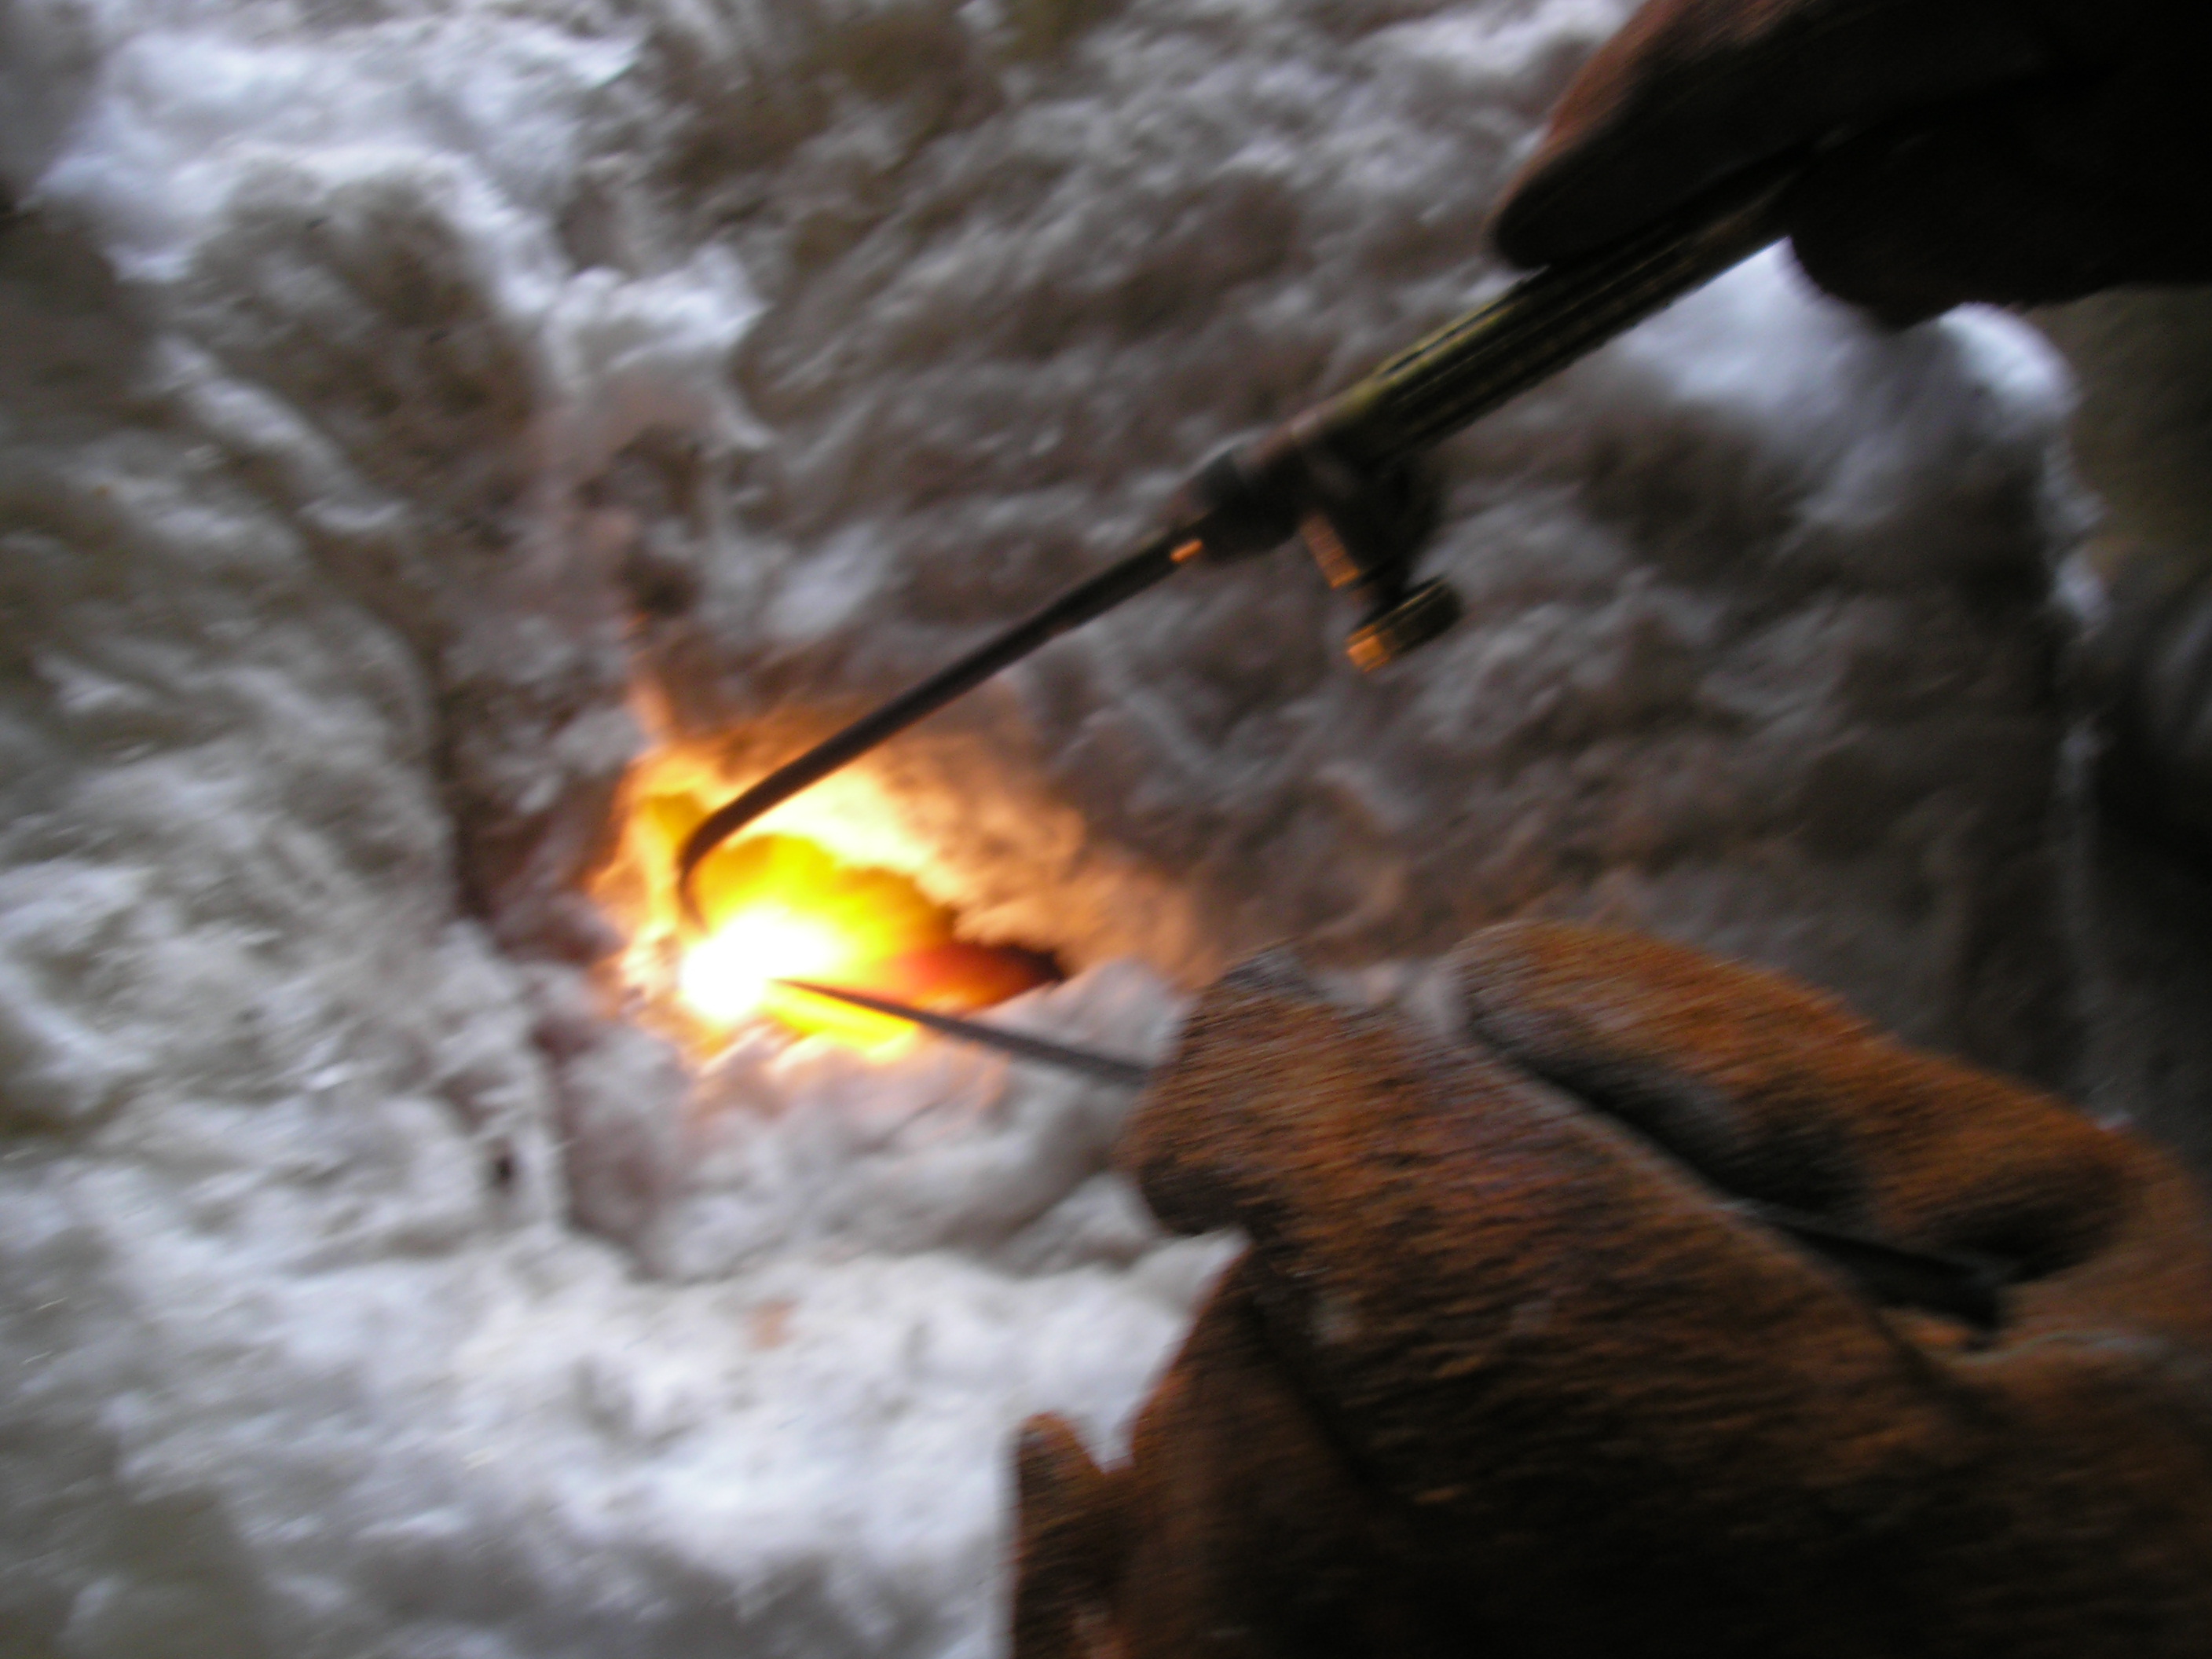
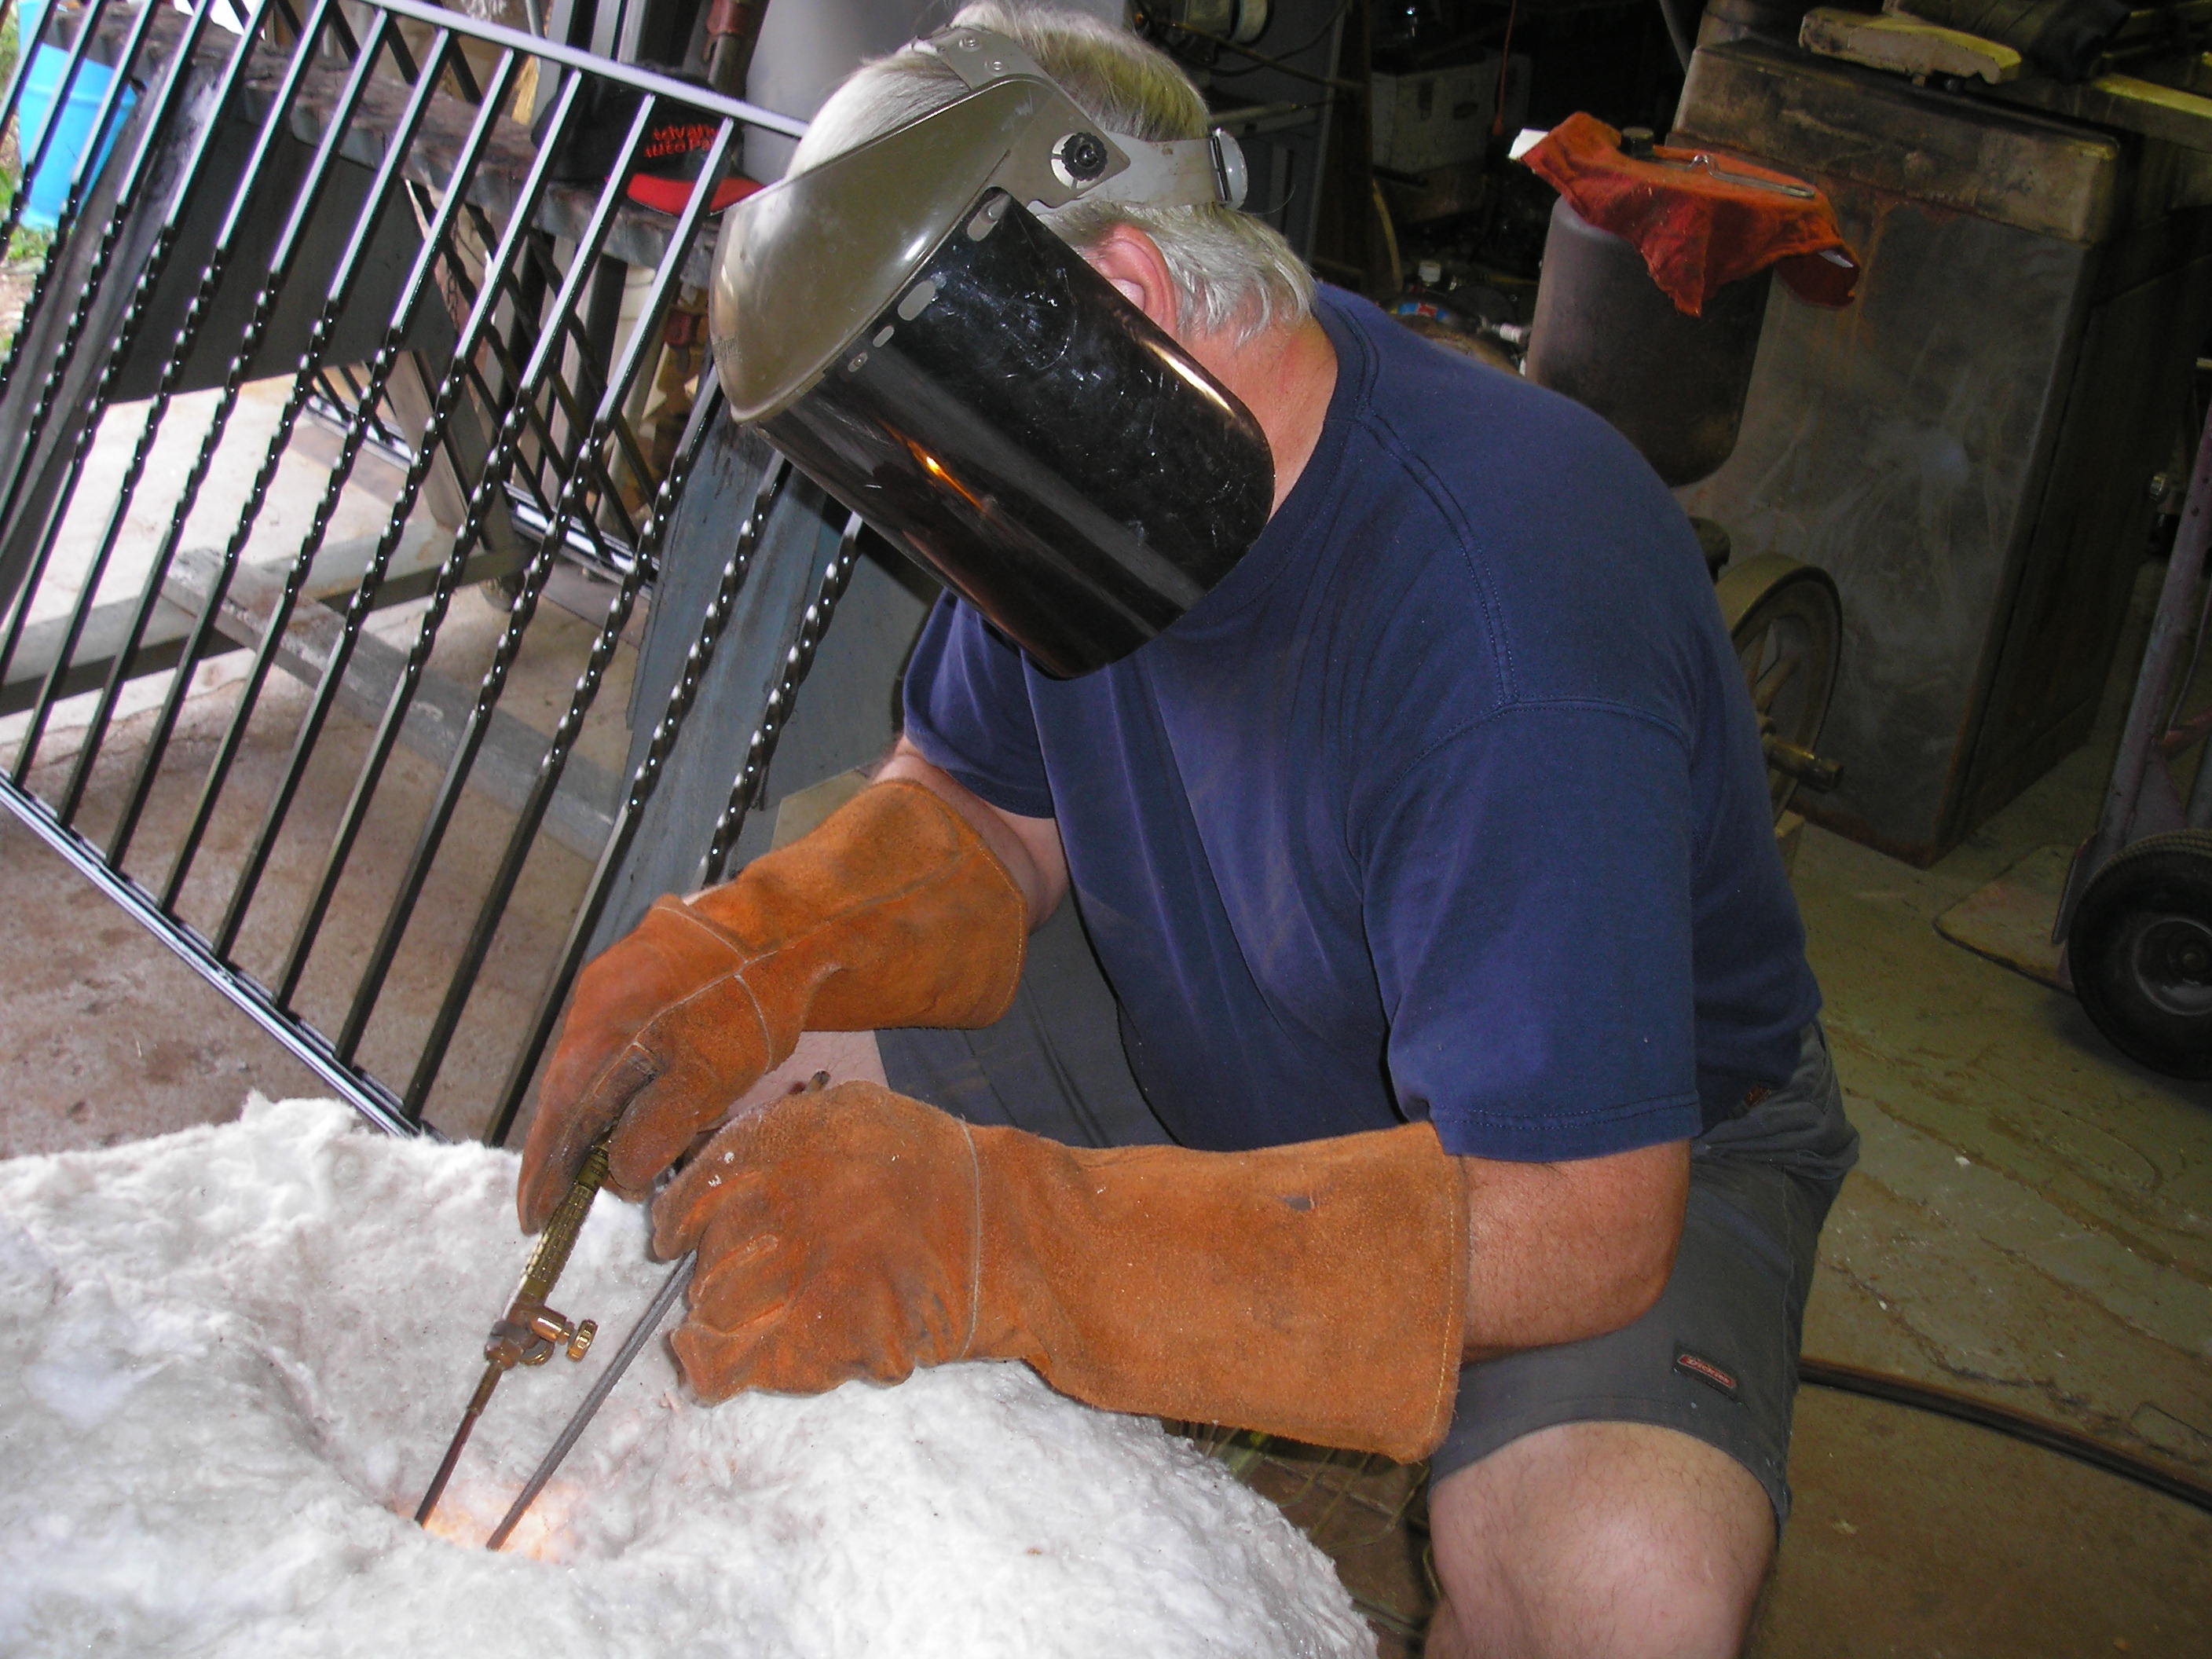
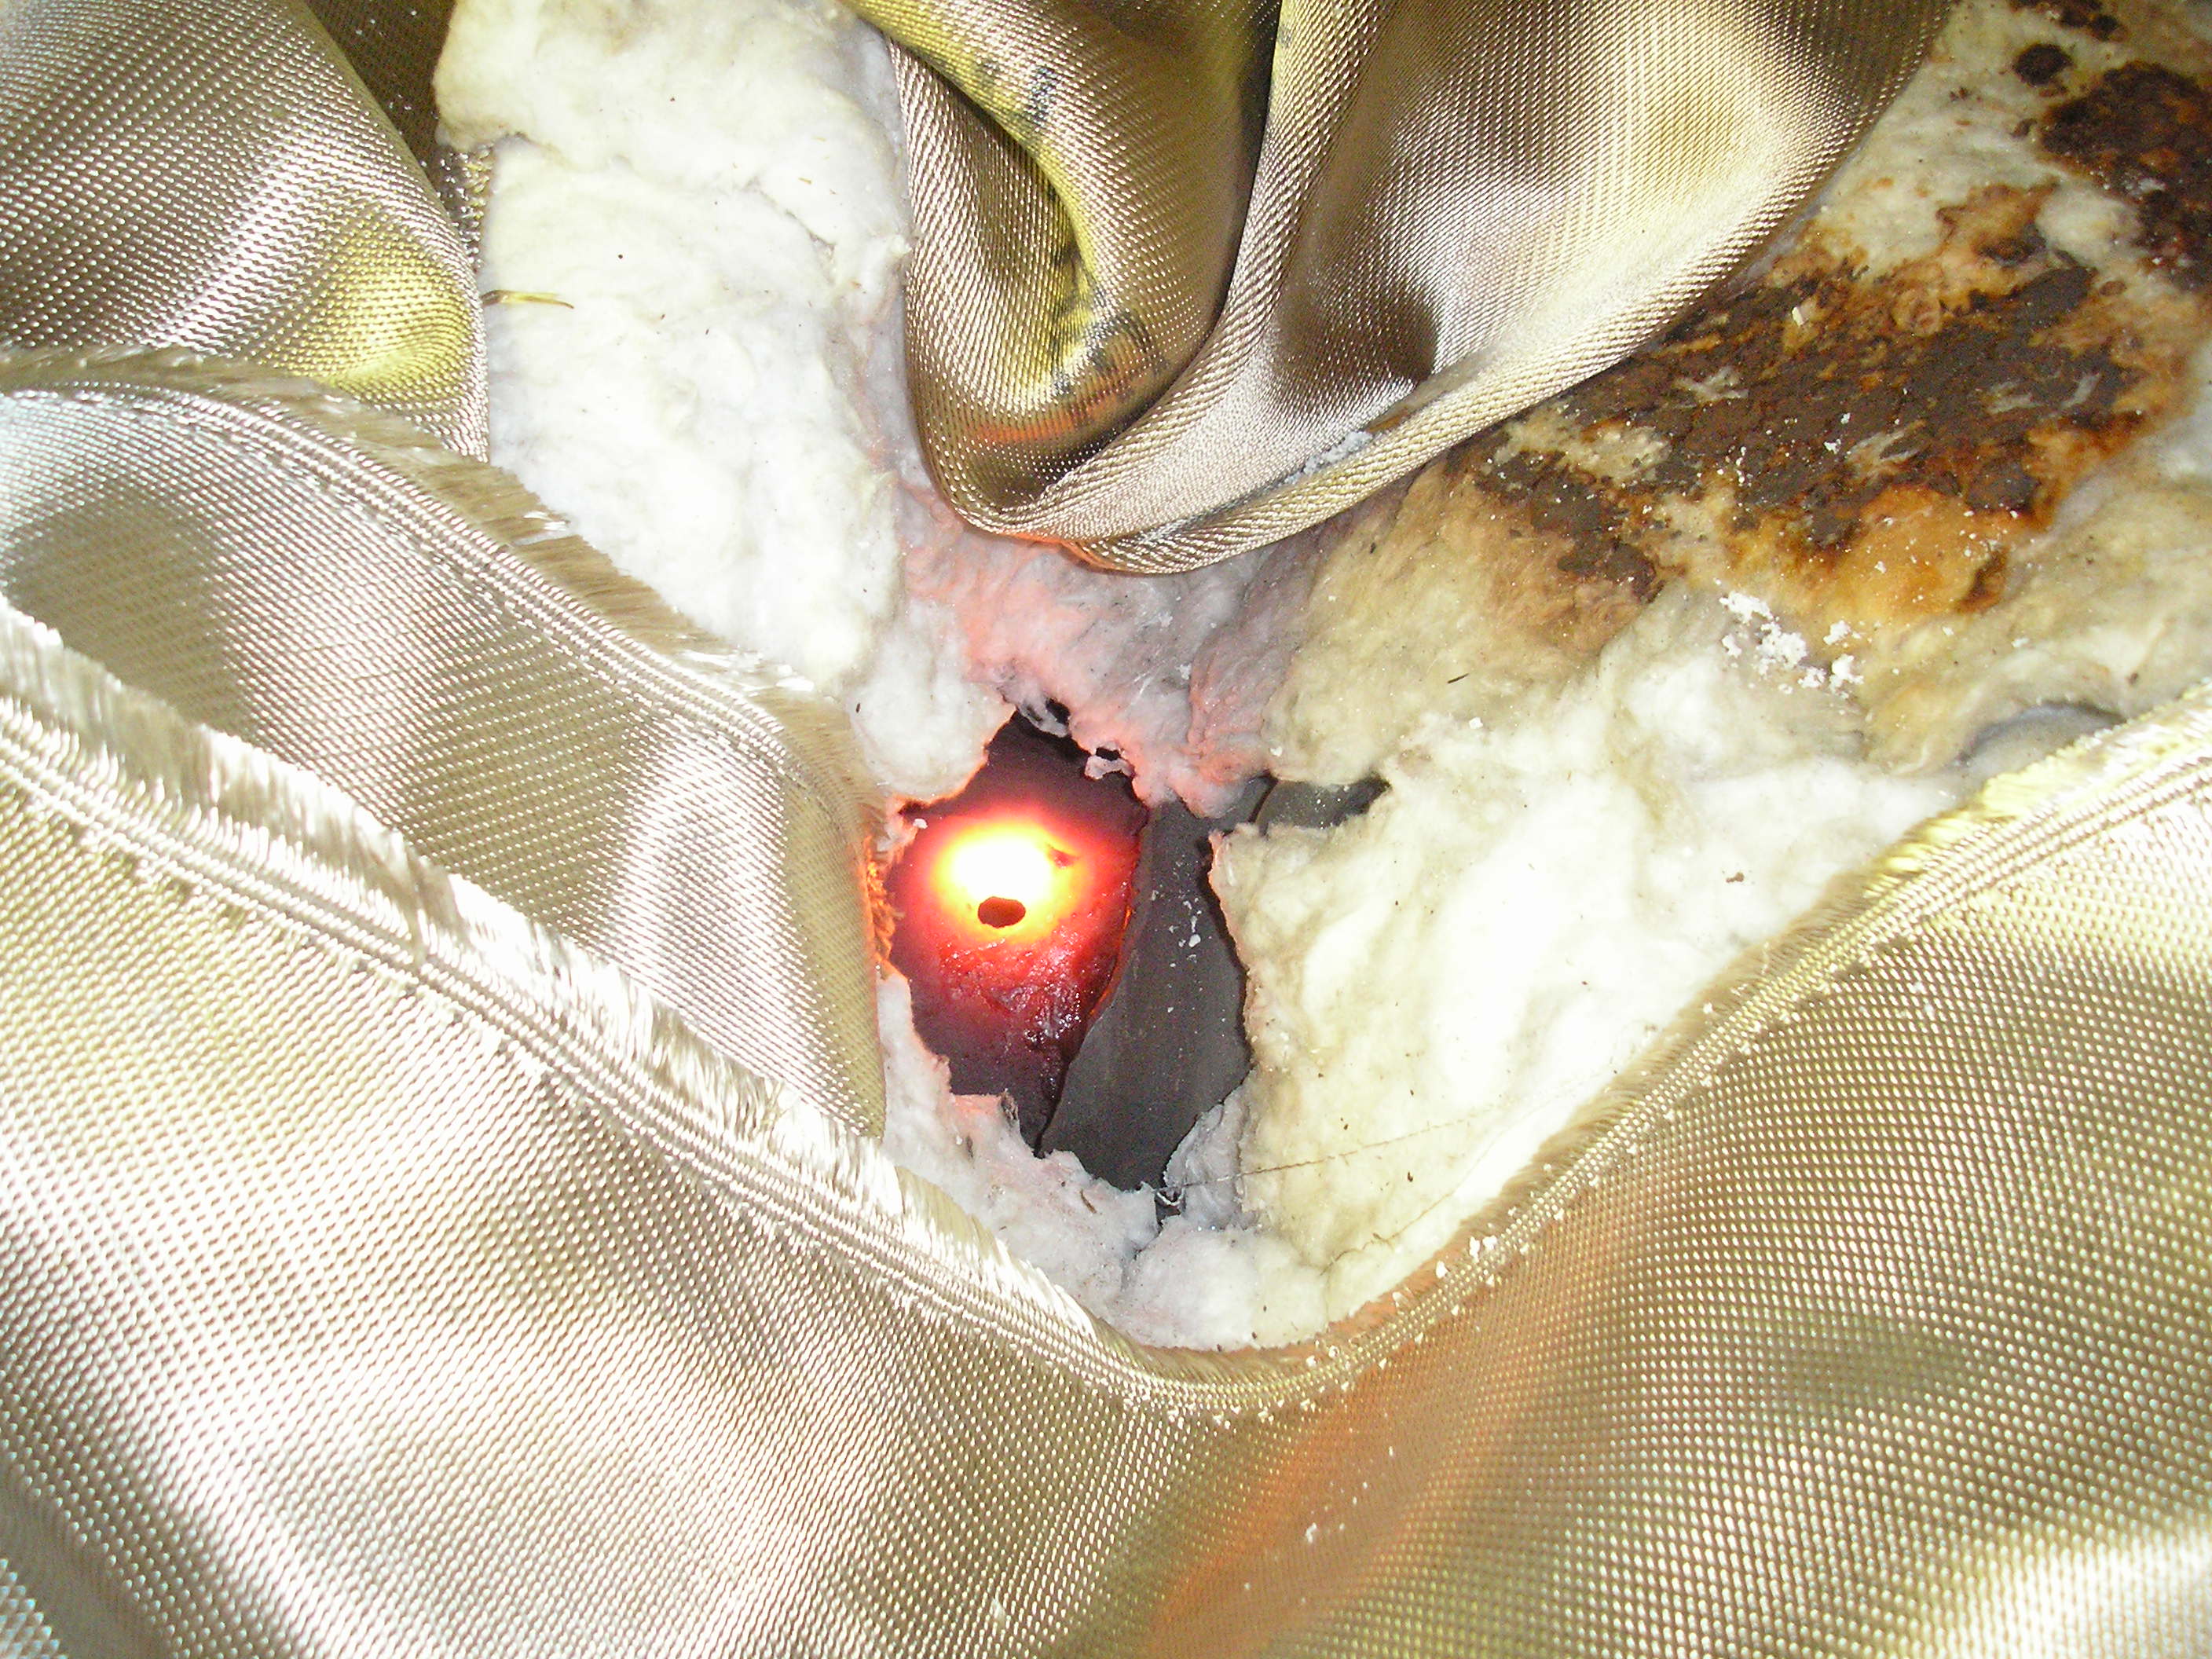
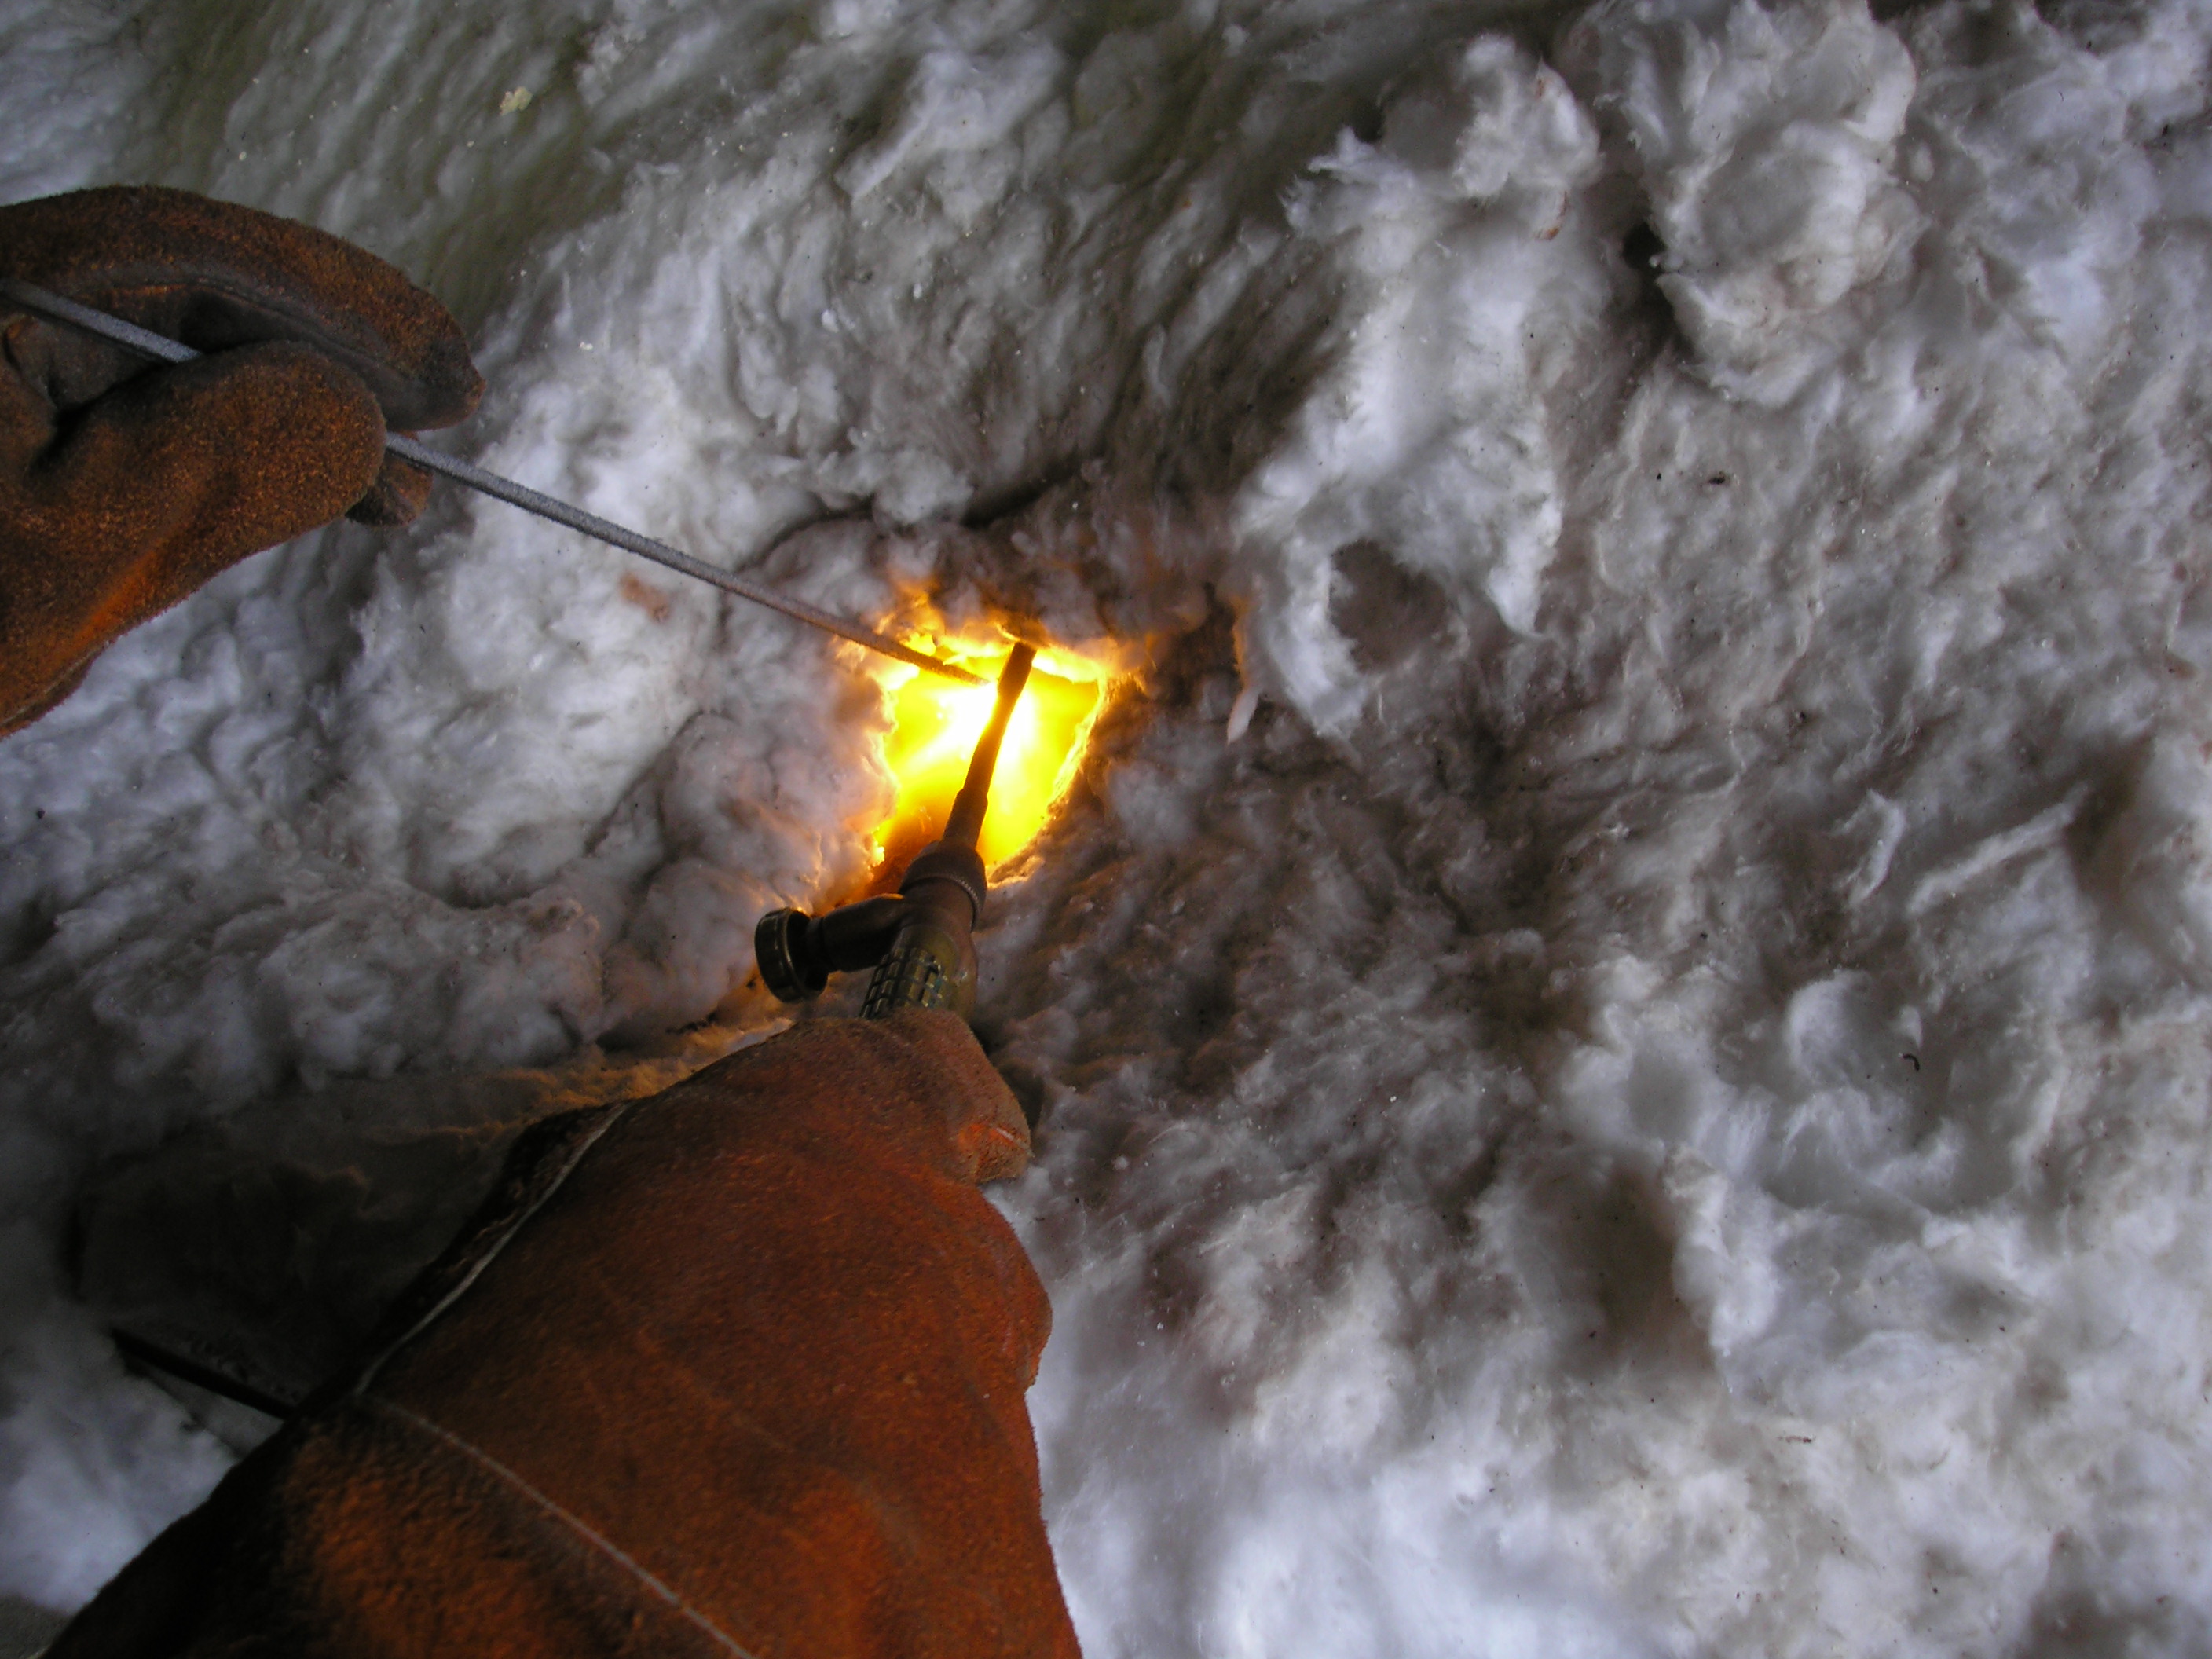 These are pictures of the welding in progress. It's not the Barker, but a
small vertical Oil Field engine. The side was blown out, and the owner
wanted it fixed as original. A patch was cast, and welded into the hole.
The hole is about 6 inches by 3 inches and the patch went in very well.
I'll post finished pictures tomorrow when it comes out of the heat. This
engine is a one of a kind. At the same time, the Barker went for the 3rd
heat and stress relief. These pictures are taken with the parts at
temperature.
These are pictures of the welding in progress. It's not the Barker, but a
small vertical Oil Field engine. The side was blown out, and the owner
wanted it fixed as original. A patch was cast, and welded into the hole.
The hole is about 6 inches by 3 inches and the patch went in very well.
I'll post finished pictures tomorrow when it comes out of the heat. This
engine is a one of a kind. At the same time, the Barker went for the 3rd
heat and stress relief. These pictures are taken with the parts at
temperature.
September 20, 2006
 Here's the oil field engine today. The first picture is as welded.
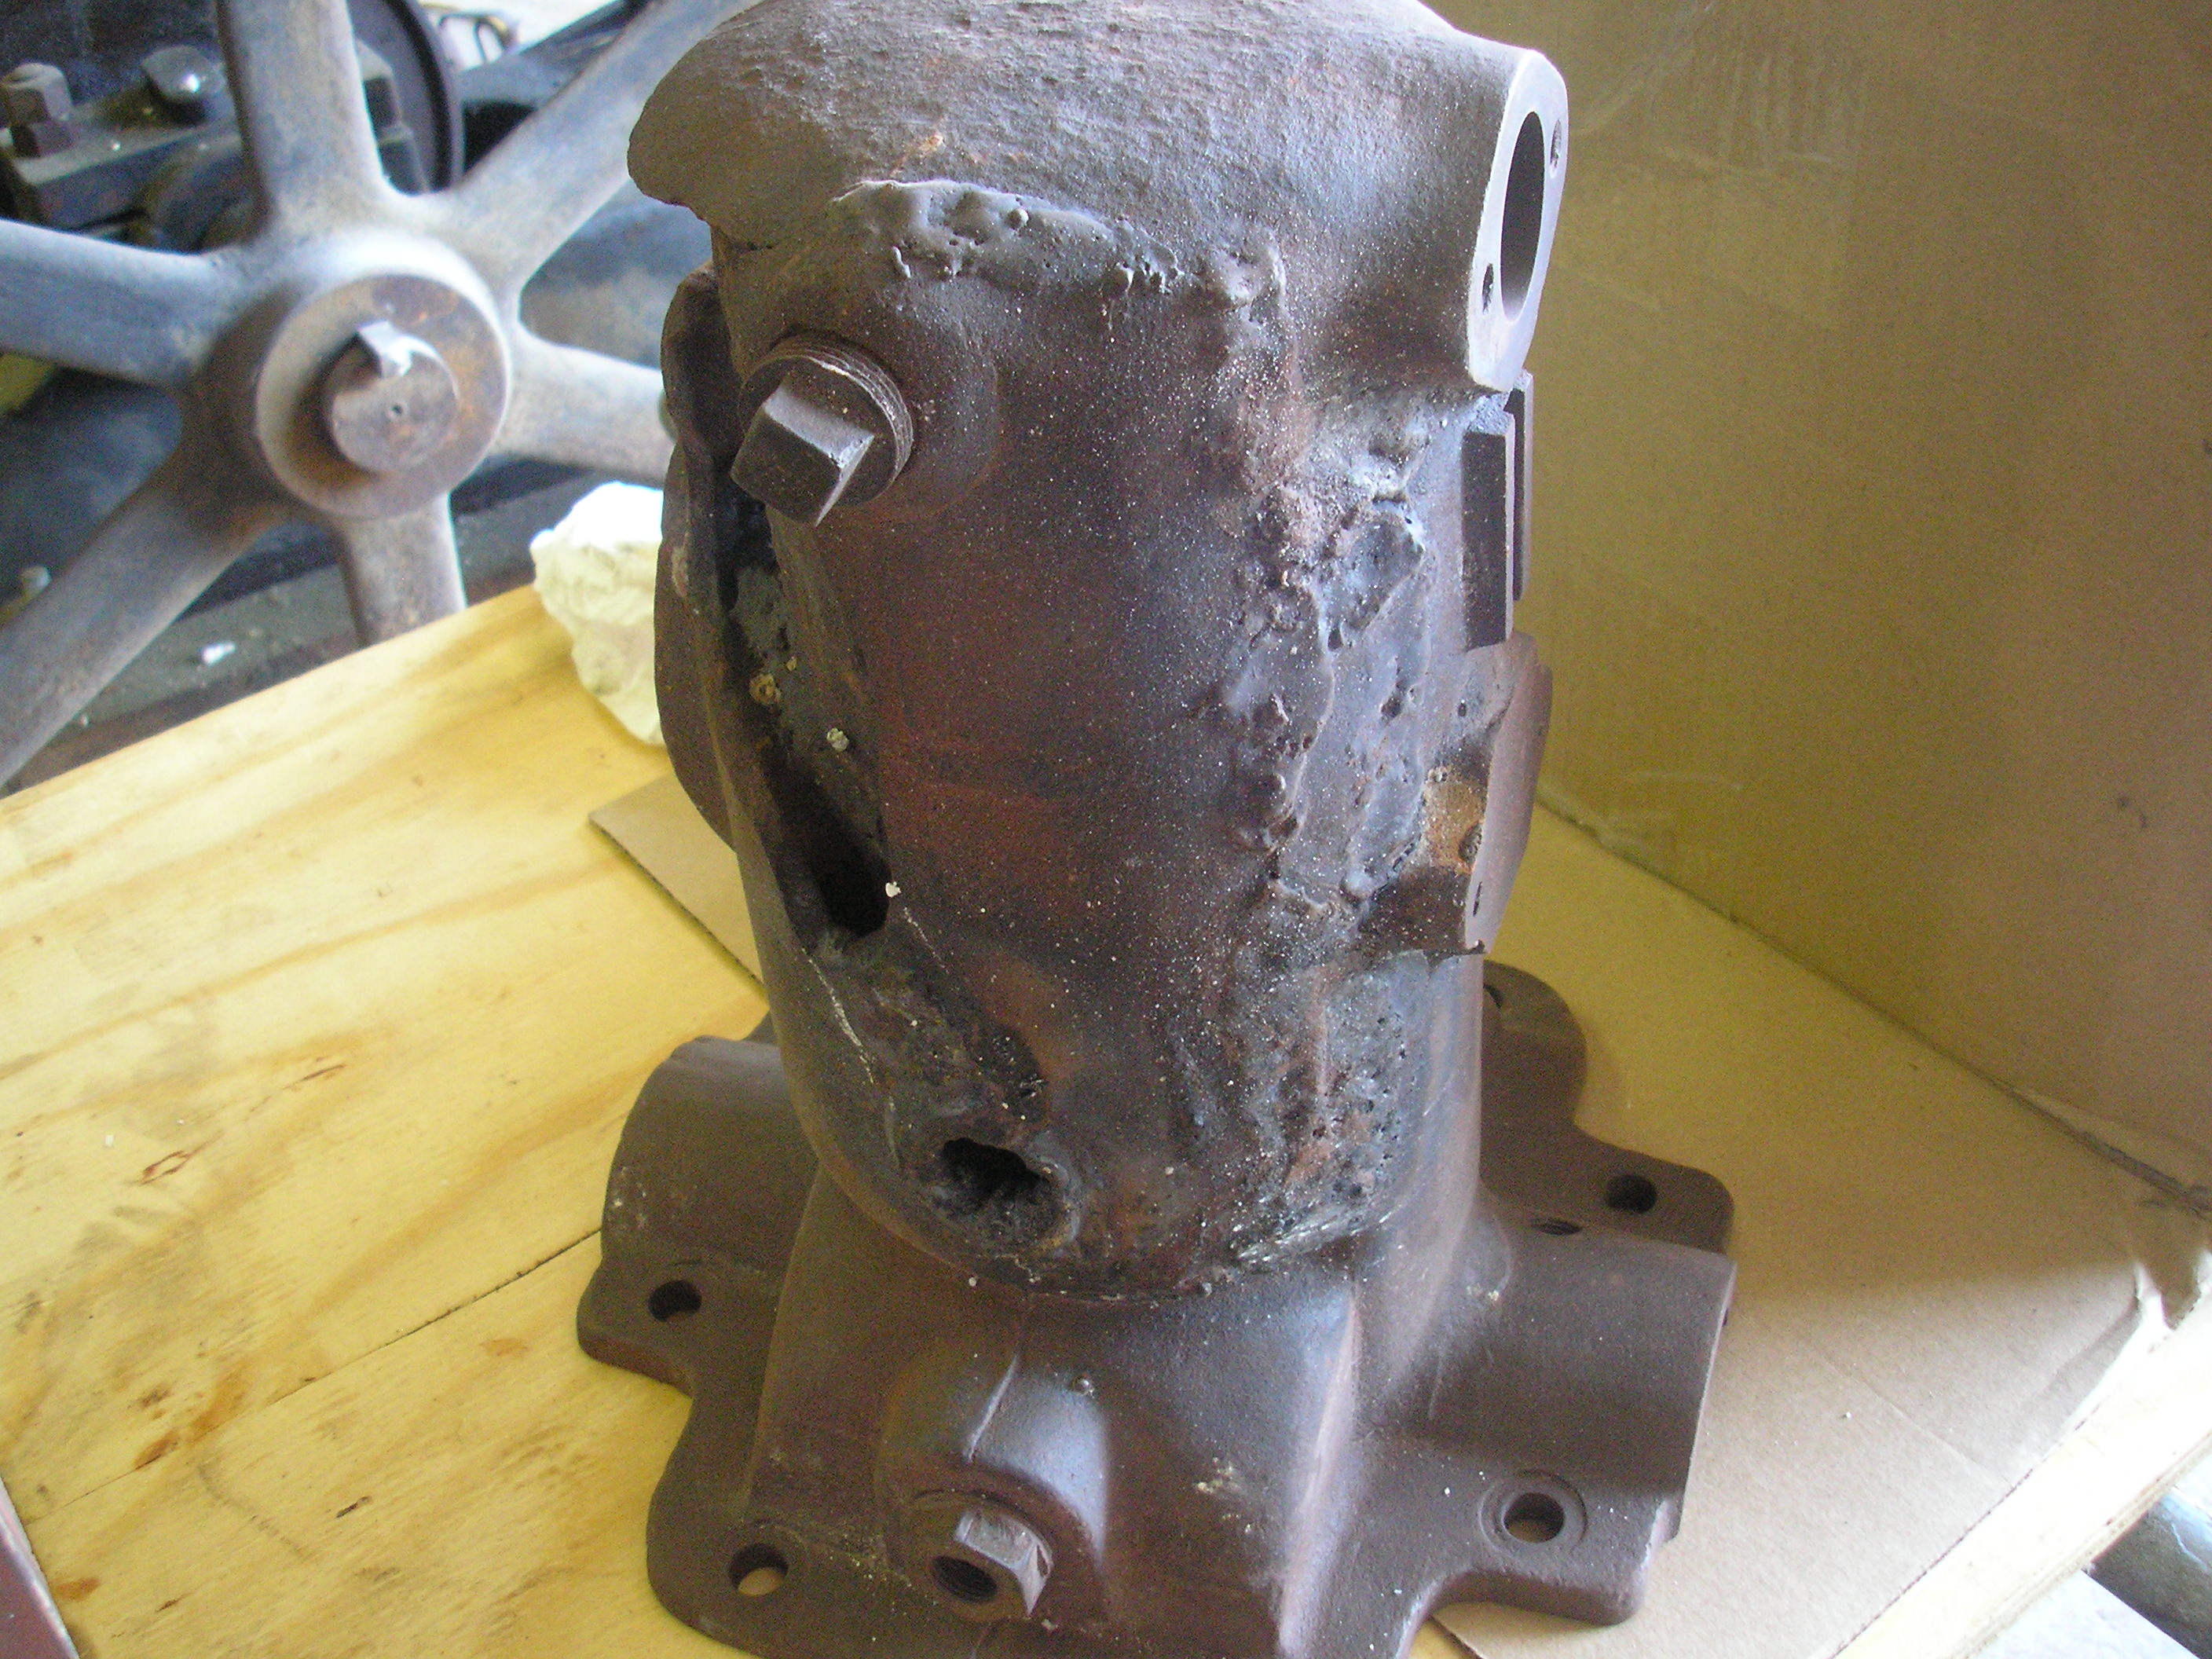
February 21, 2008
 I thought it had been a while since I'd posted an update... I didn't
realize it'd been over a year. Sorry about that. The Barker is
shaping up nicely and the inside water jacket, the cracks in the combustion
chamber and the hole where the plug was are all fixed. This process has taken
some 8 heats and over a pound of welding rod!!
I thought it had been a while since I'd posted an update... I didn't
realize it'd been over a year. Sorry about that. The Barker is
shaping up nicely and the inside water jacket, the cracks in the combustion
chamber and the hole where the plug was are all fixed. This process has taken
some 8 heats and over a pound of welding rod!!
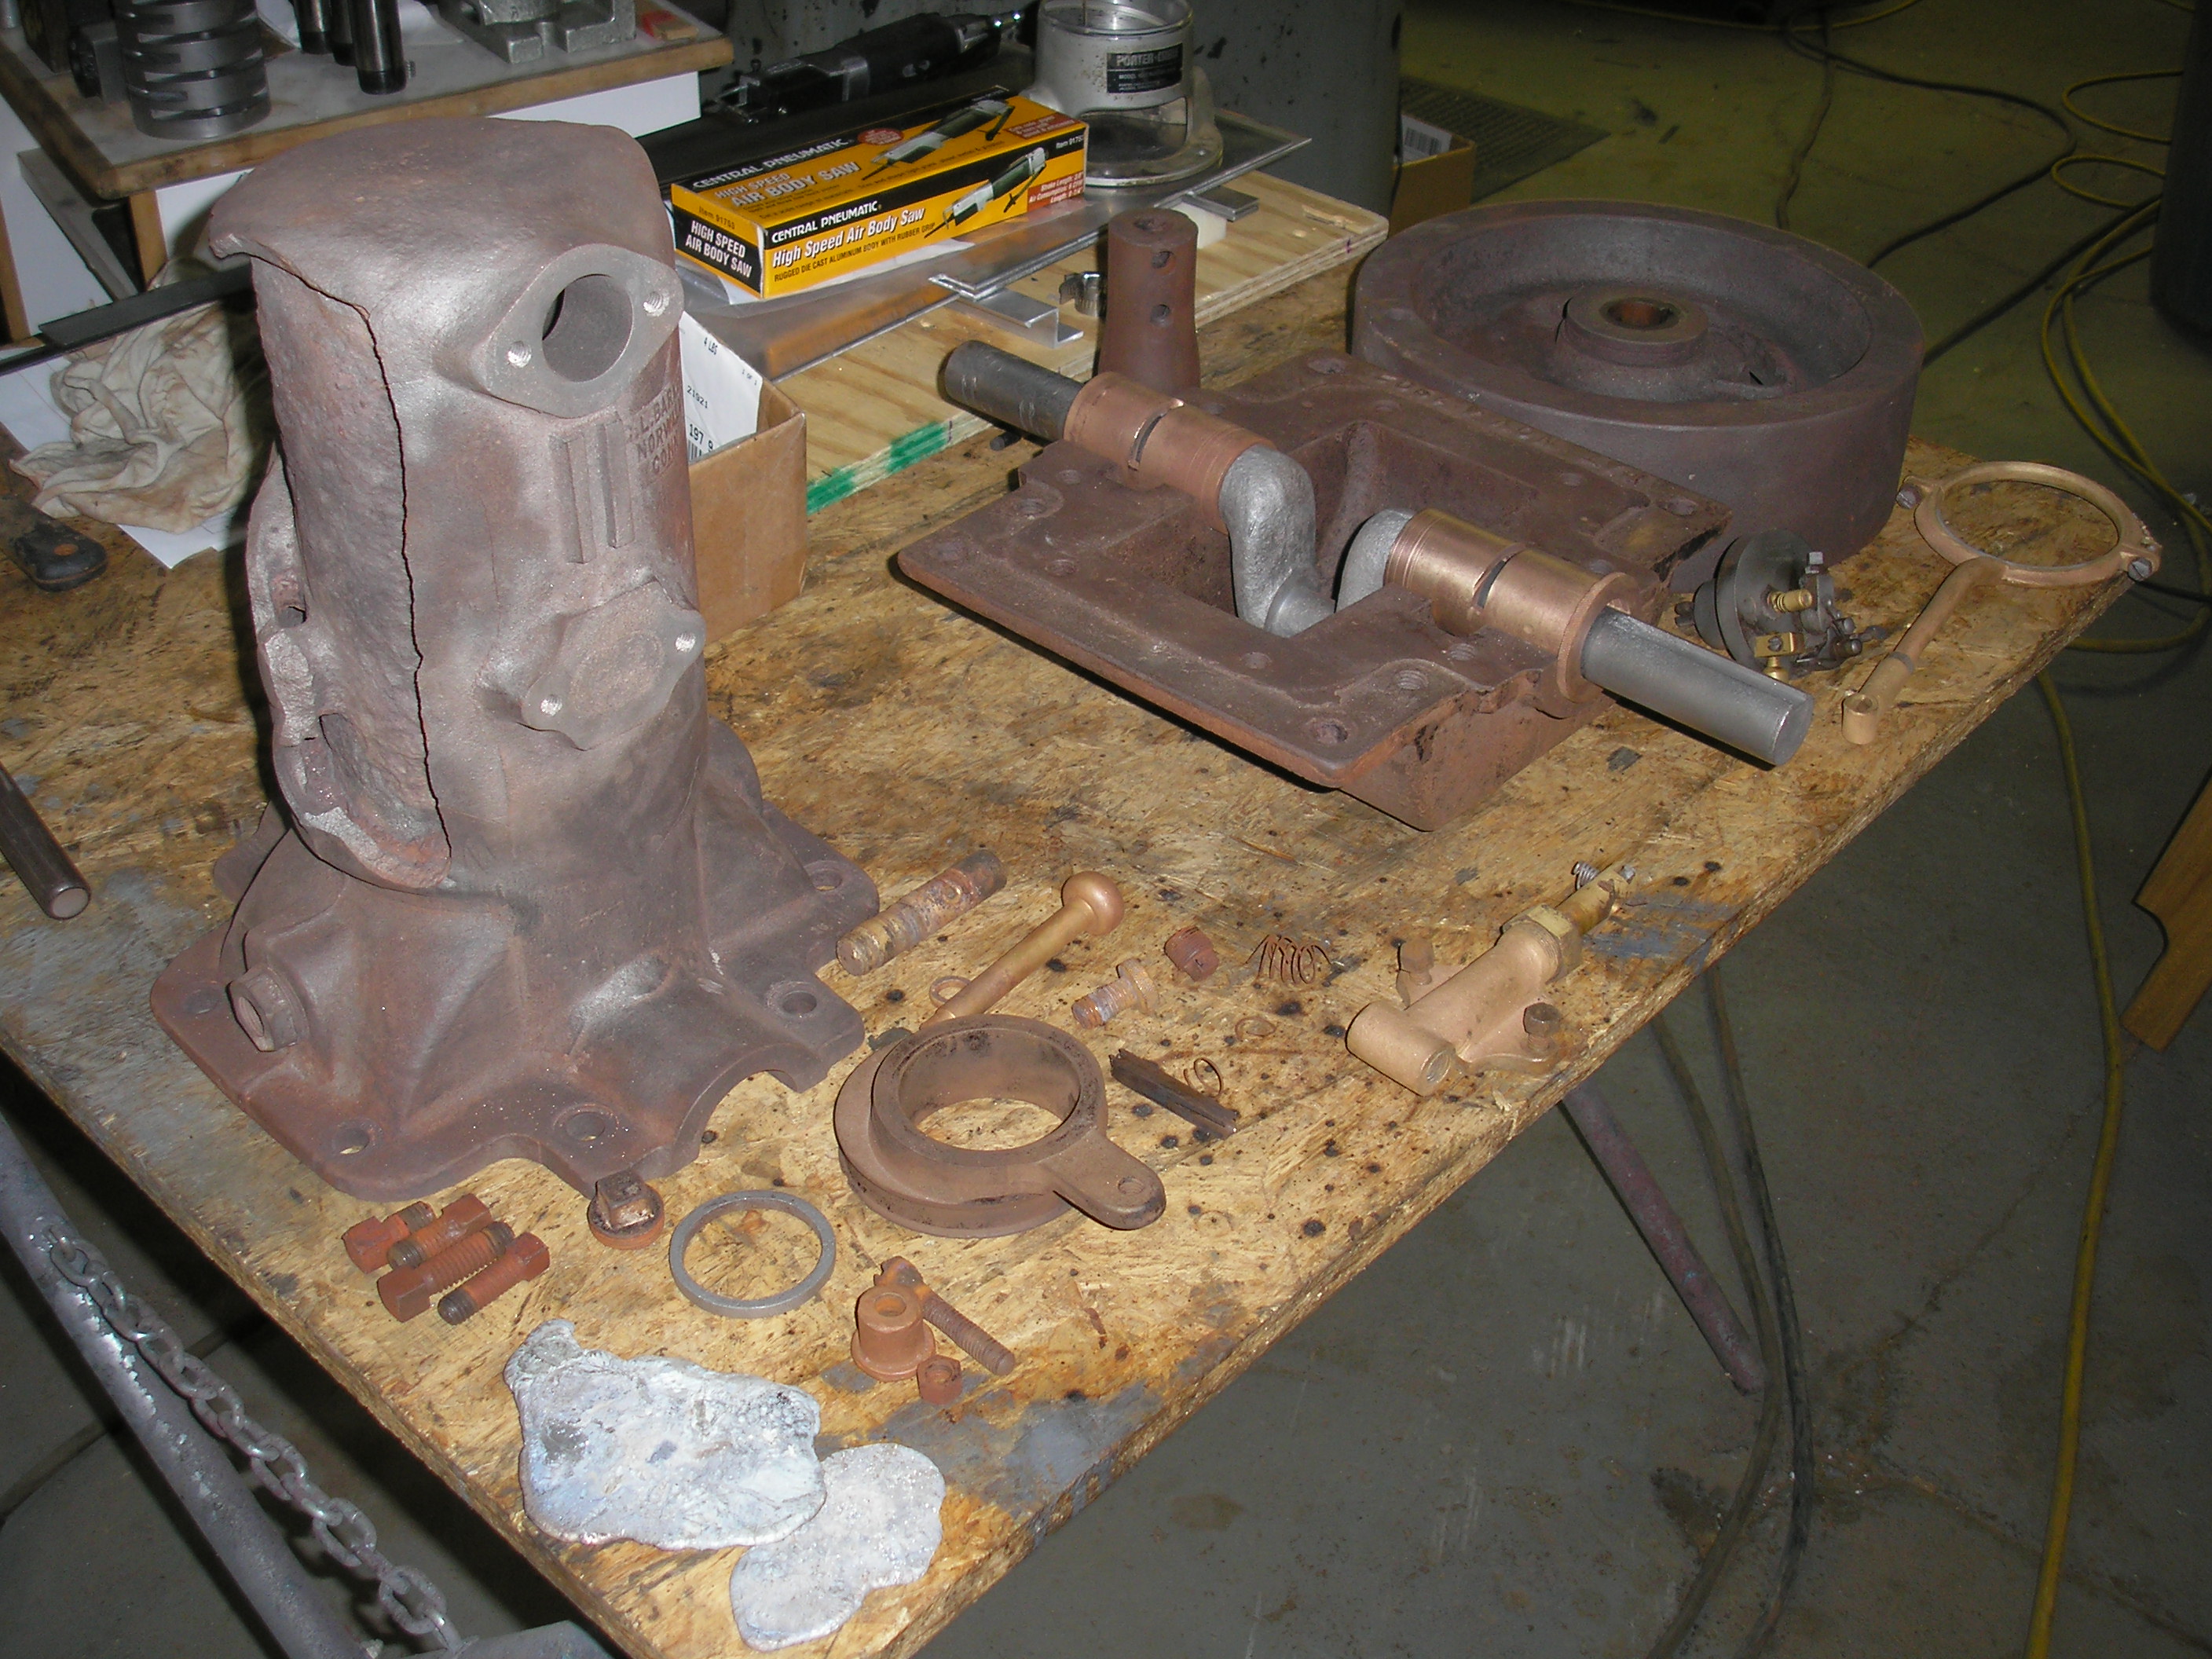
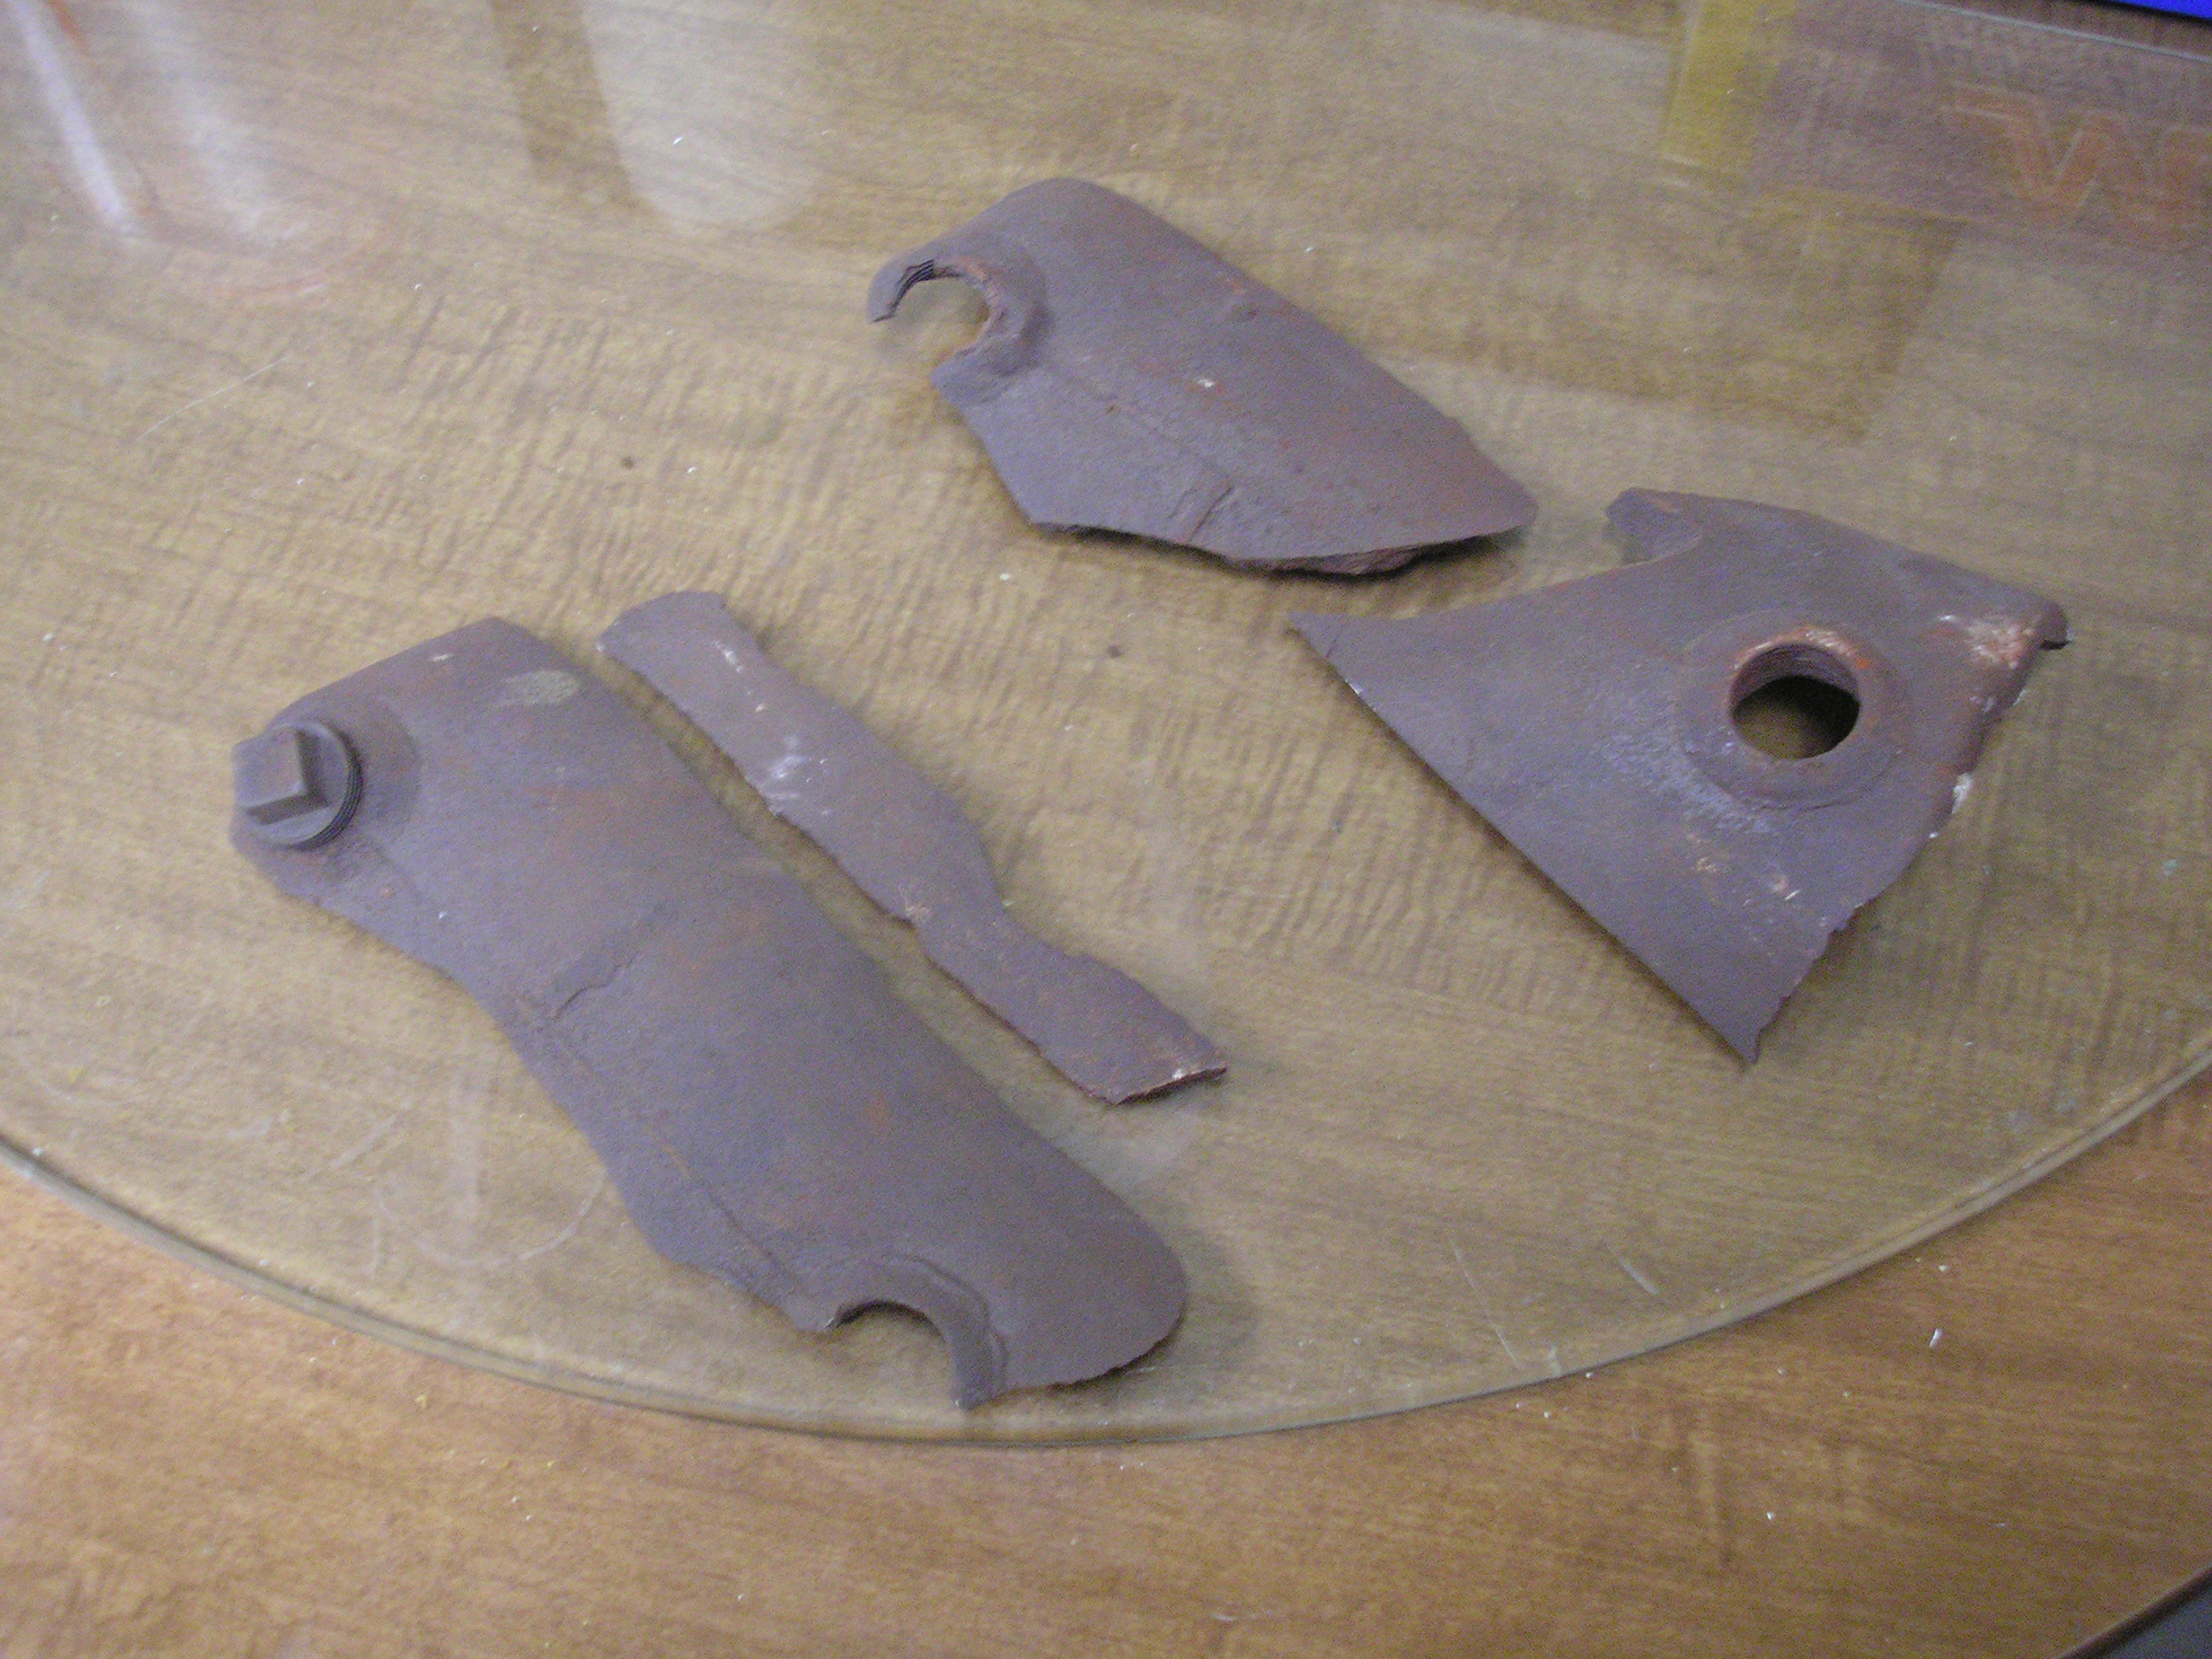 The next step is to fix the outer jacket parts and cast new parts that are
missing from the water jacket. These are the parts we have from the
original. We are aiming to have this at Calvert this year so folks can see
it.
The next step is to fix the outer jacket parts and cast new parts that are
missing from the water jacket. These are the parts we have from the
original. We are aiming to have this at Calvert this year so folks can see
it.
June 2008

 Here are the pieces being fitted. What a jigsaw puzzle!
 The puzzle with some glue applied.
 Pretty well welded together.
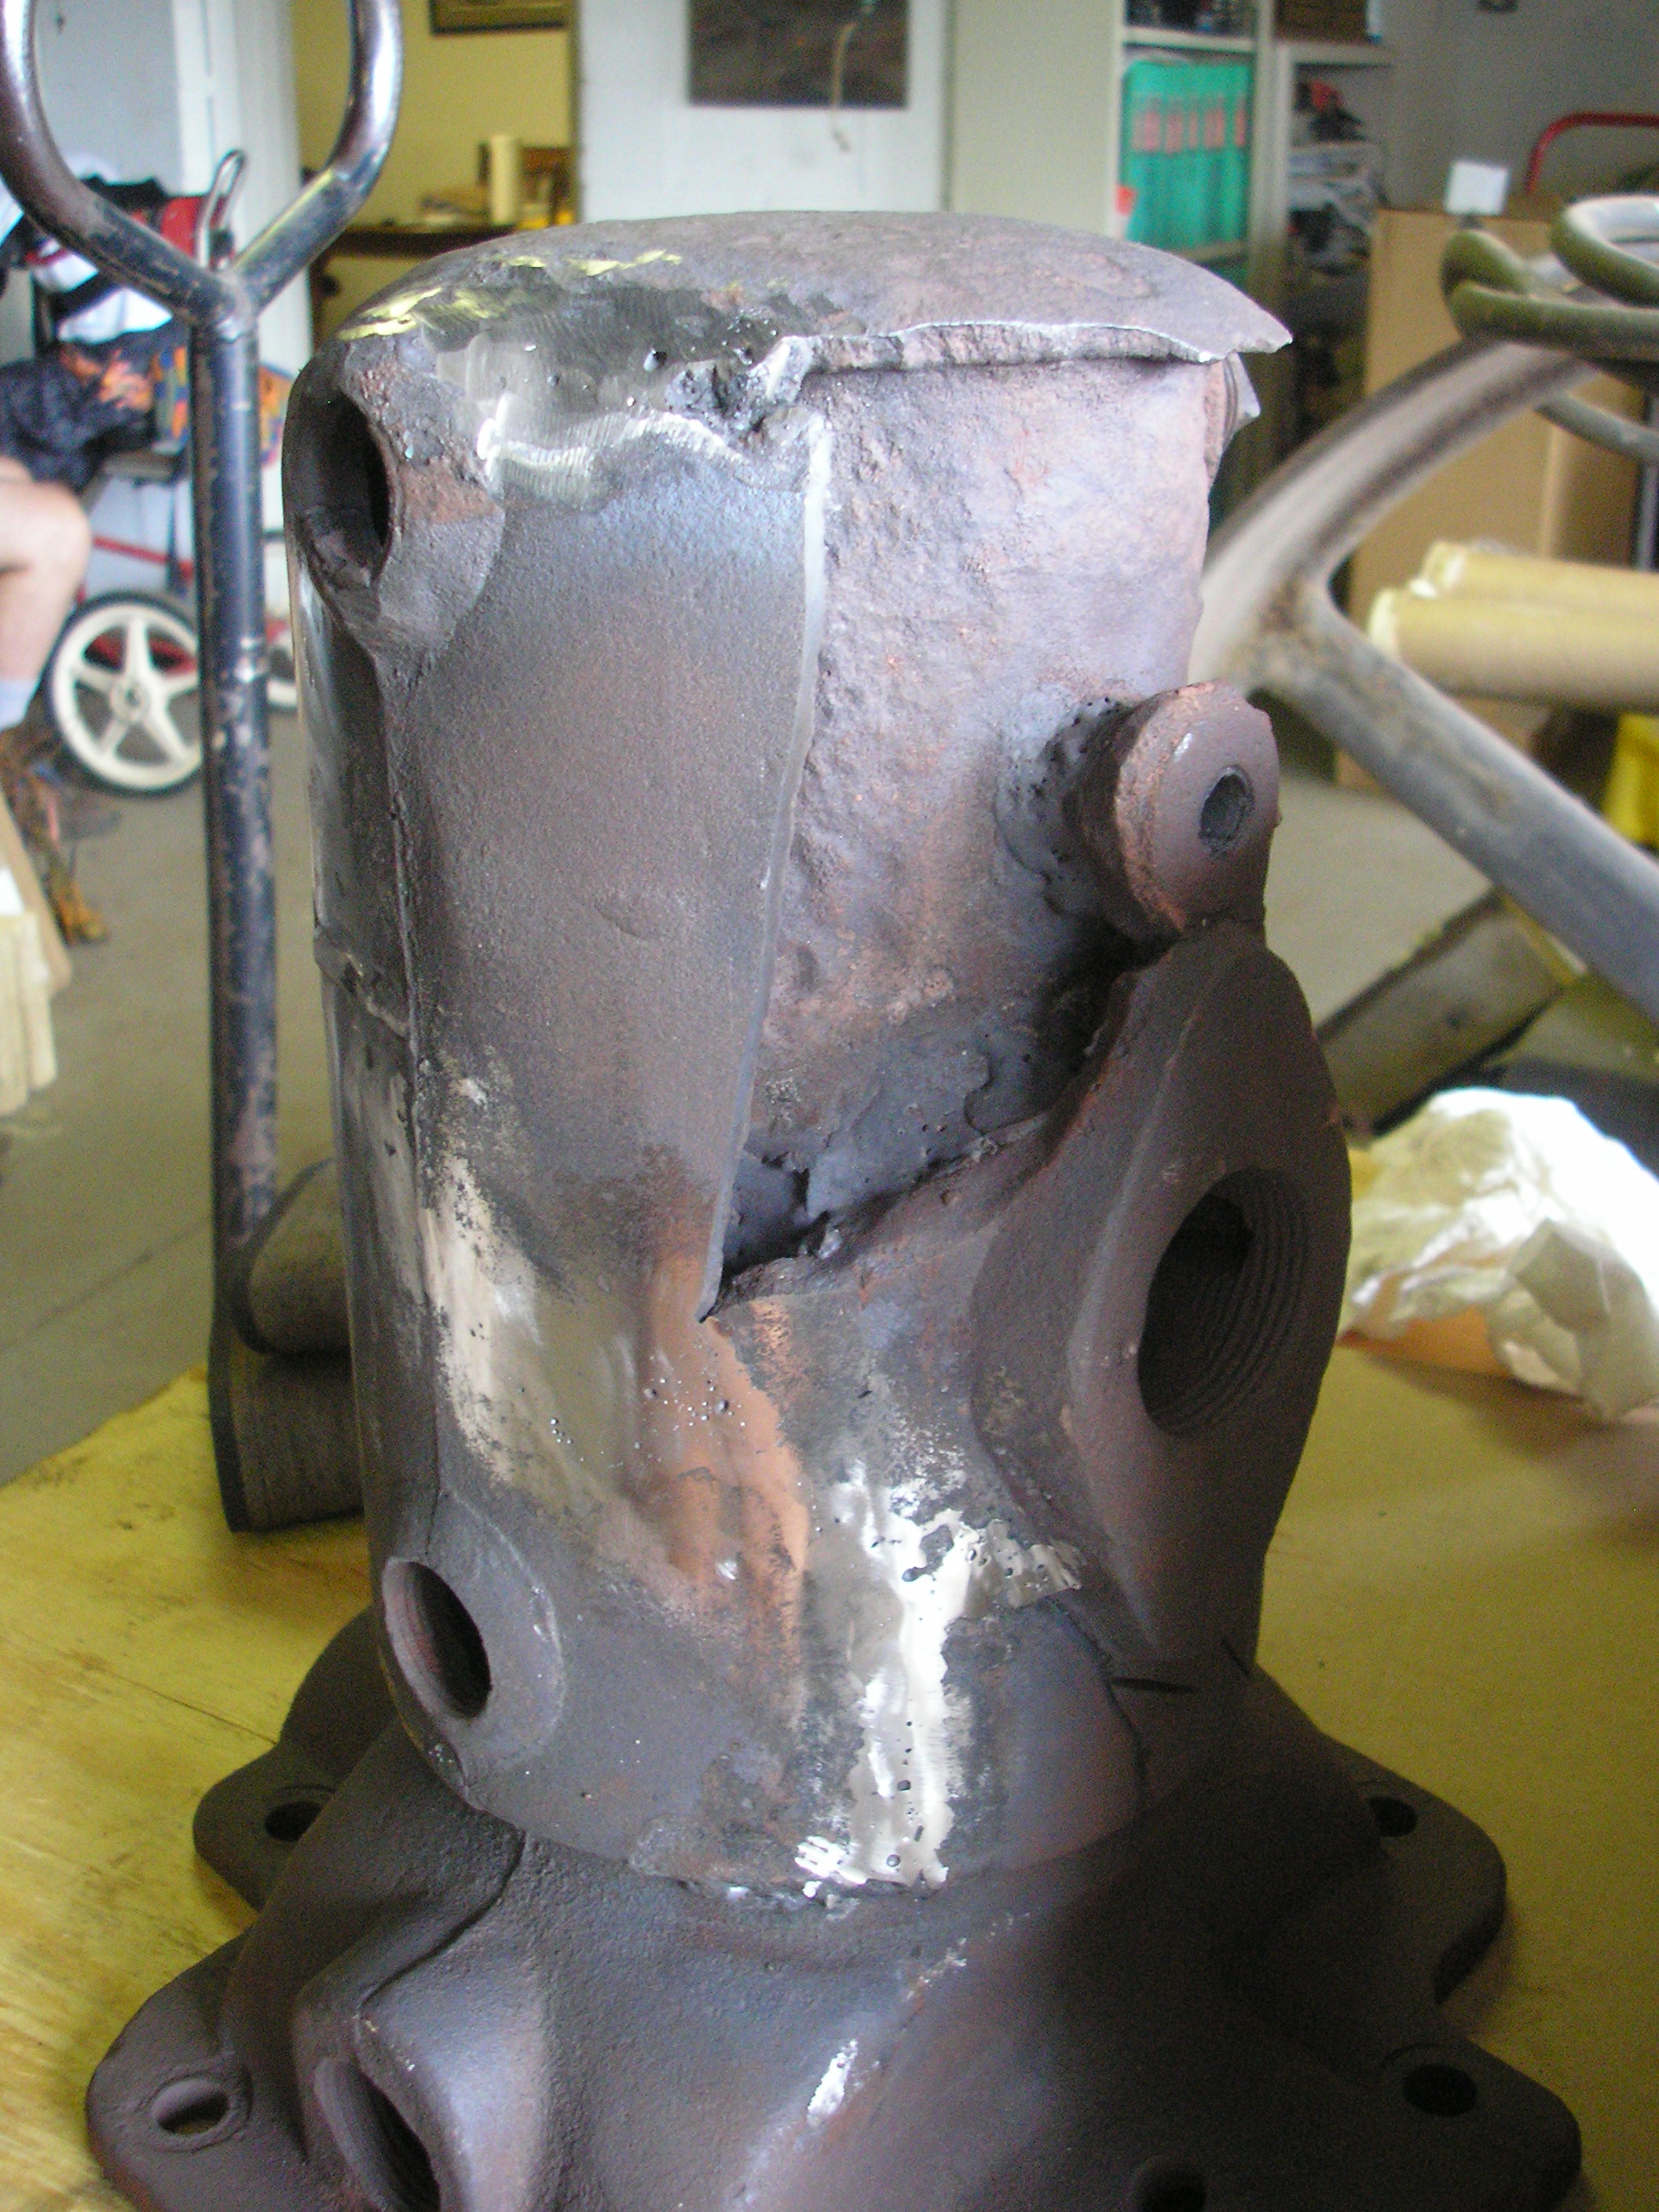
 Starting to finish the welding. The old water jacket is back together and
looks good. This is as far as we'll take it until we get the rest of the
welding done. The next step is to cast the missing piece.
Starting to finish the welding. The old water jacket is back together and
looks good. This is as far as we'll take it until we get the rest of the
welding done. The next step is to cast the missing piece.
 The missing piece.
 Just got these OEM parts back from the foundry and they look good. We'll
have the water jacket finished over the winter break.
Just got these OEM parts back from the foundry and they look good. We'll
have the water jacket finished over the winter break.
After the water jacket is fixed, we'll start figuring out the piston and get the crank bearings done.
September 25, 2009
I have to do better with my updates...
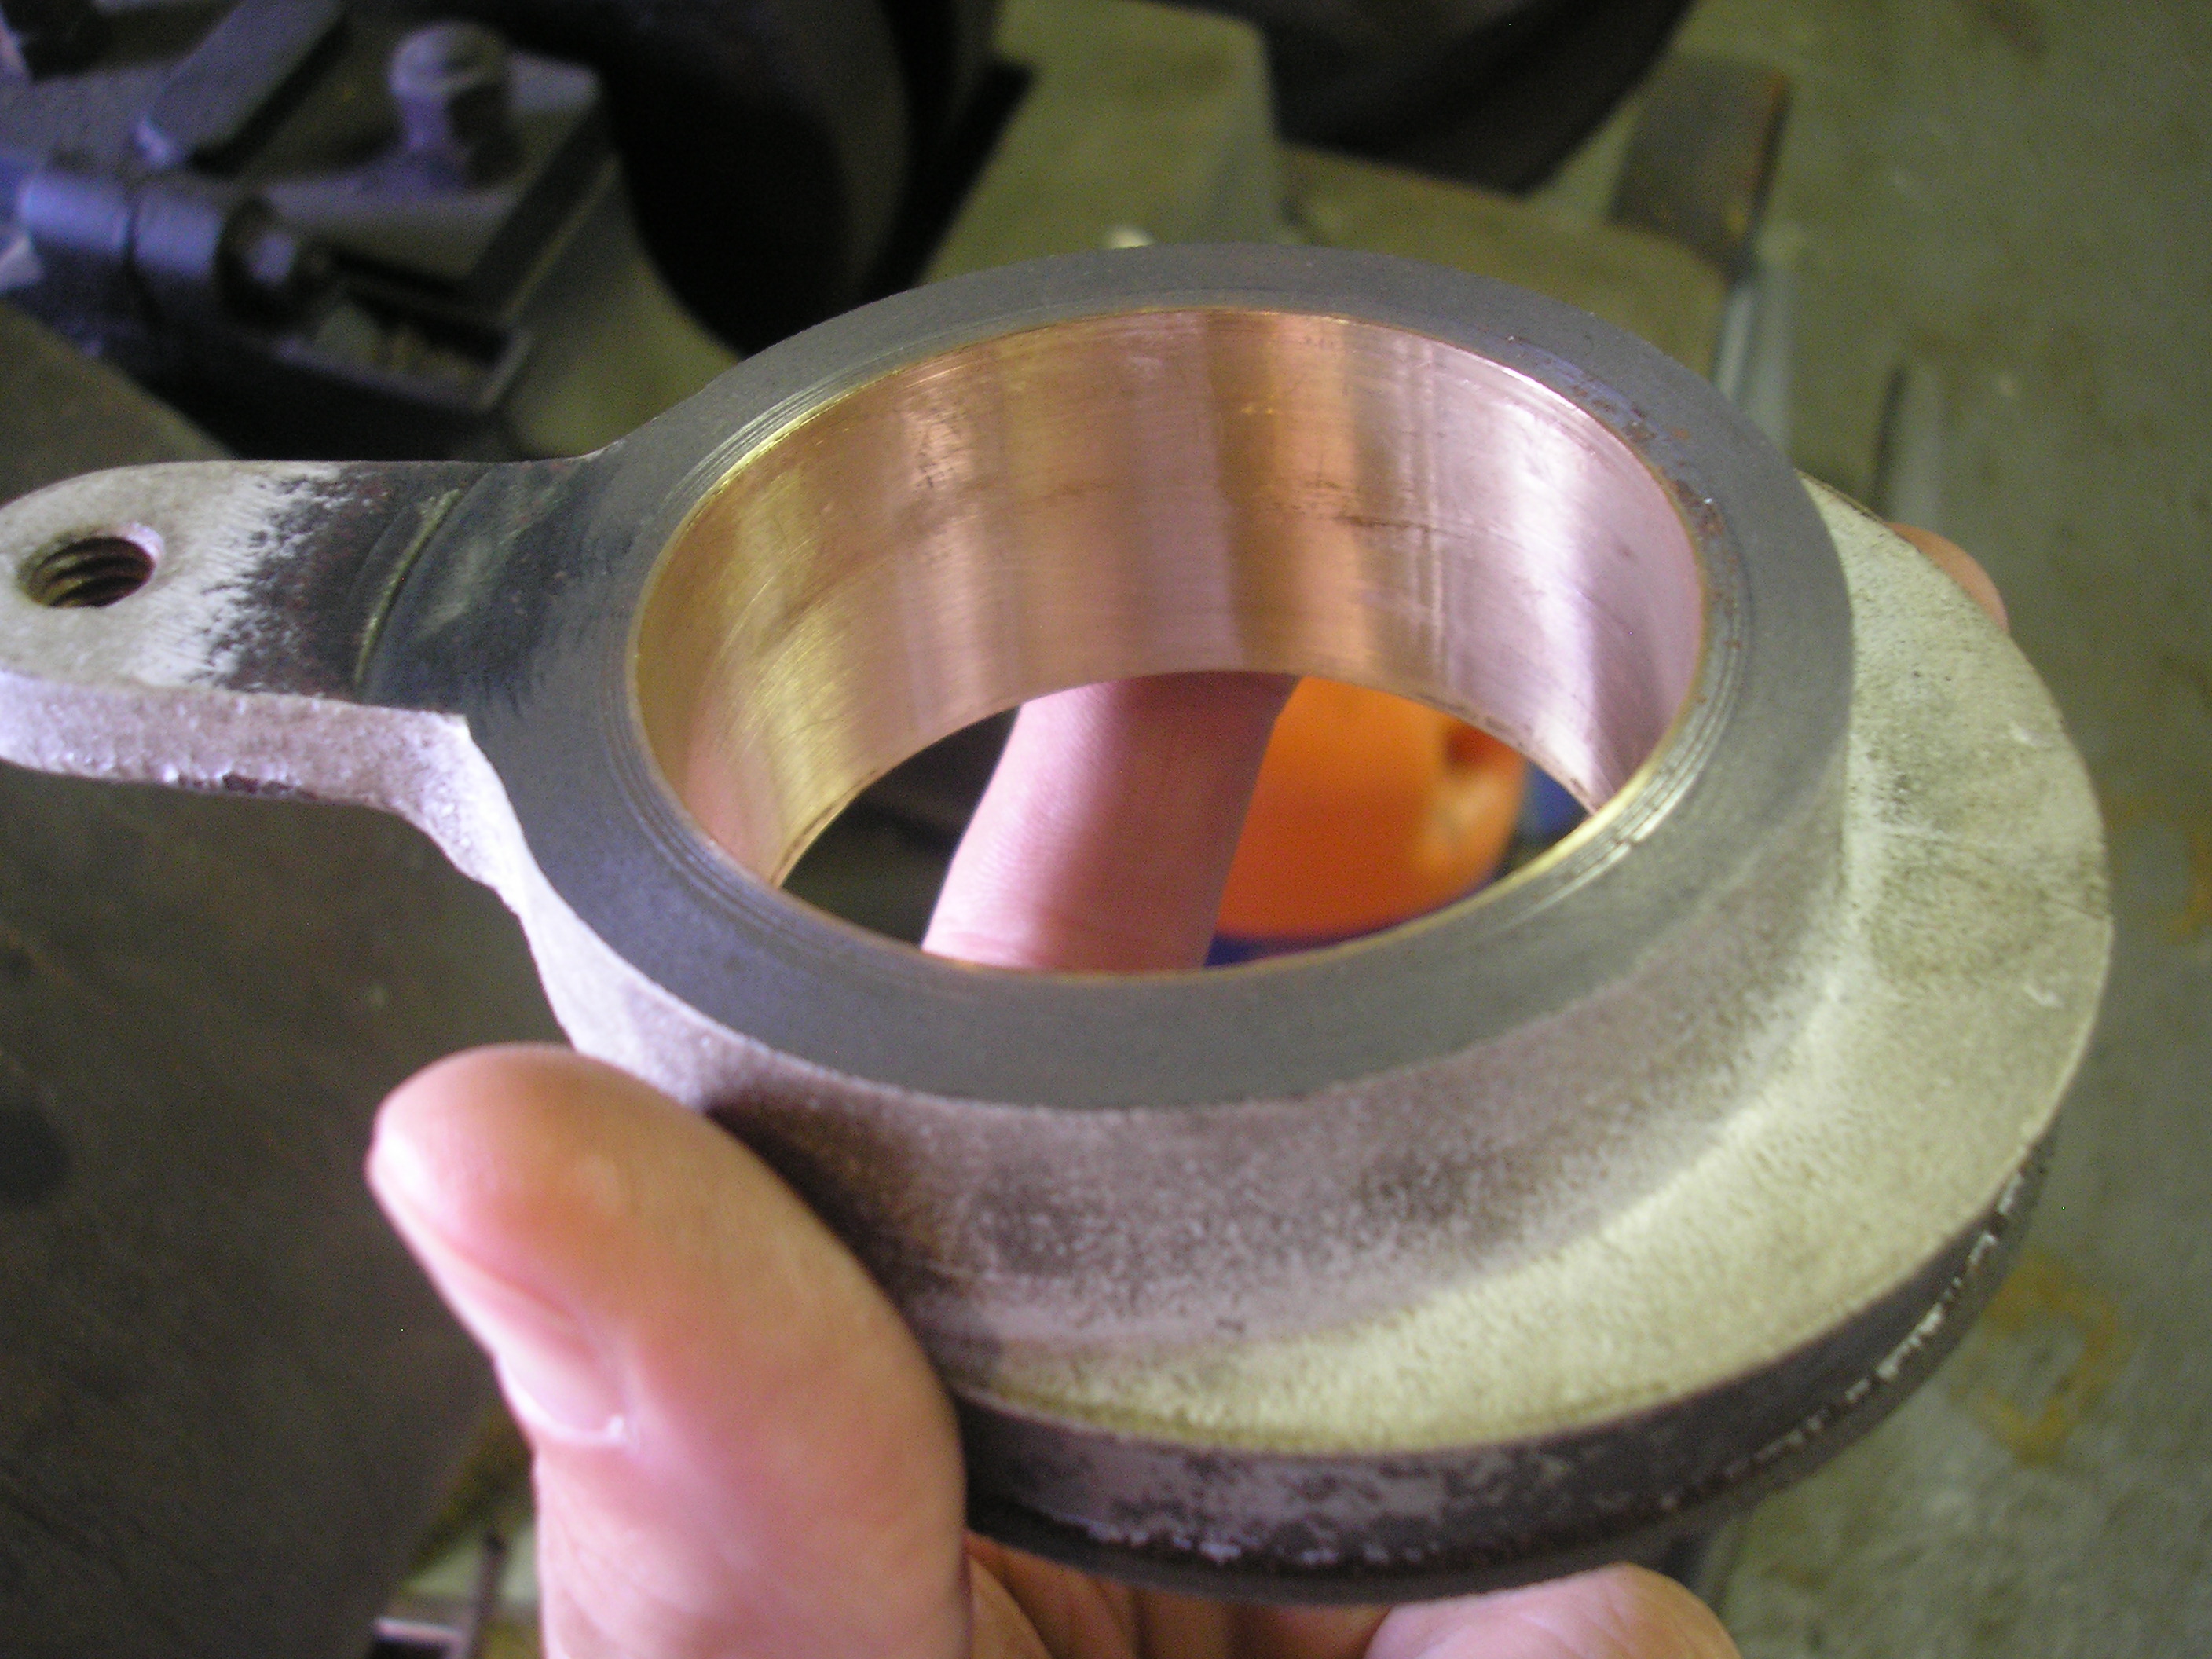
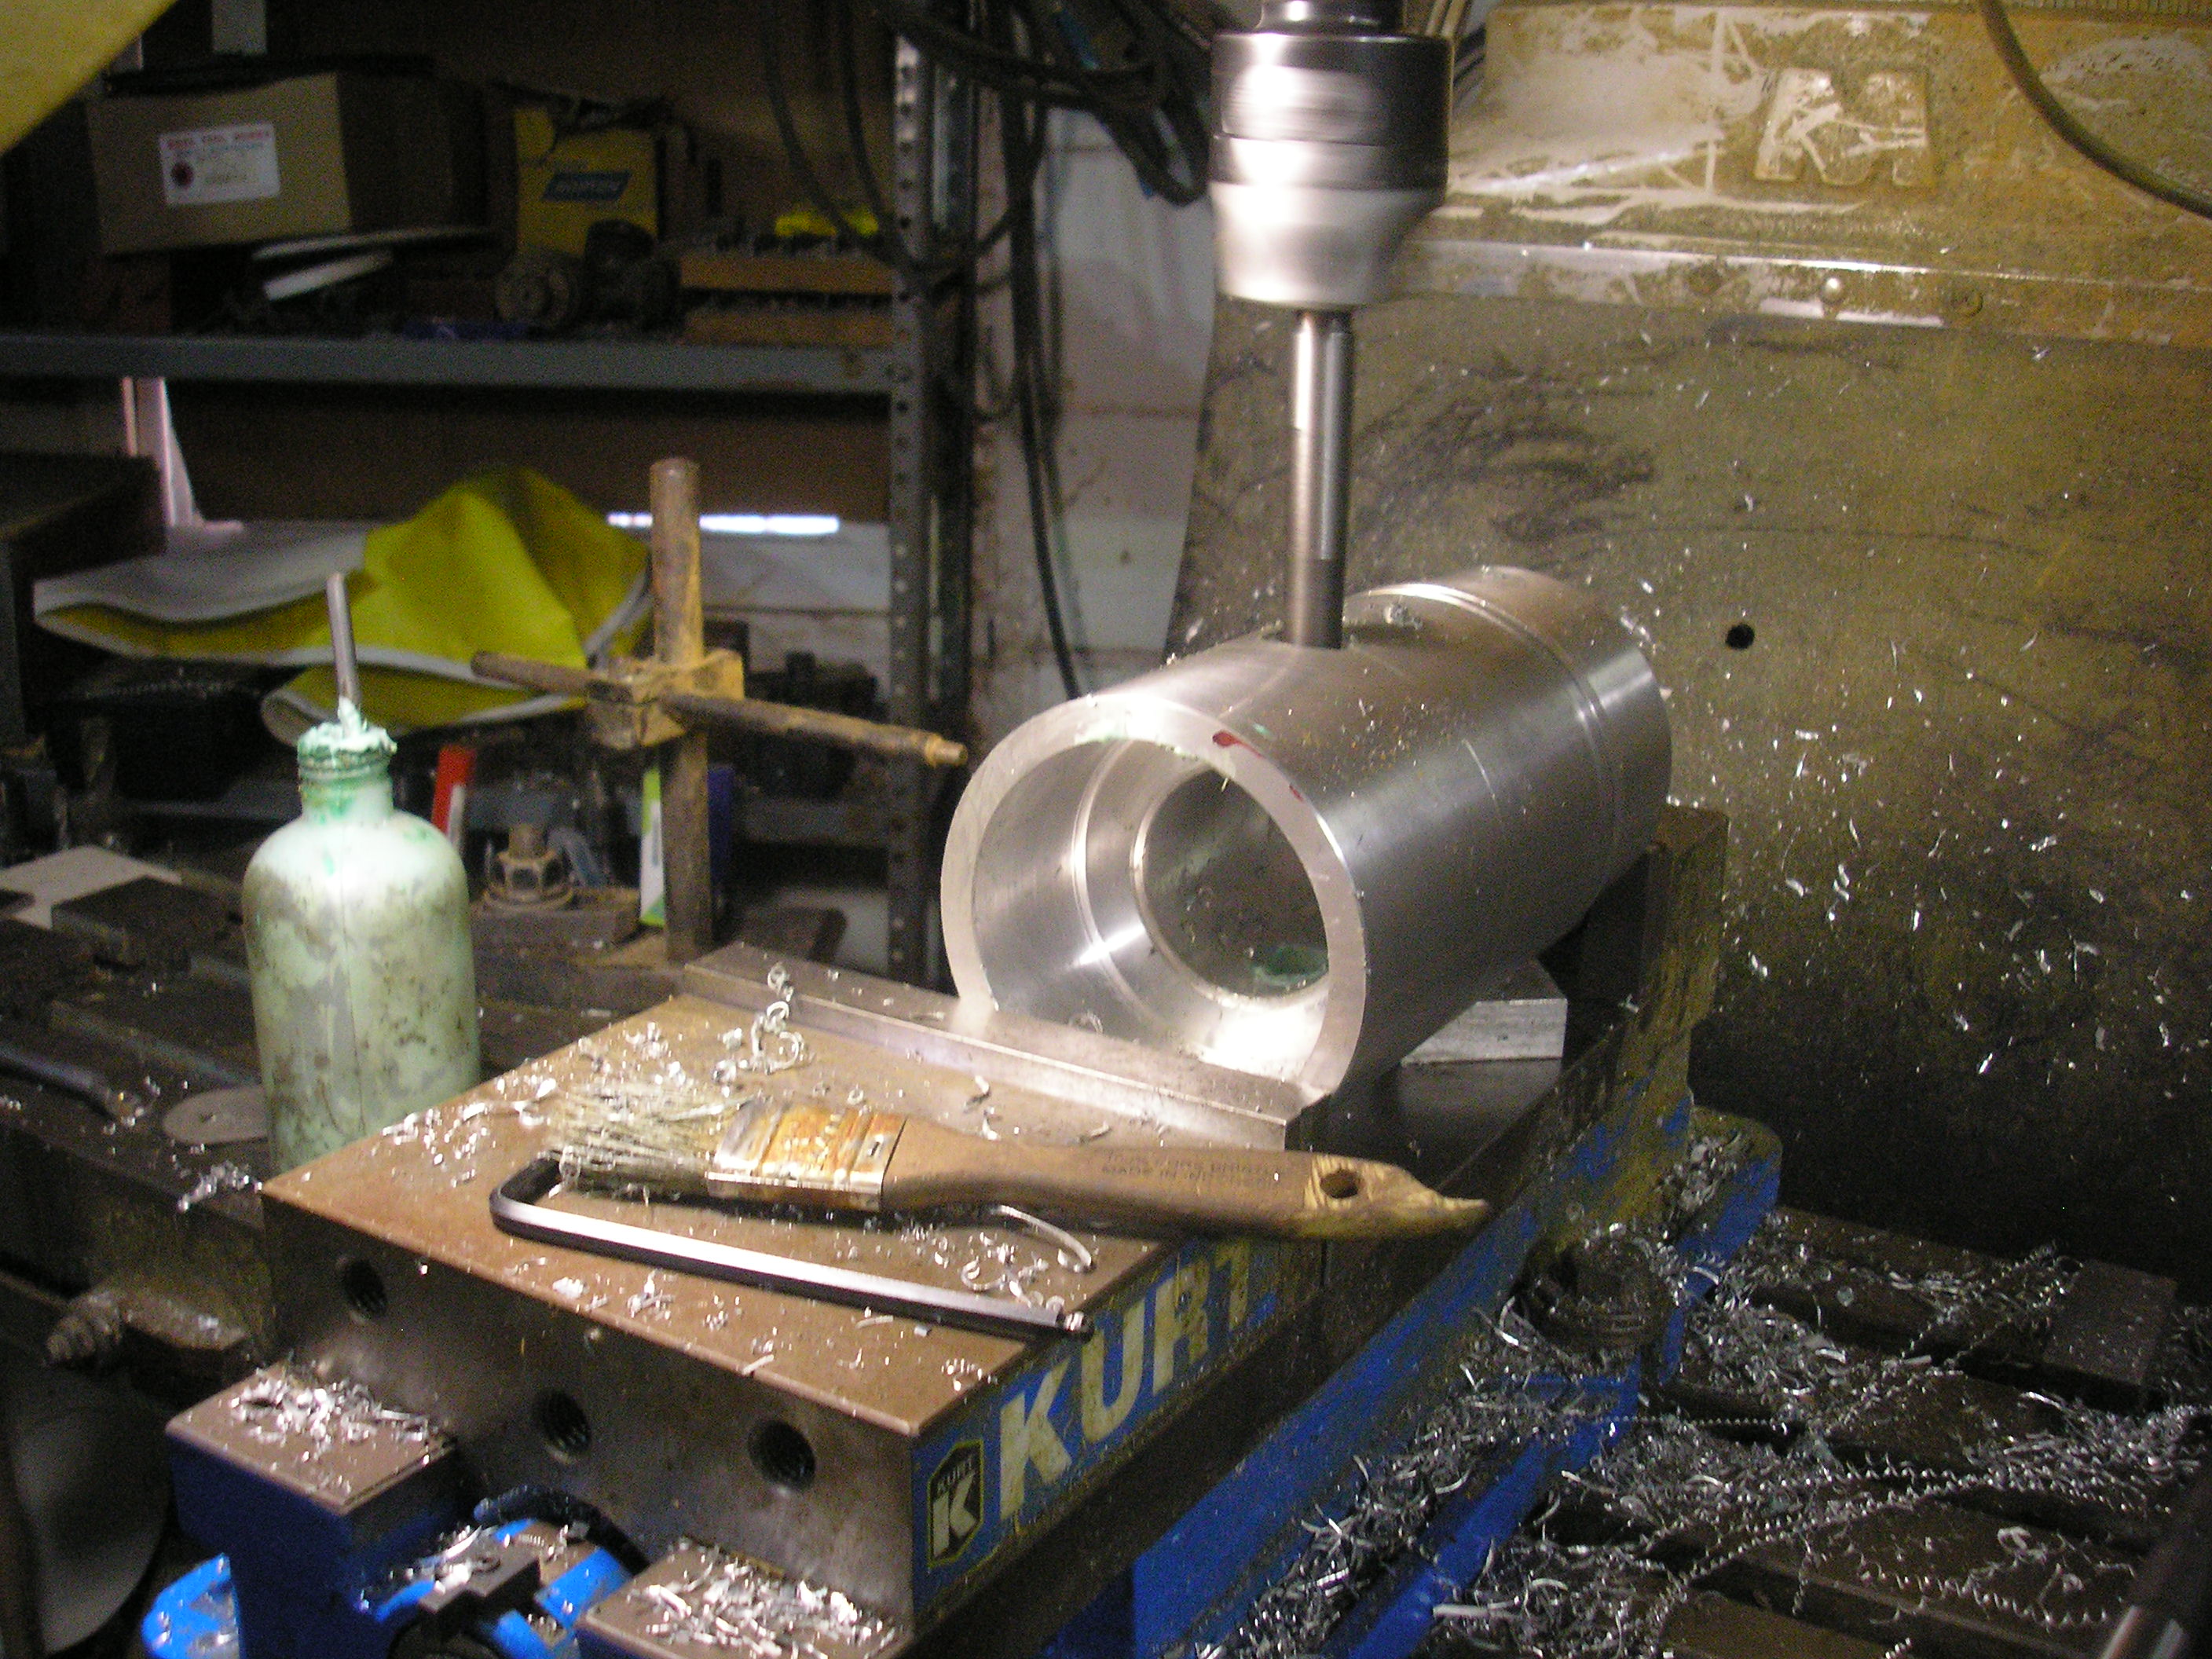
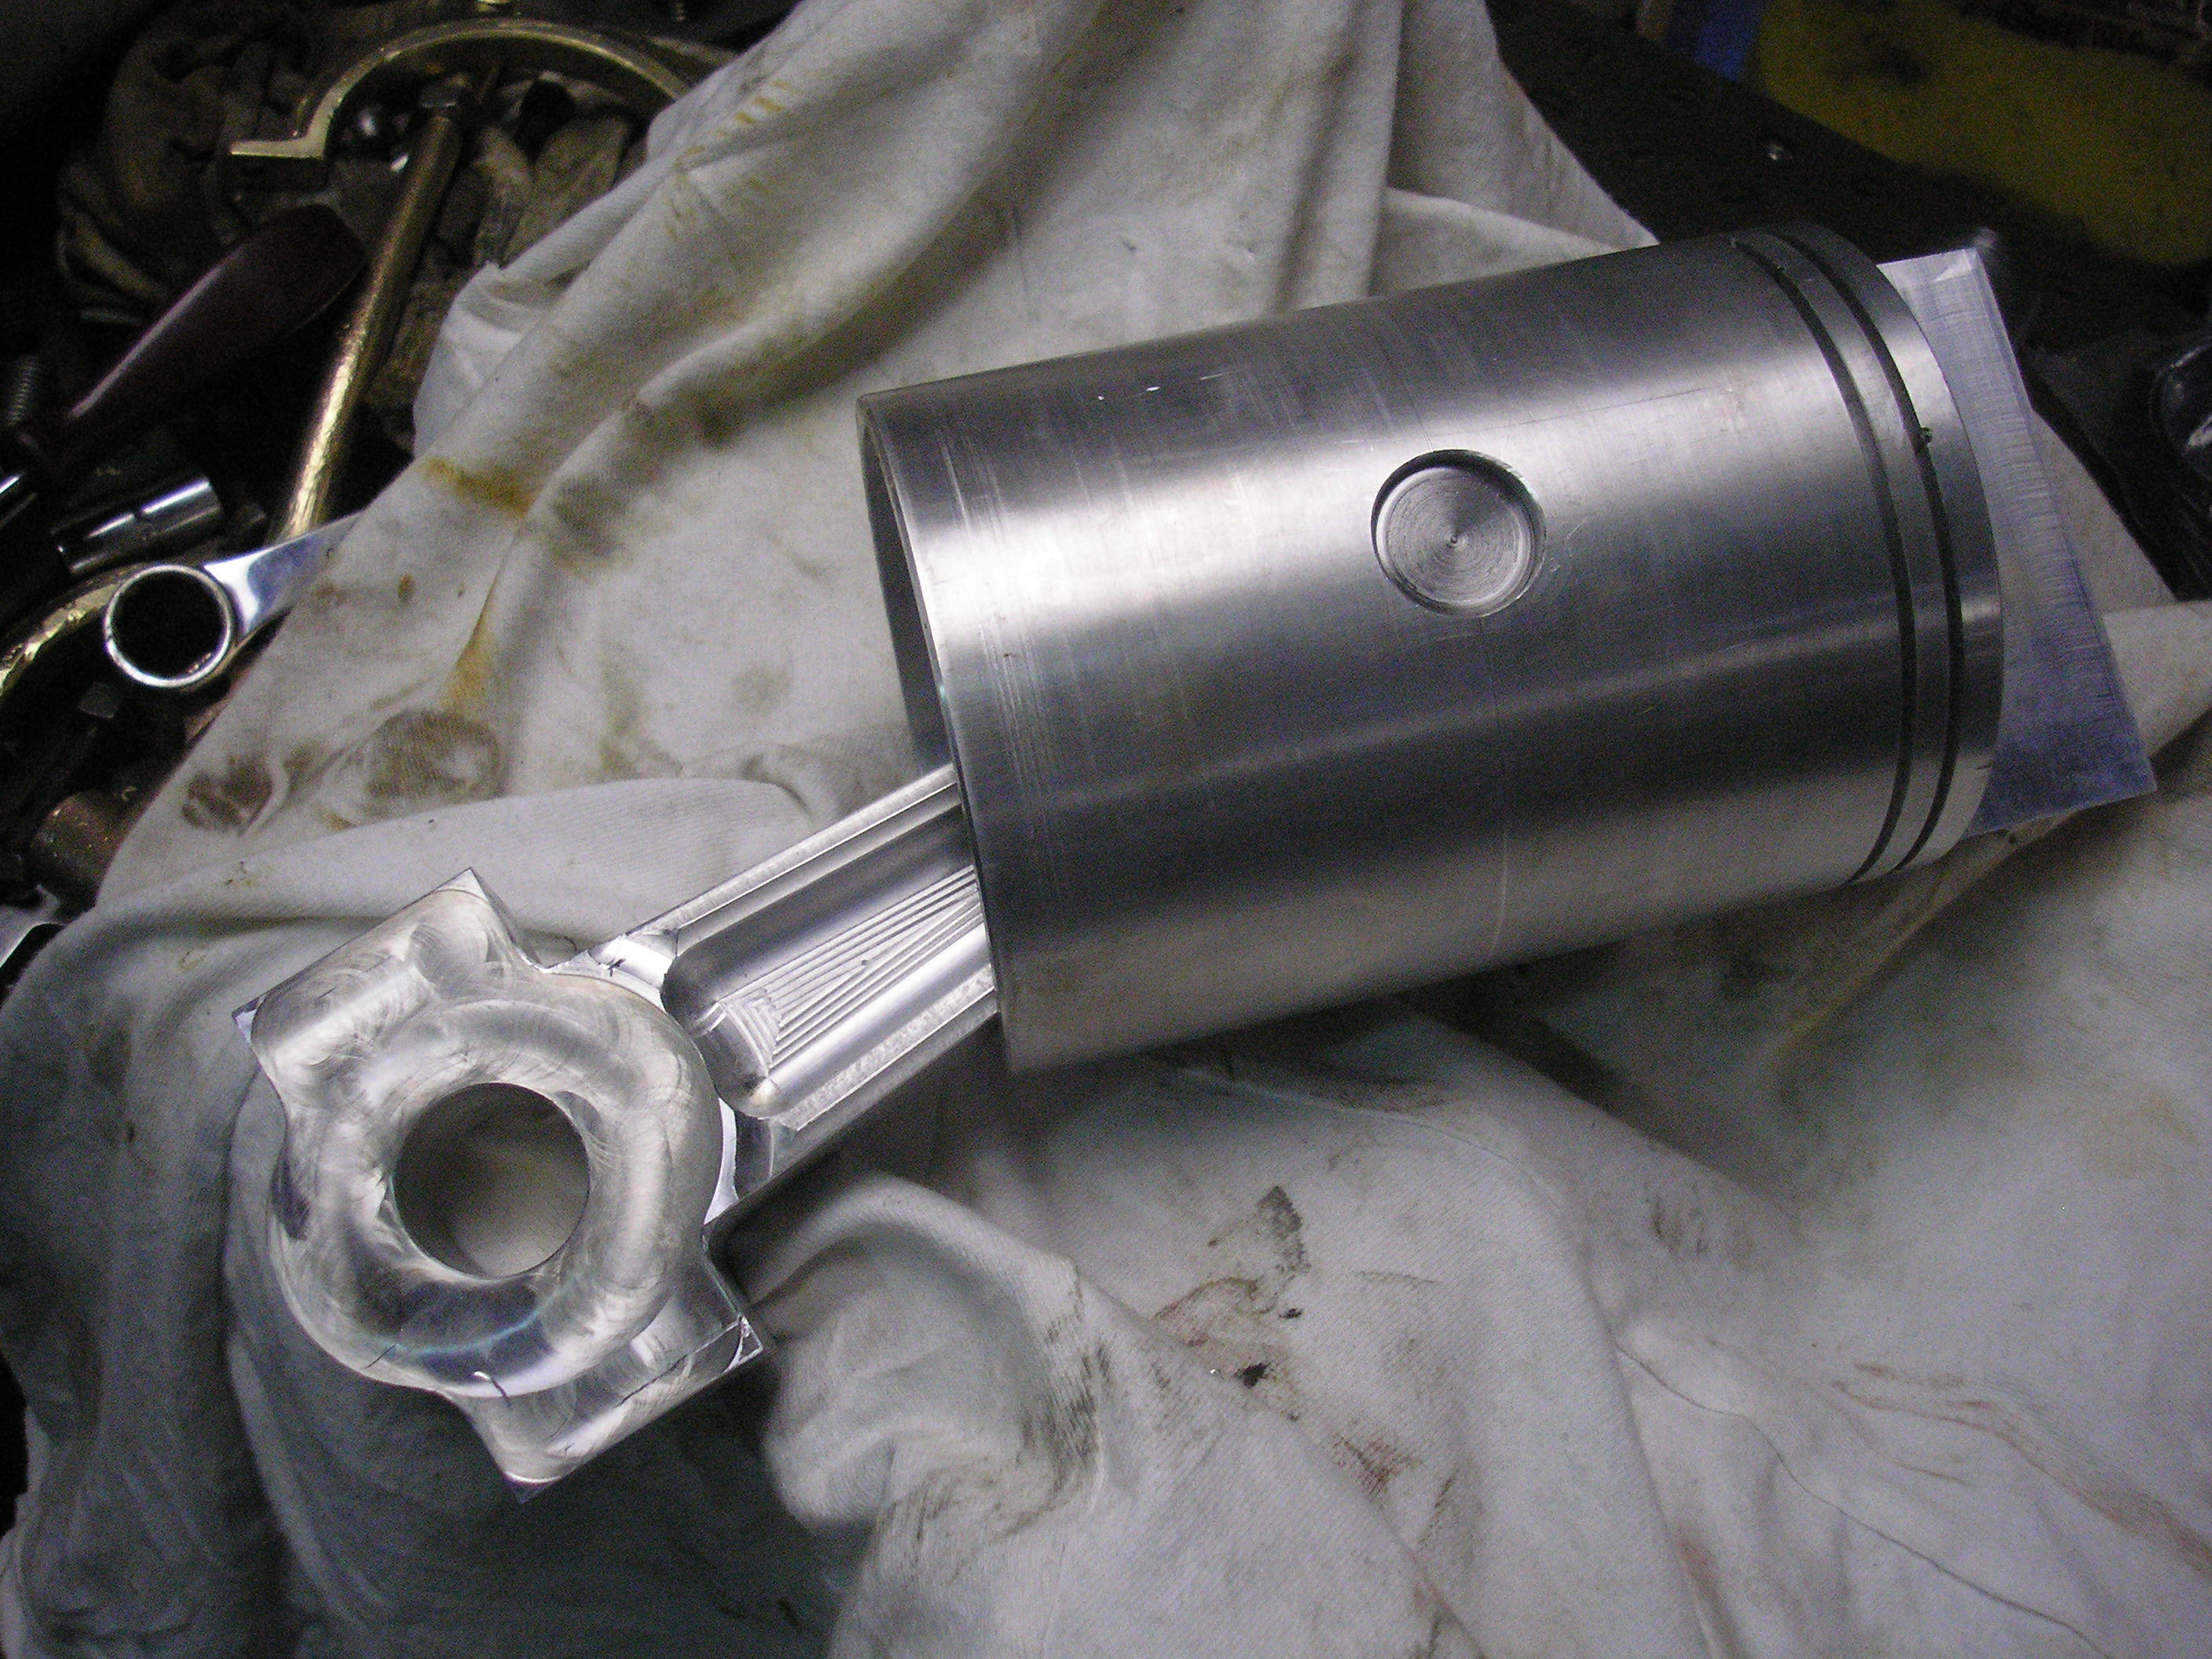
A lot has happened since the last update. The cylinder is finished and the new sleeve is in (Thanks JB). The crank is welded up and finished (Thanks Bob L). New bearings are done and slingers are finished. The piston is finished and we have started to work on the rod. Dad has been working on the igniter and water pump parts. The starting handle and timer adjustment eccentric is completed. The water pump strap is brazed up and ready for finishing. New stainless steel case bolts were made to 1/2 -12 thread just as original.

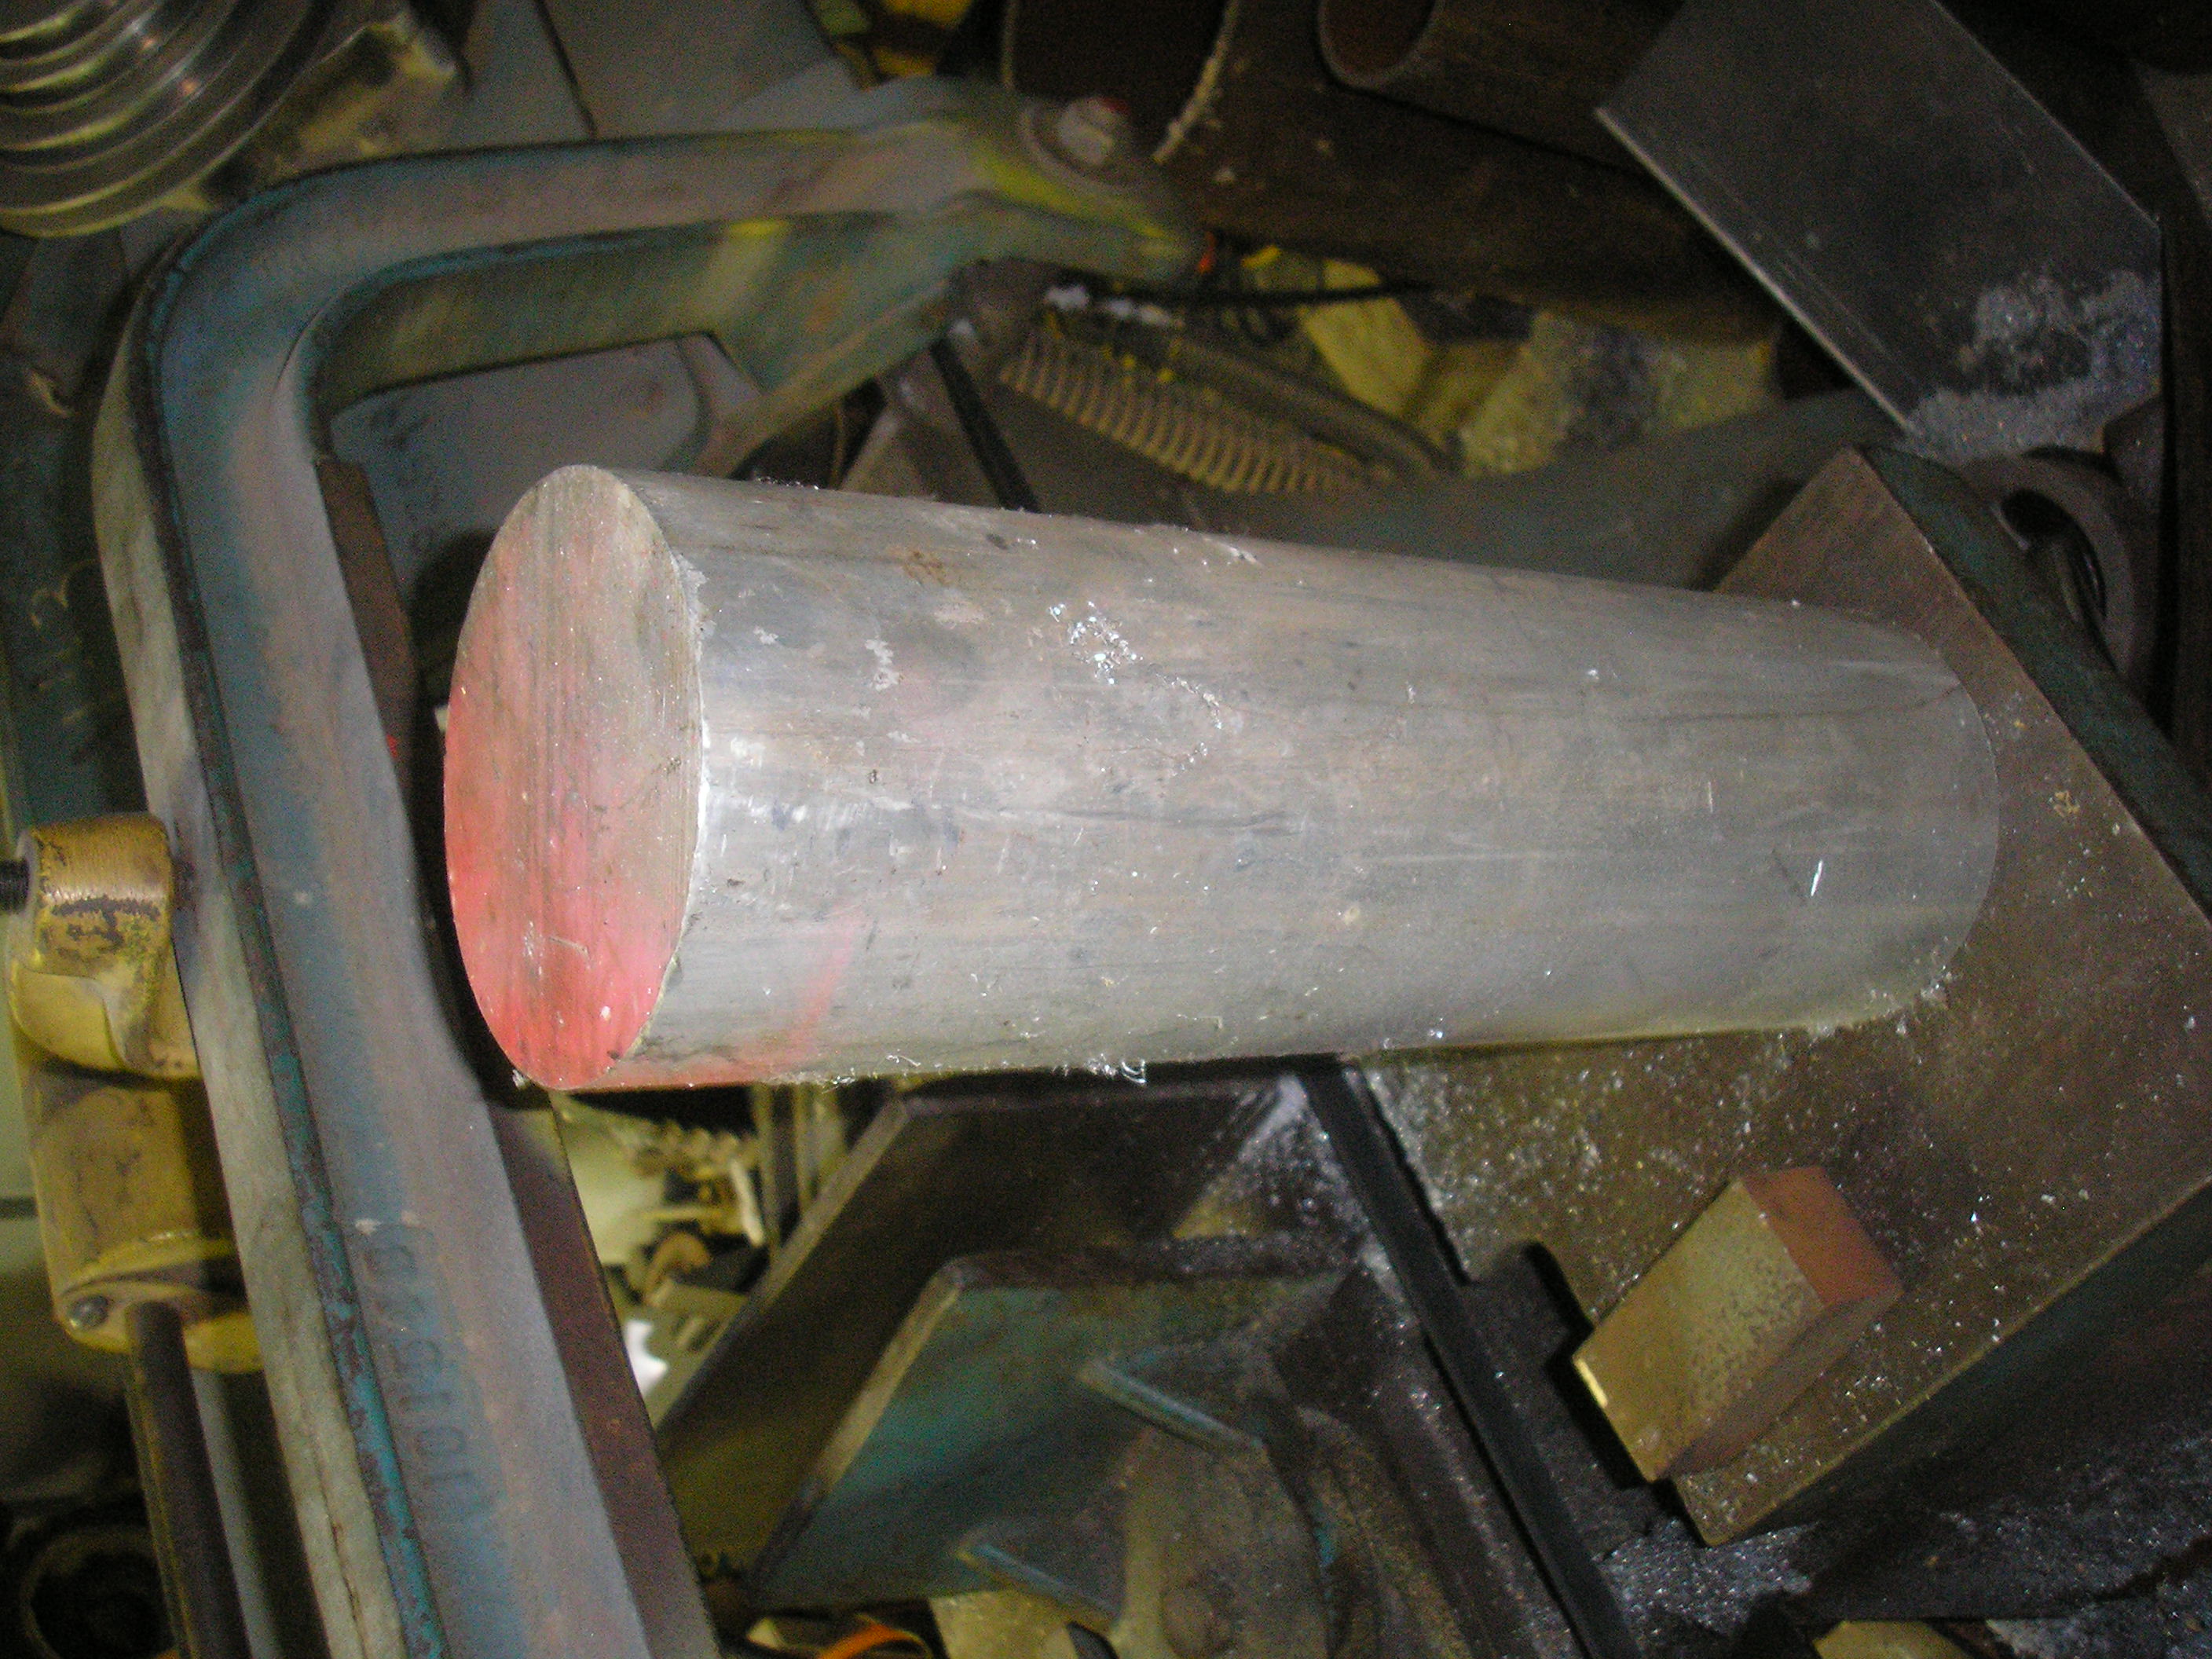
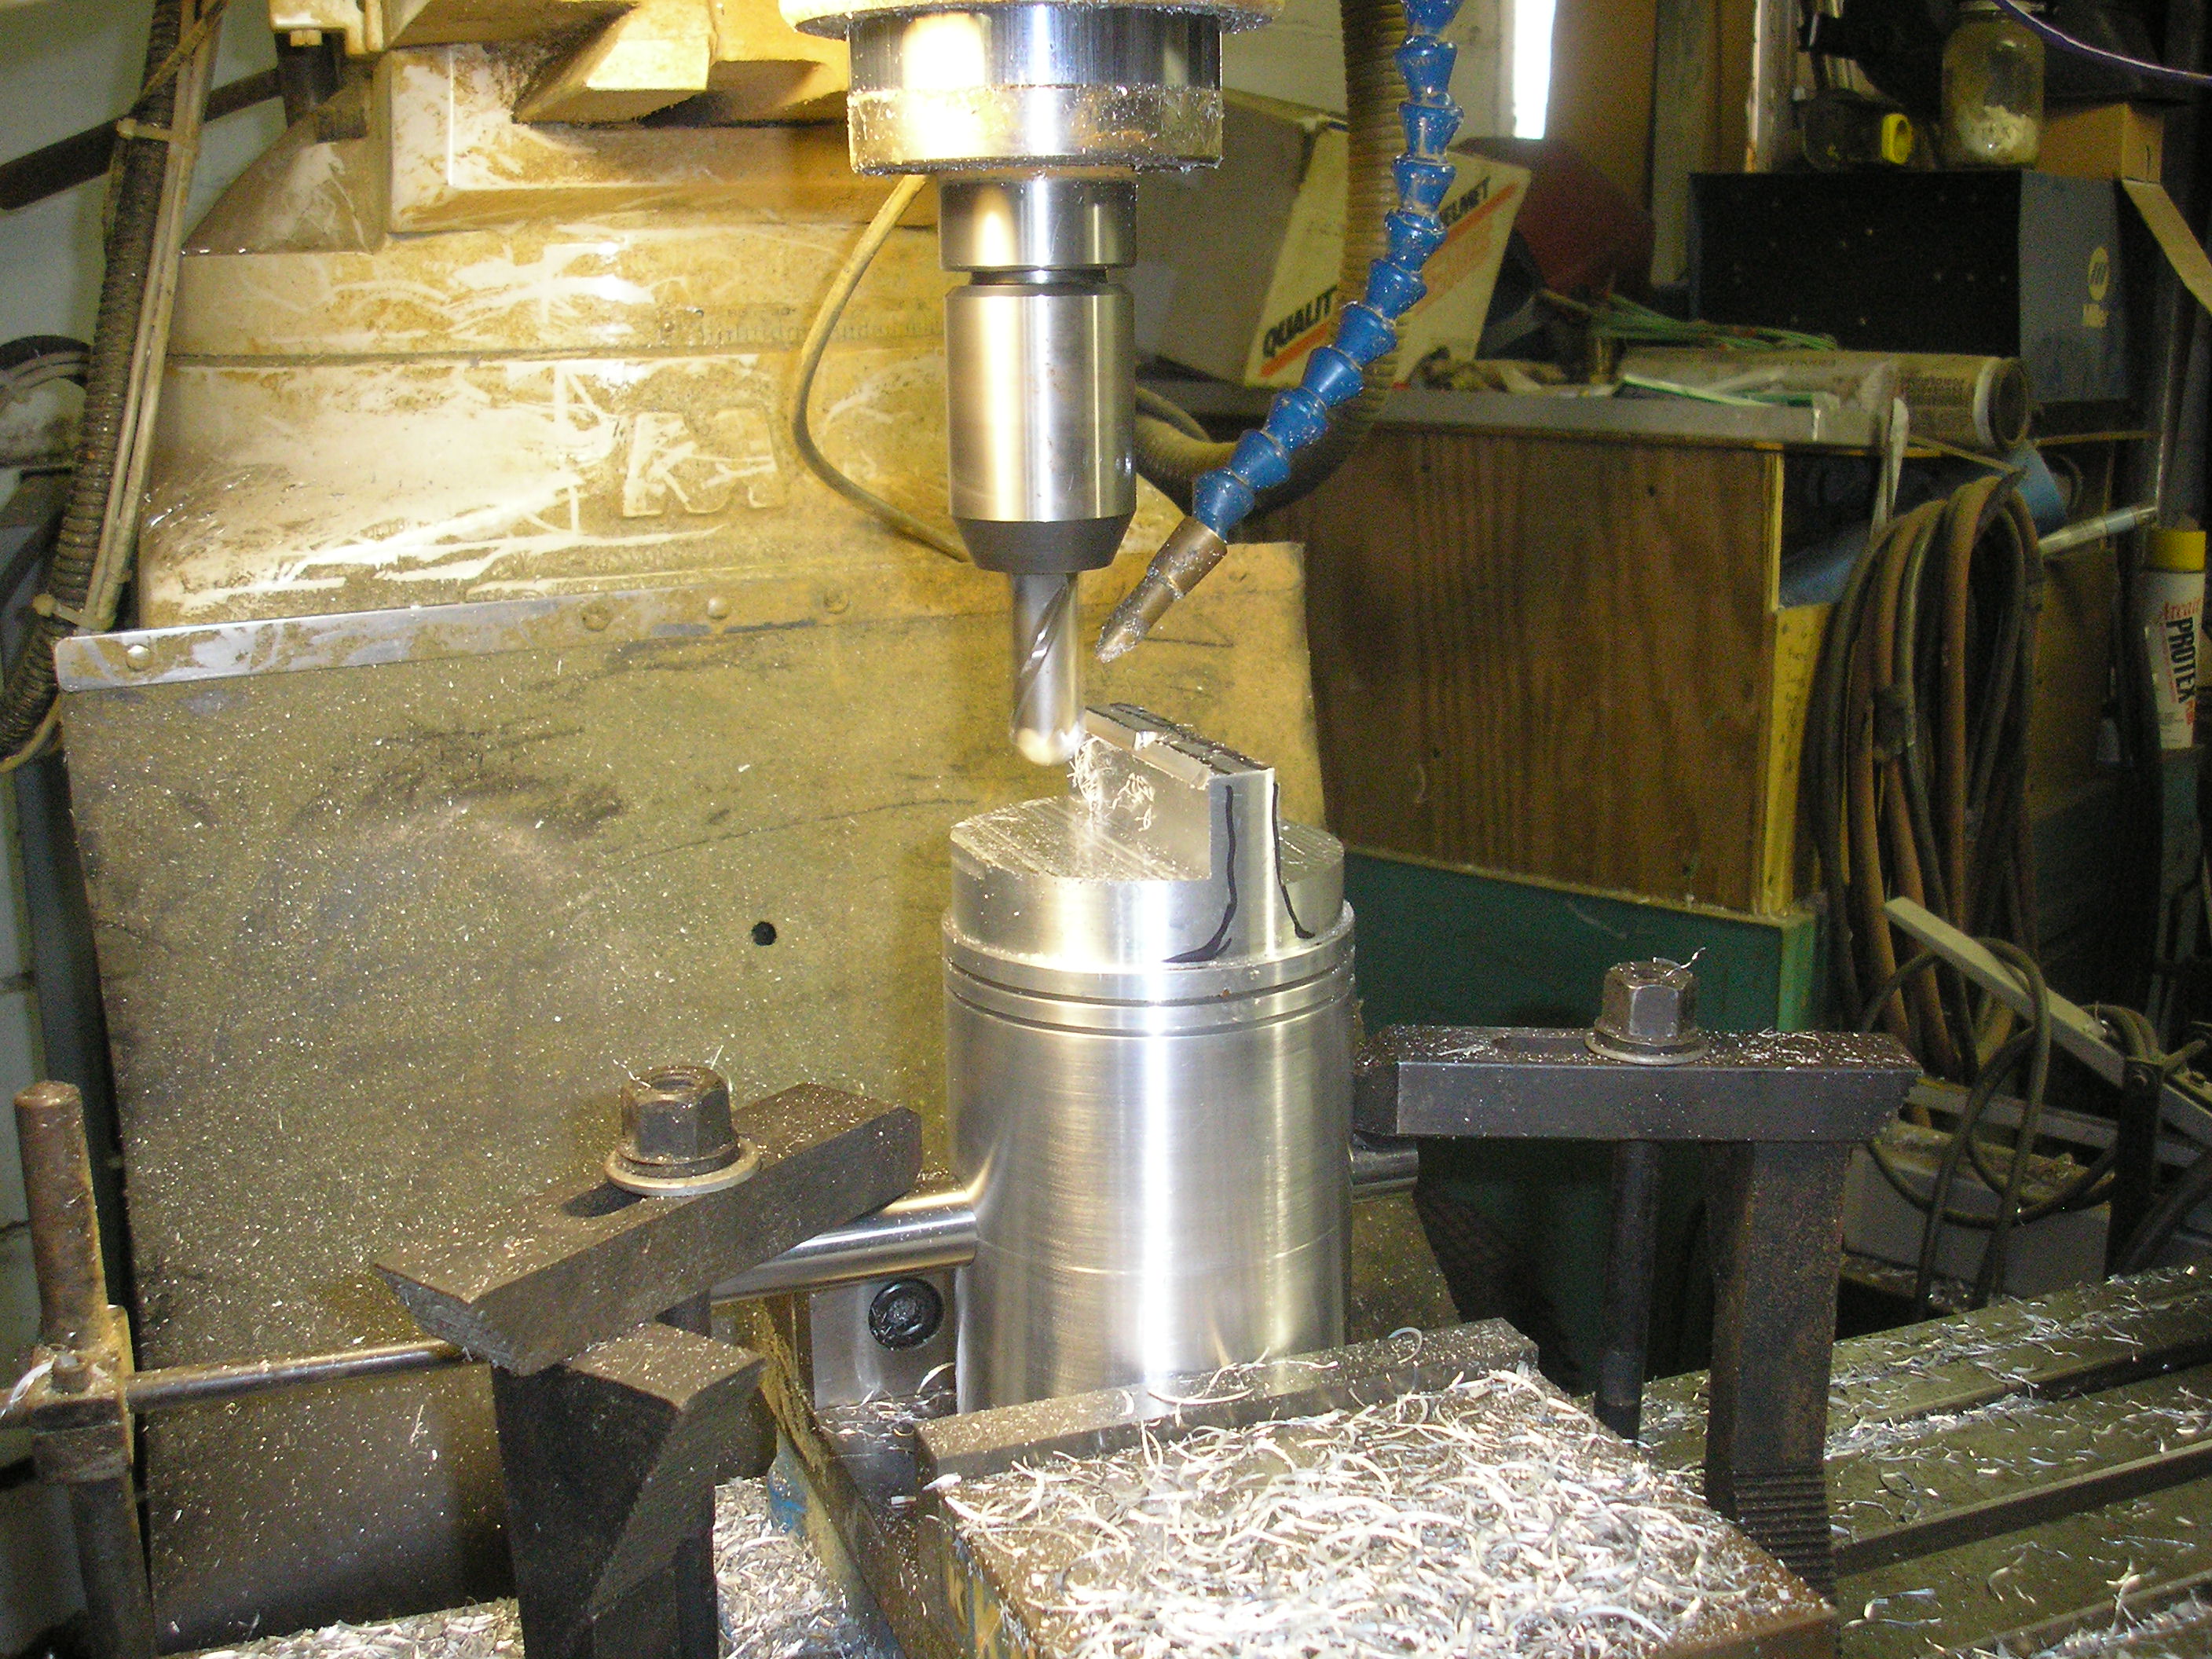
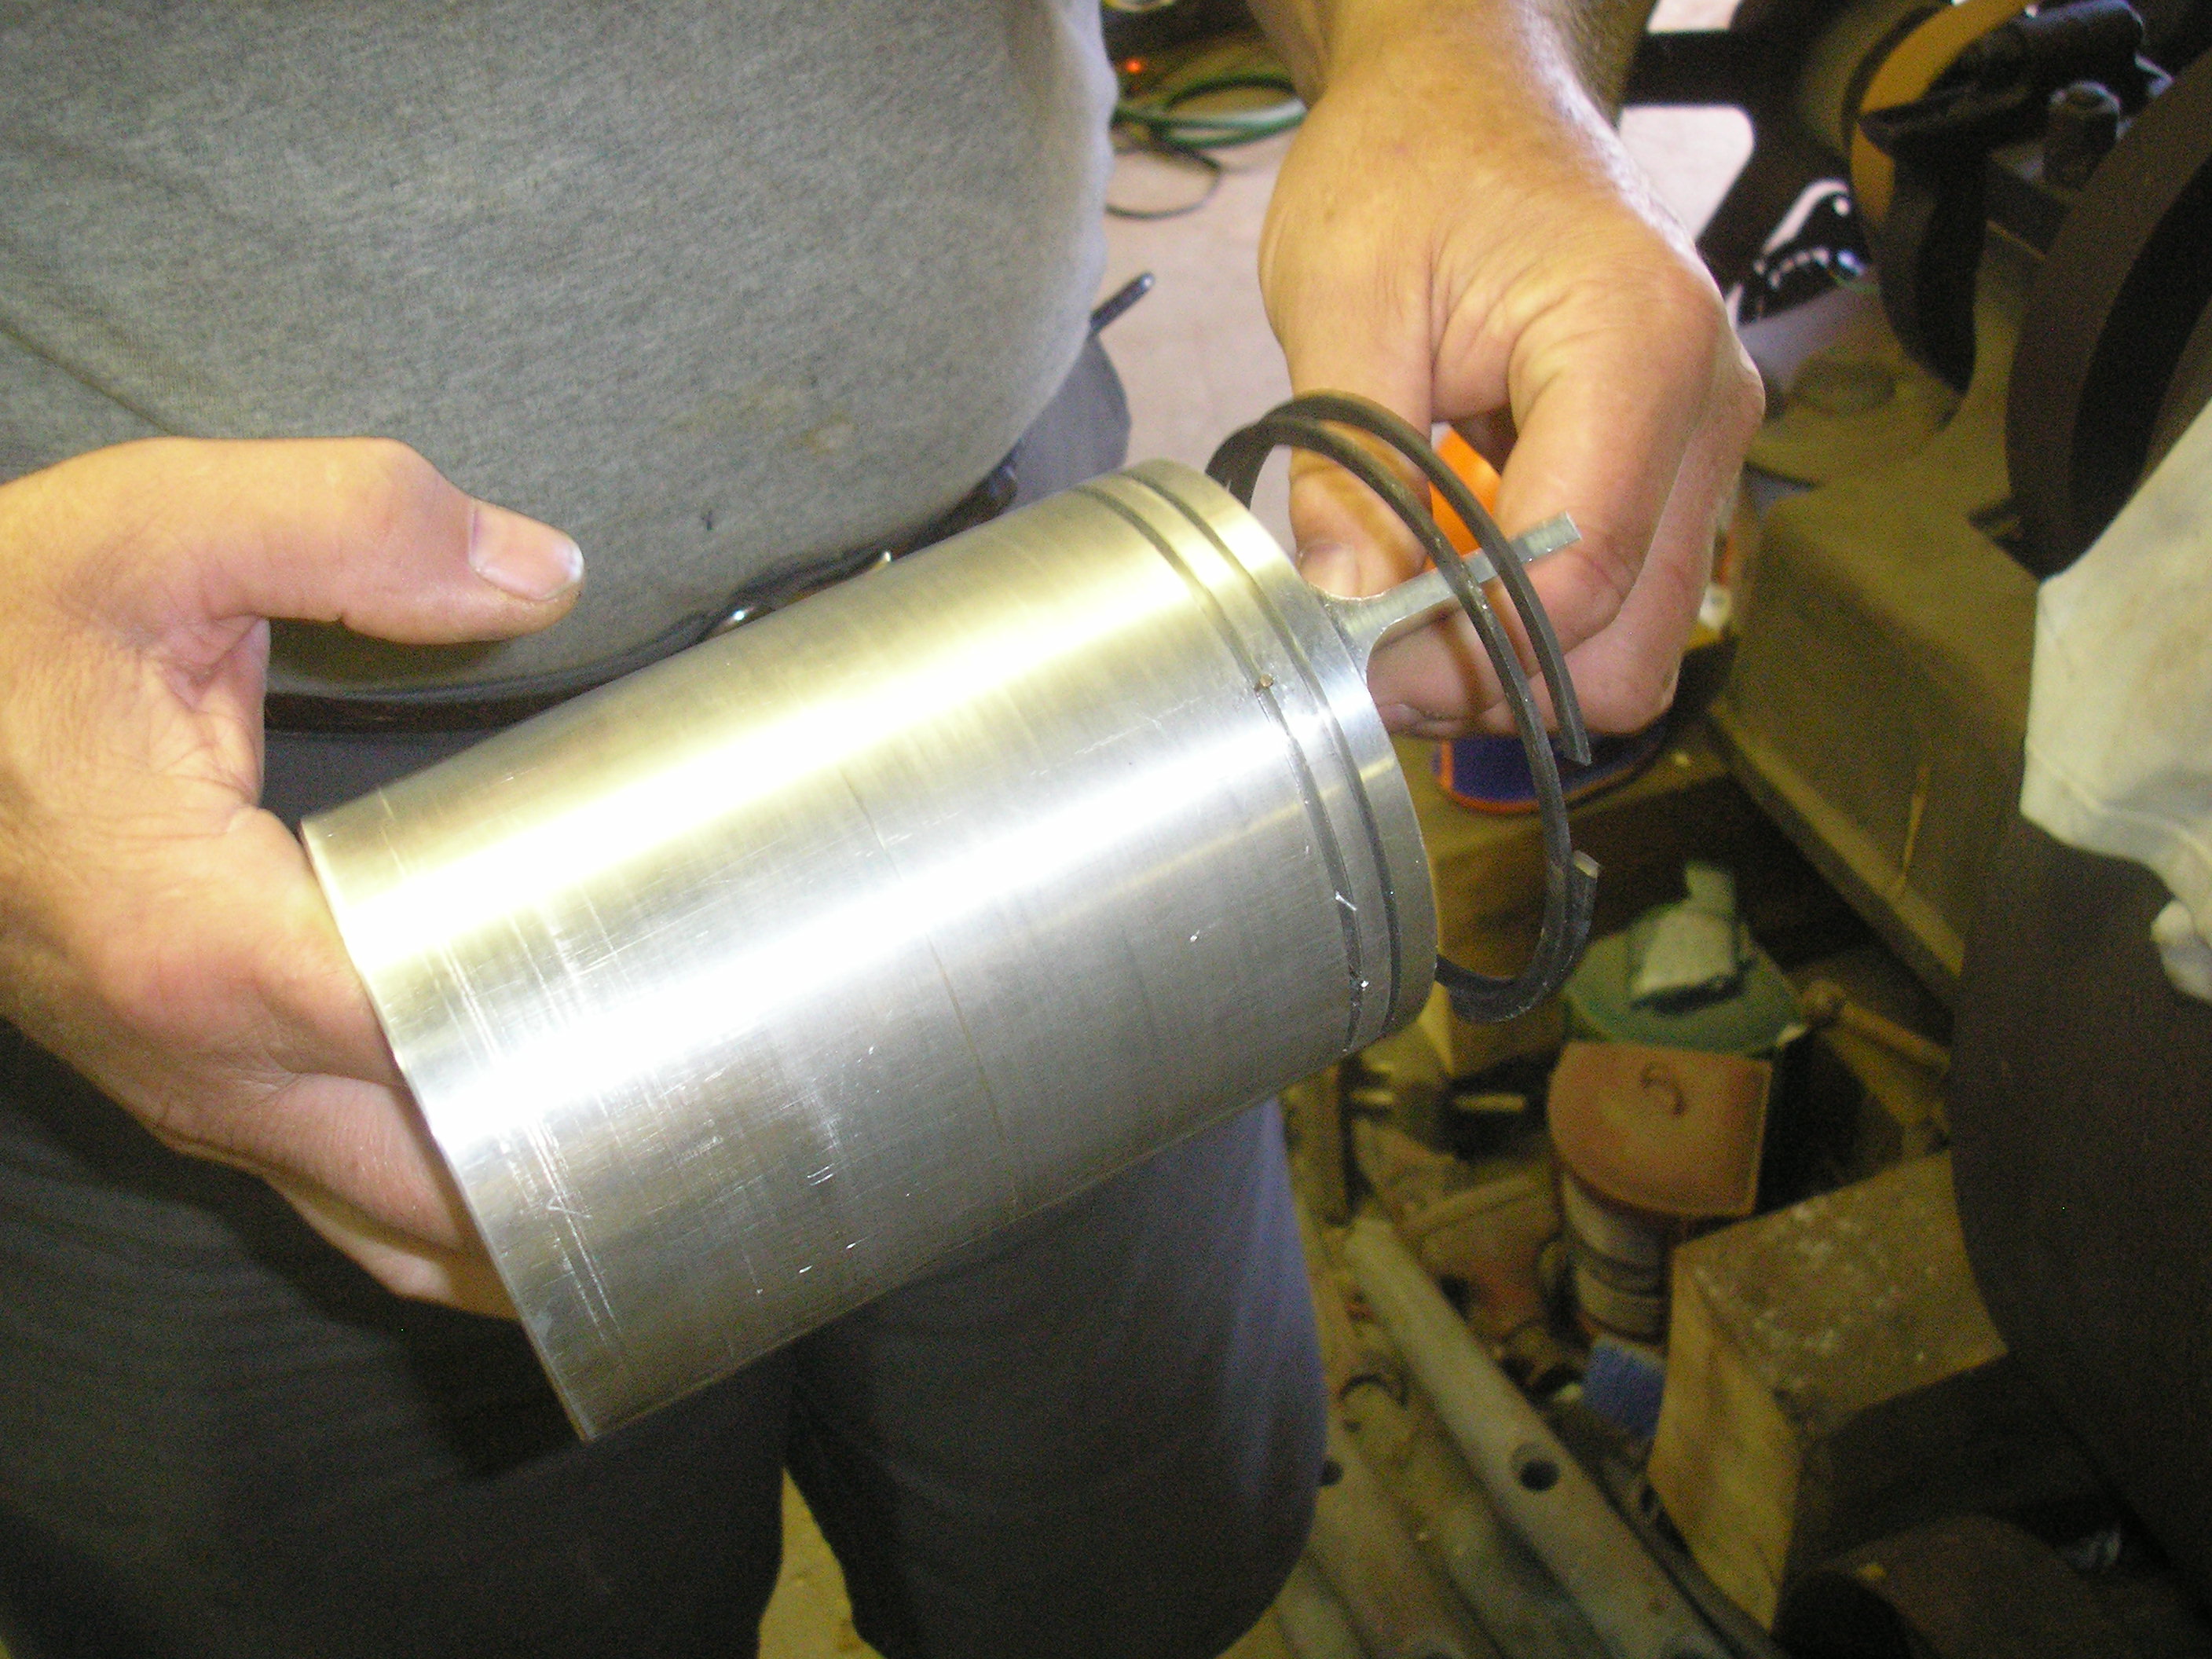

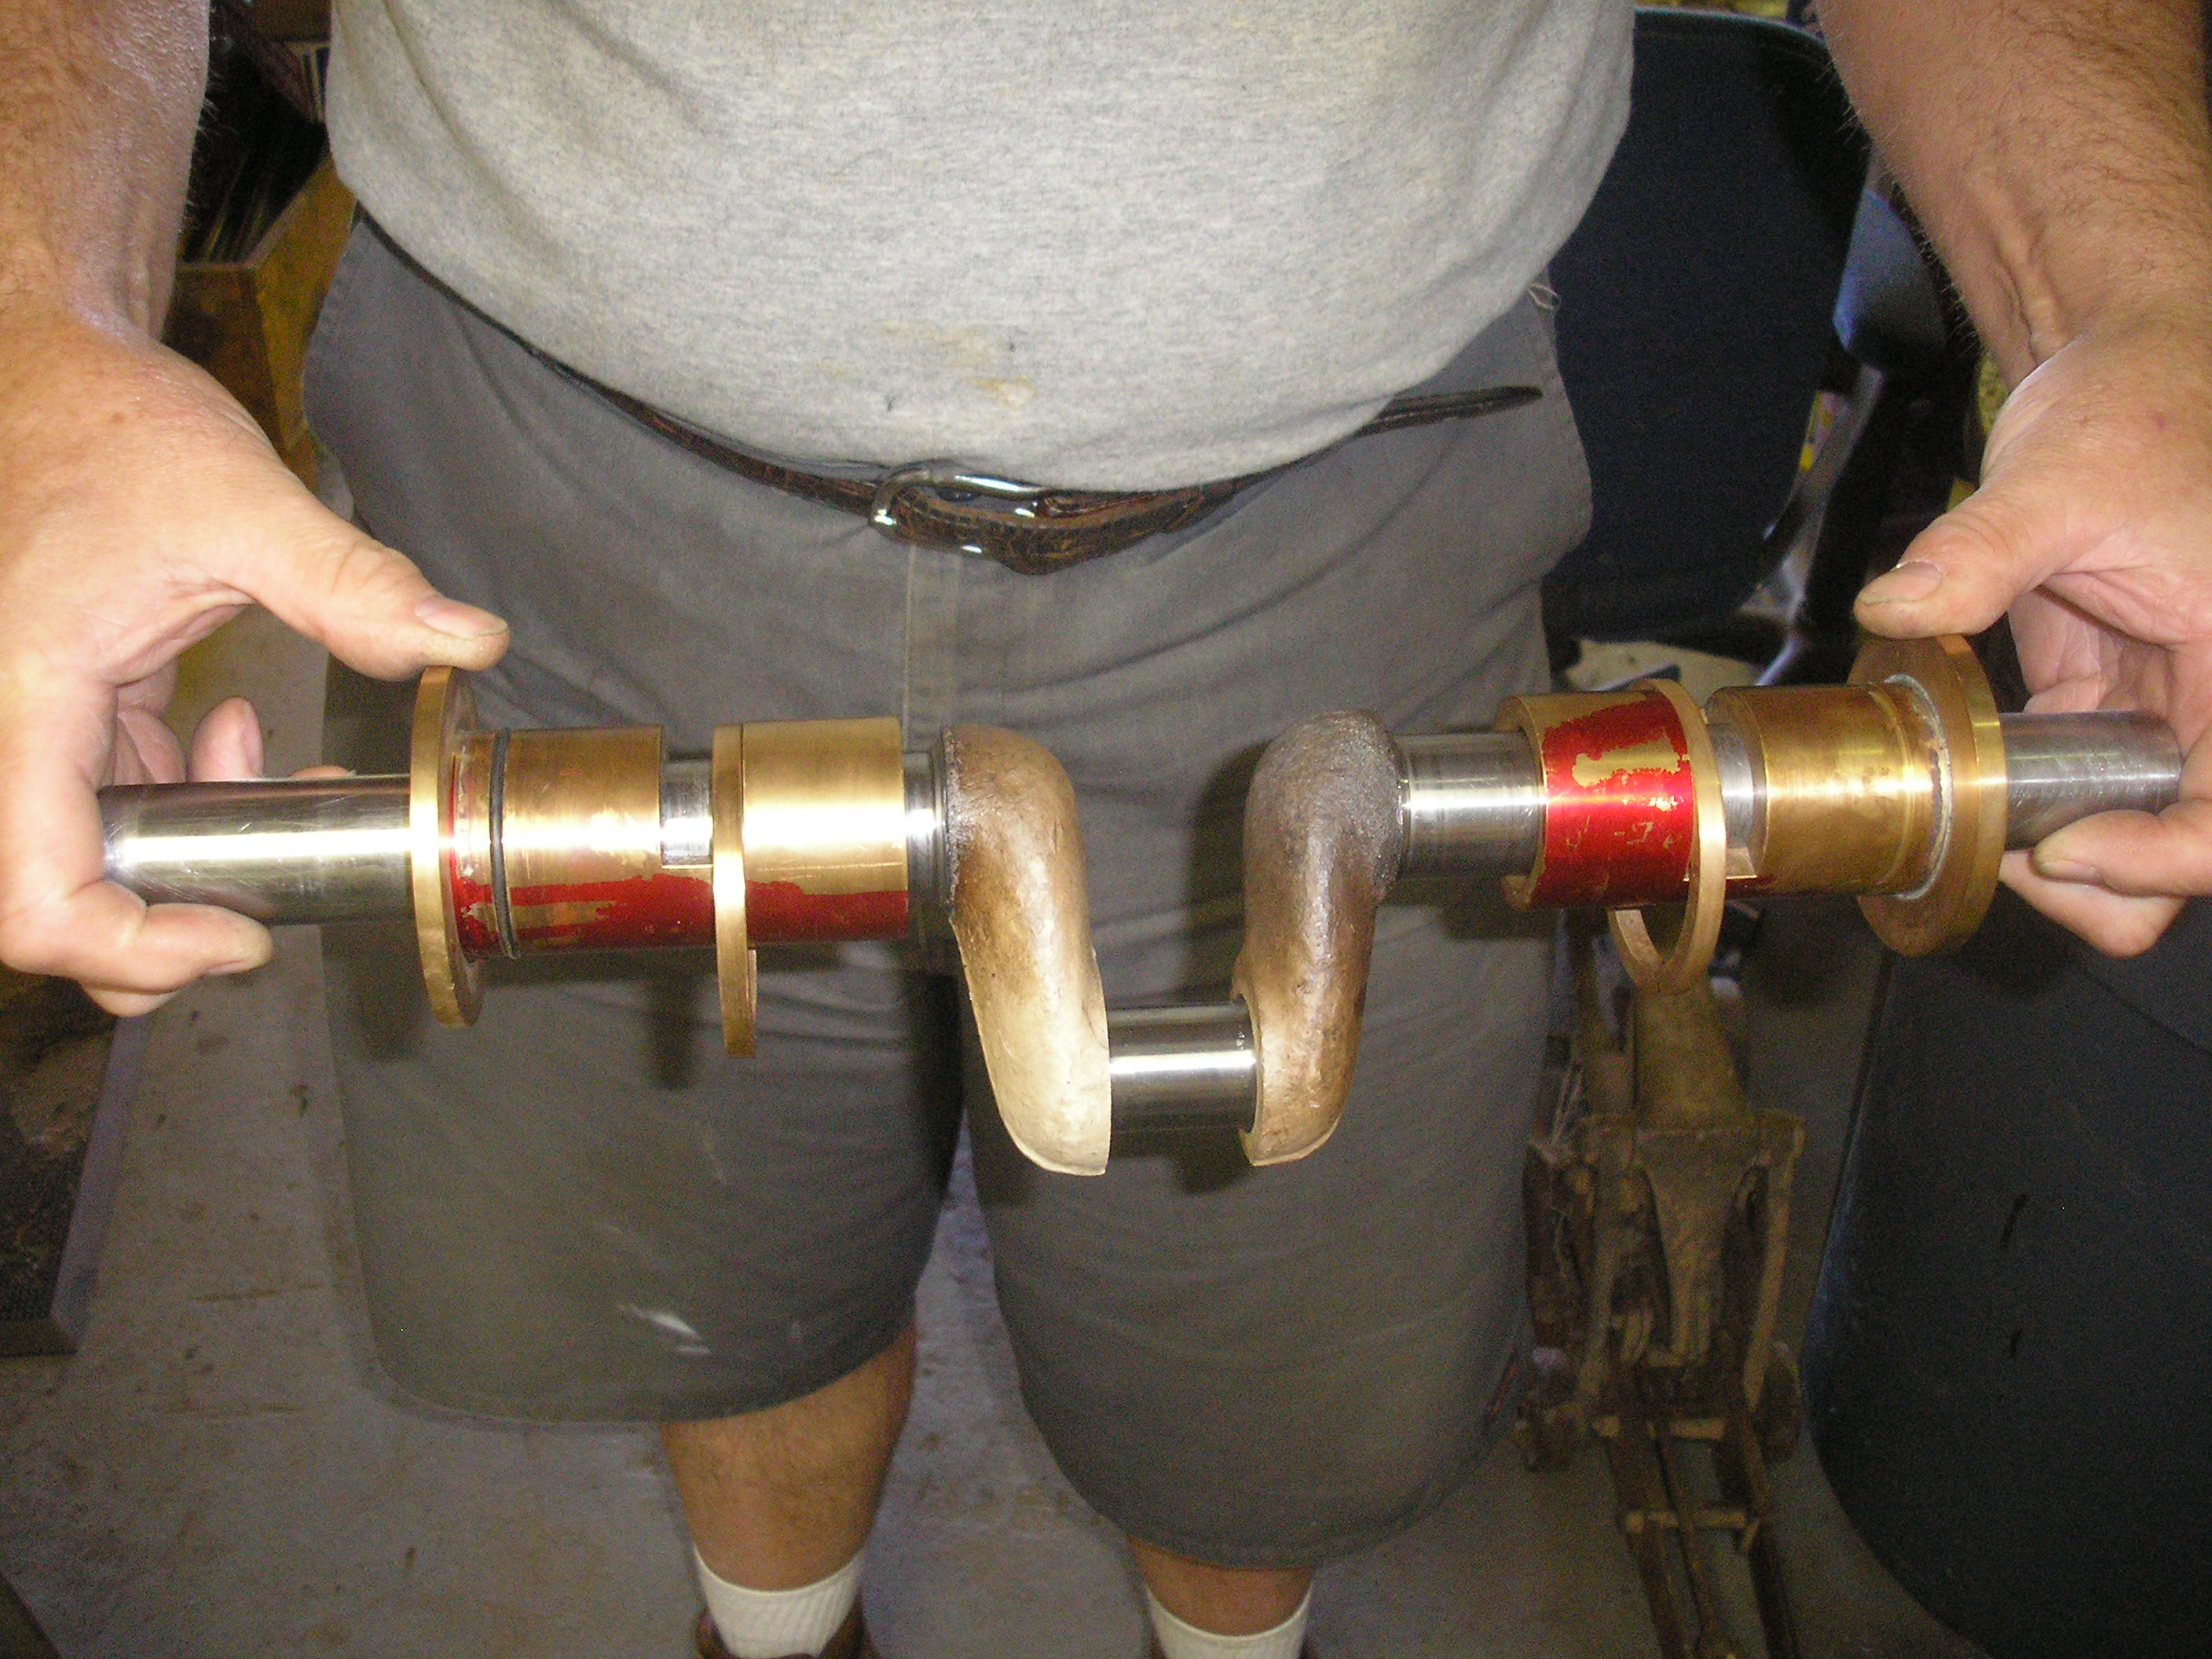
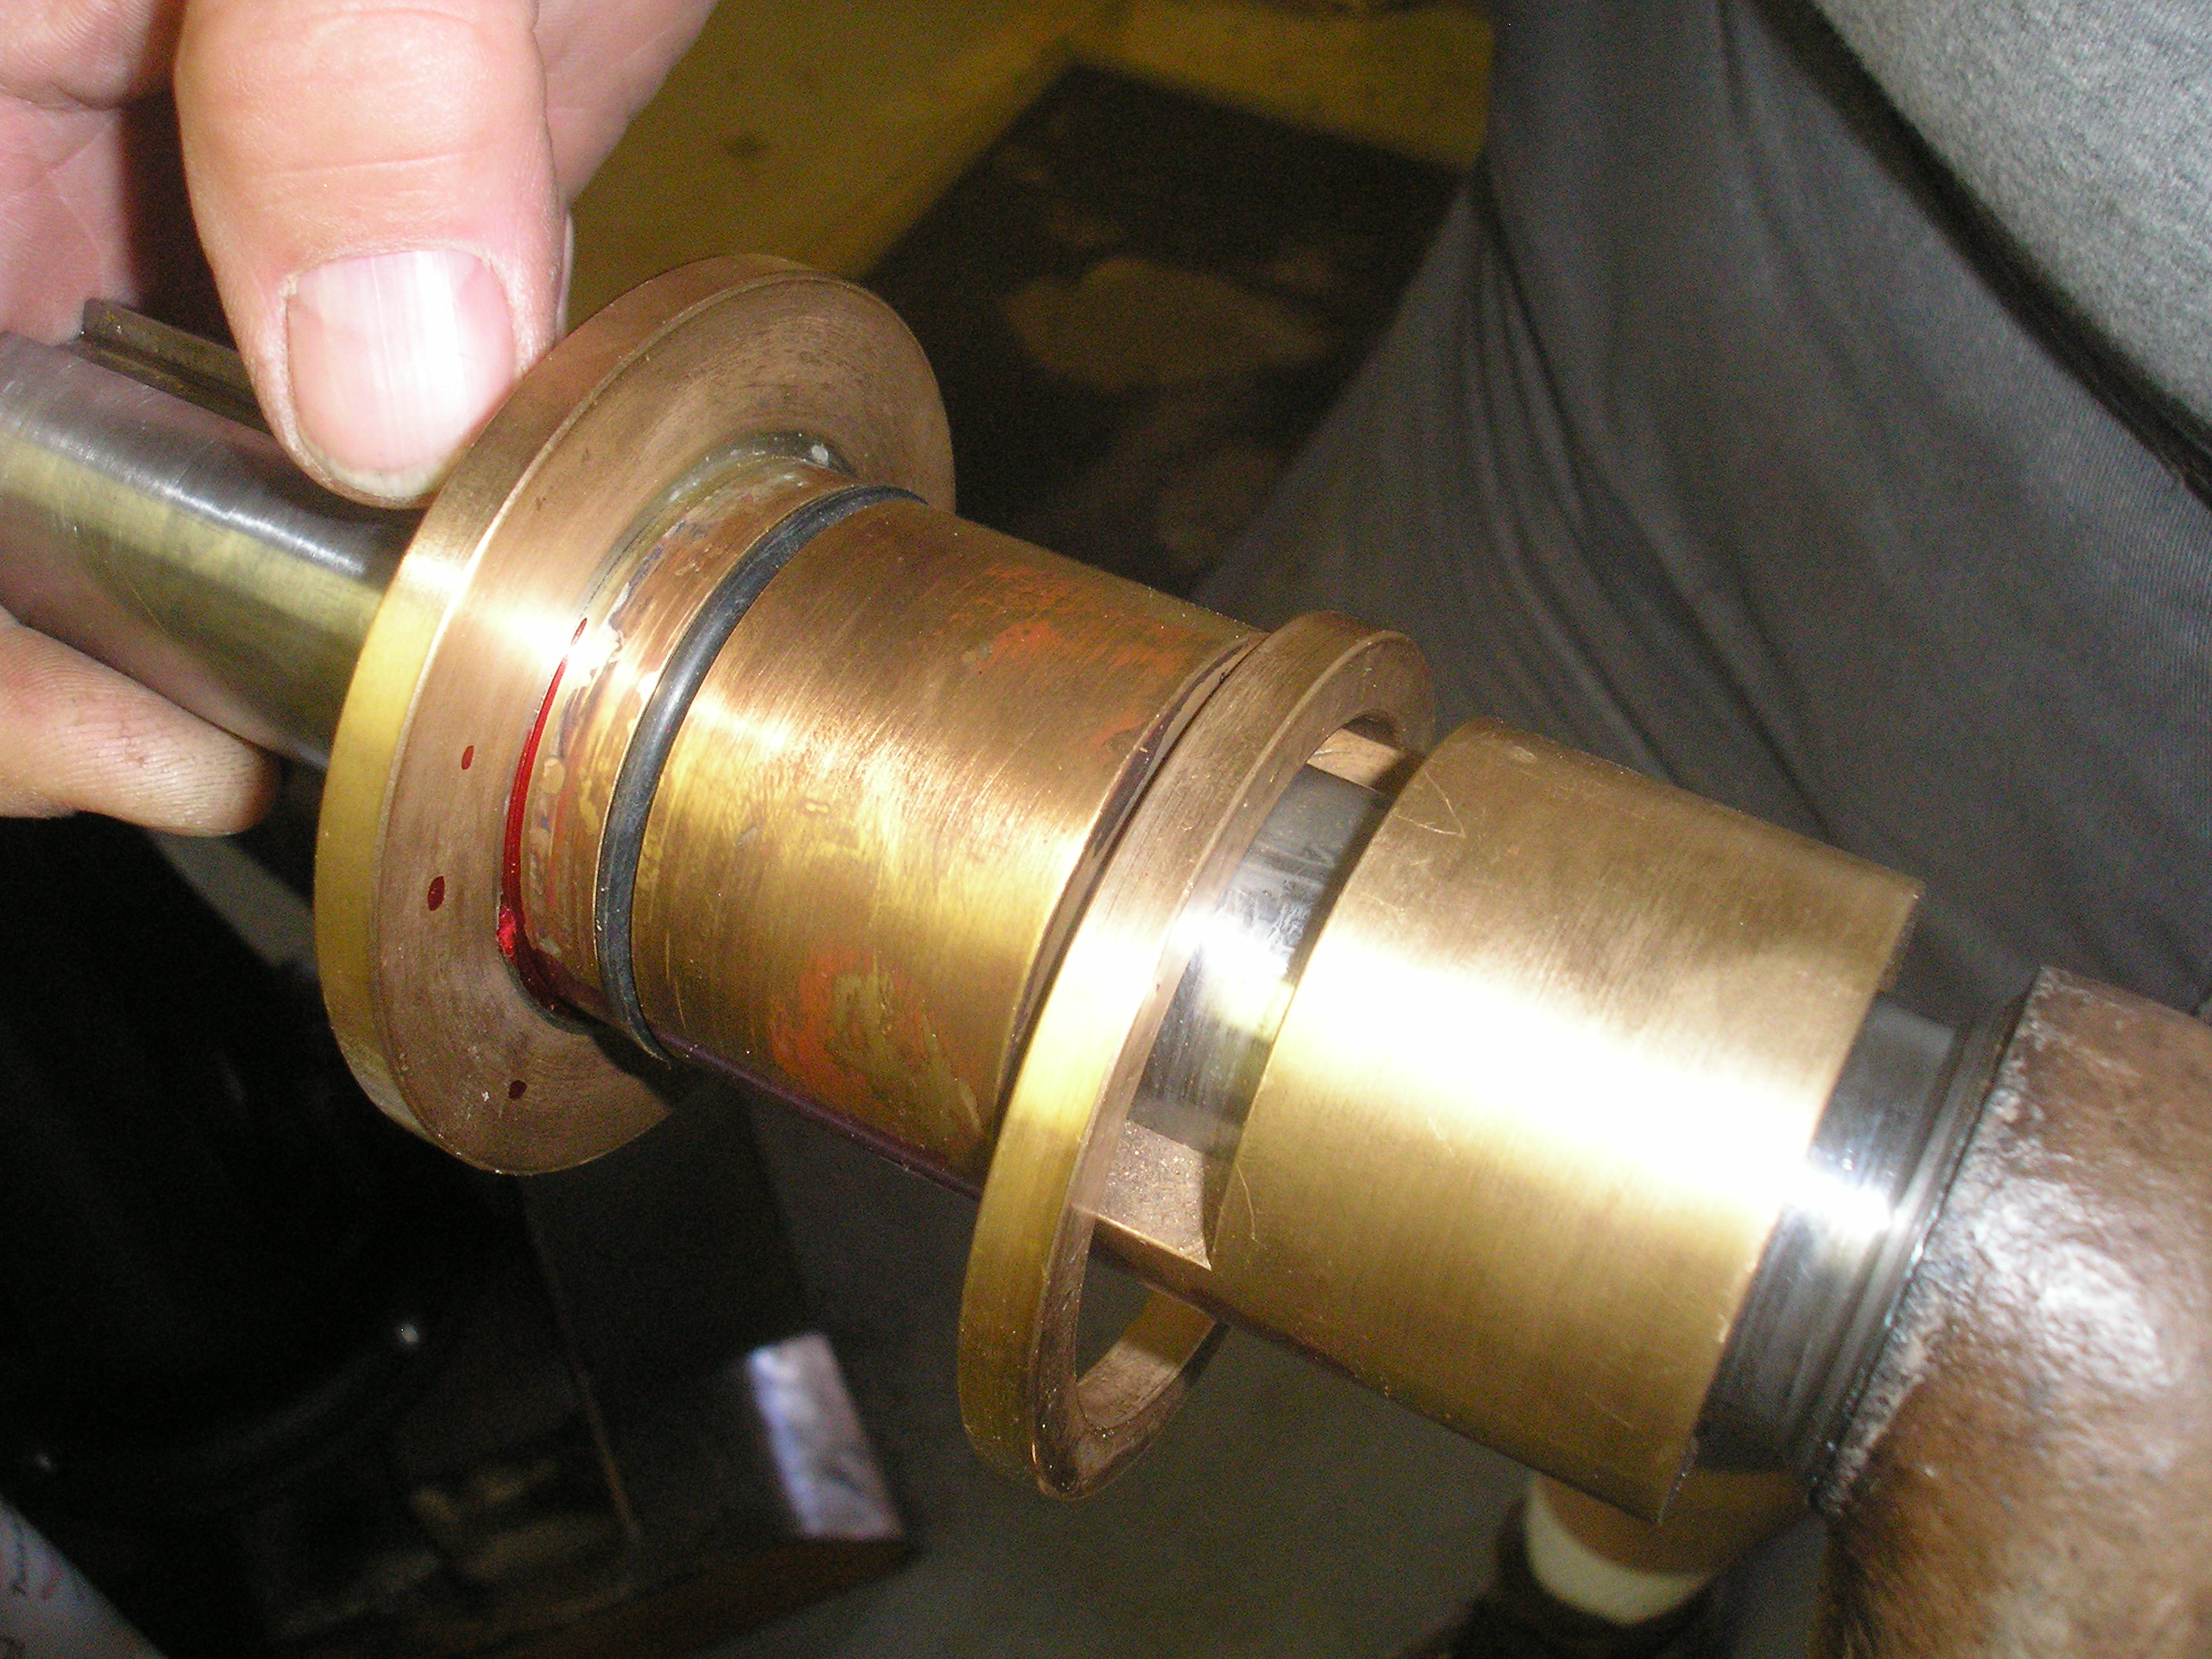
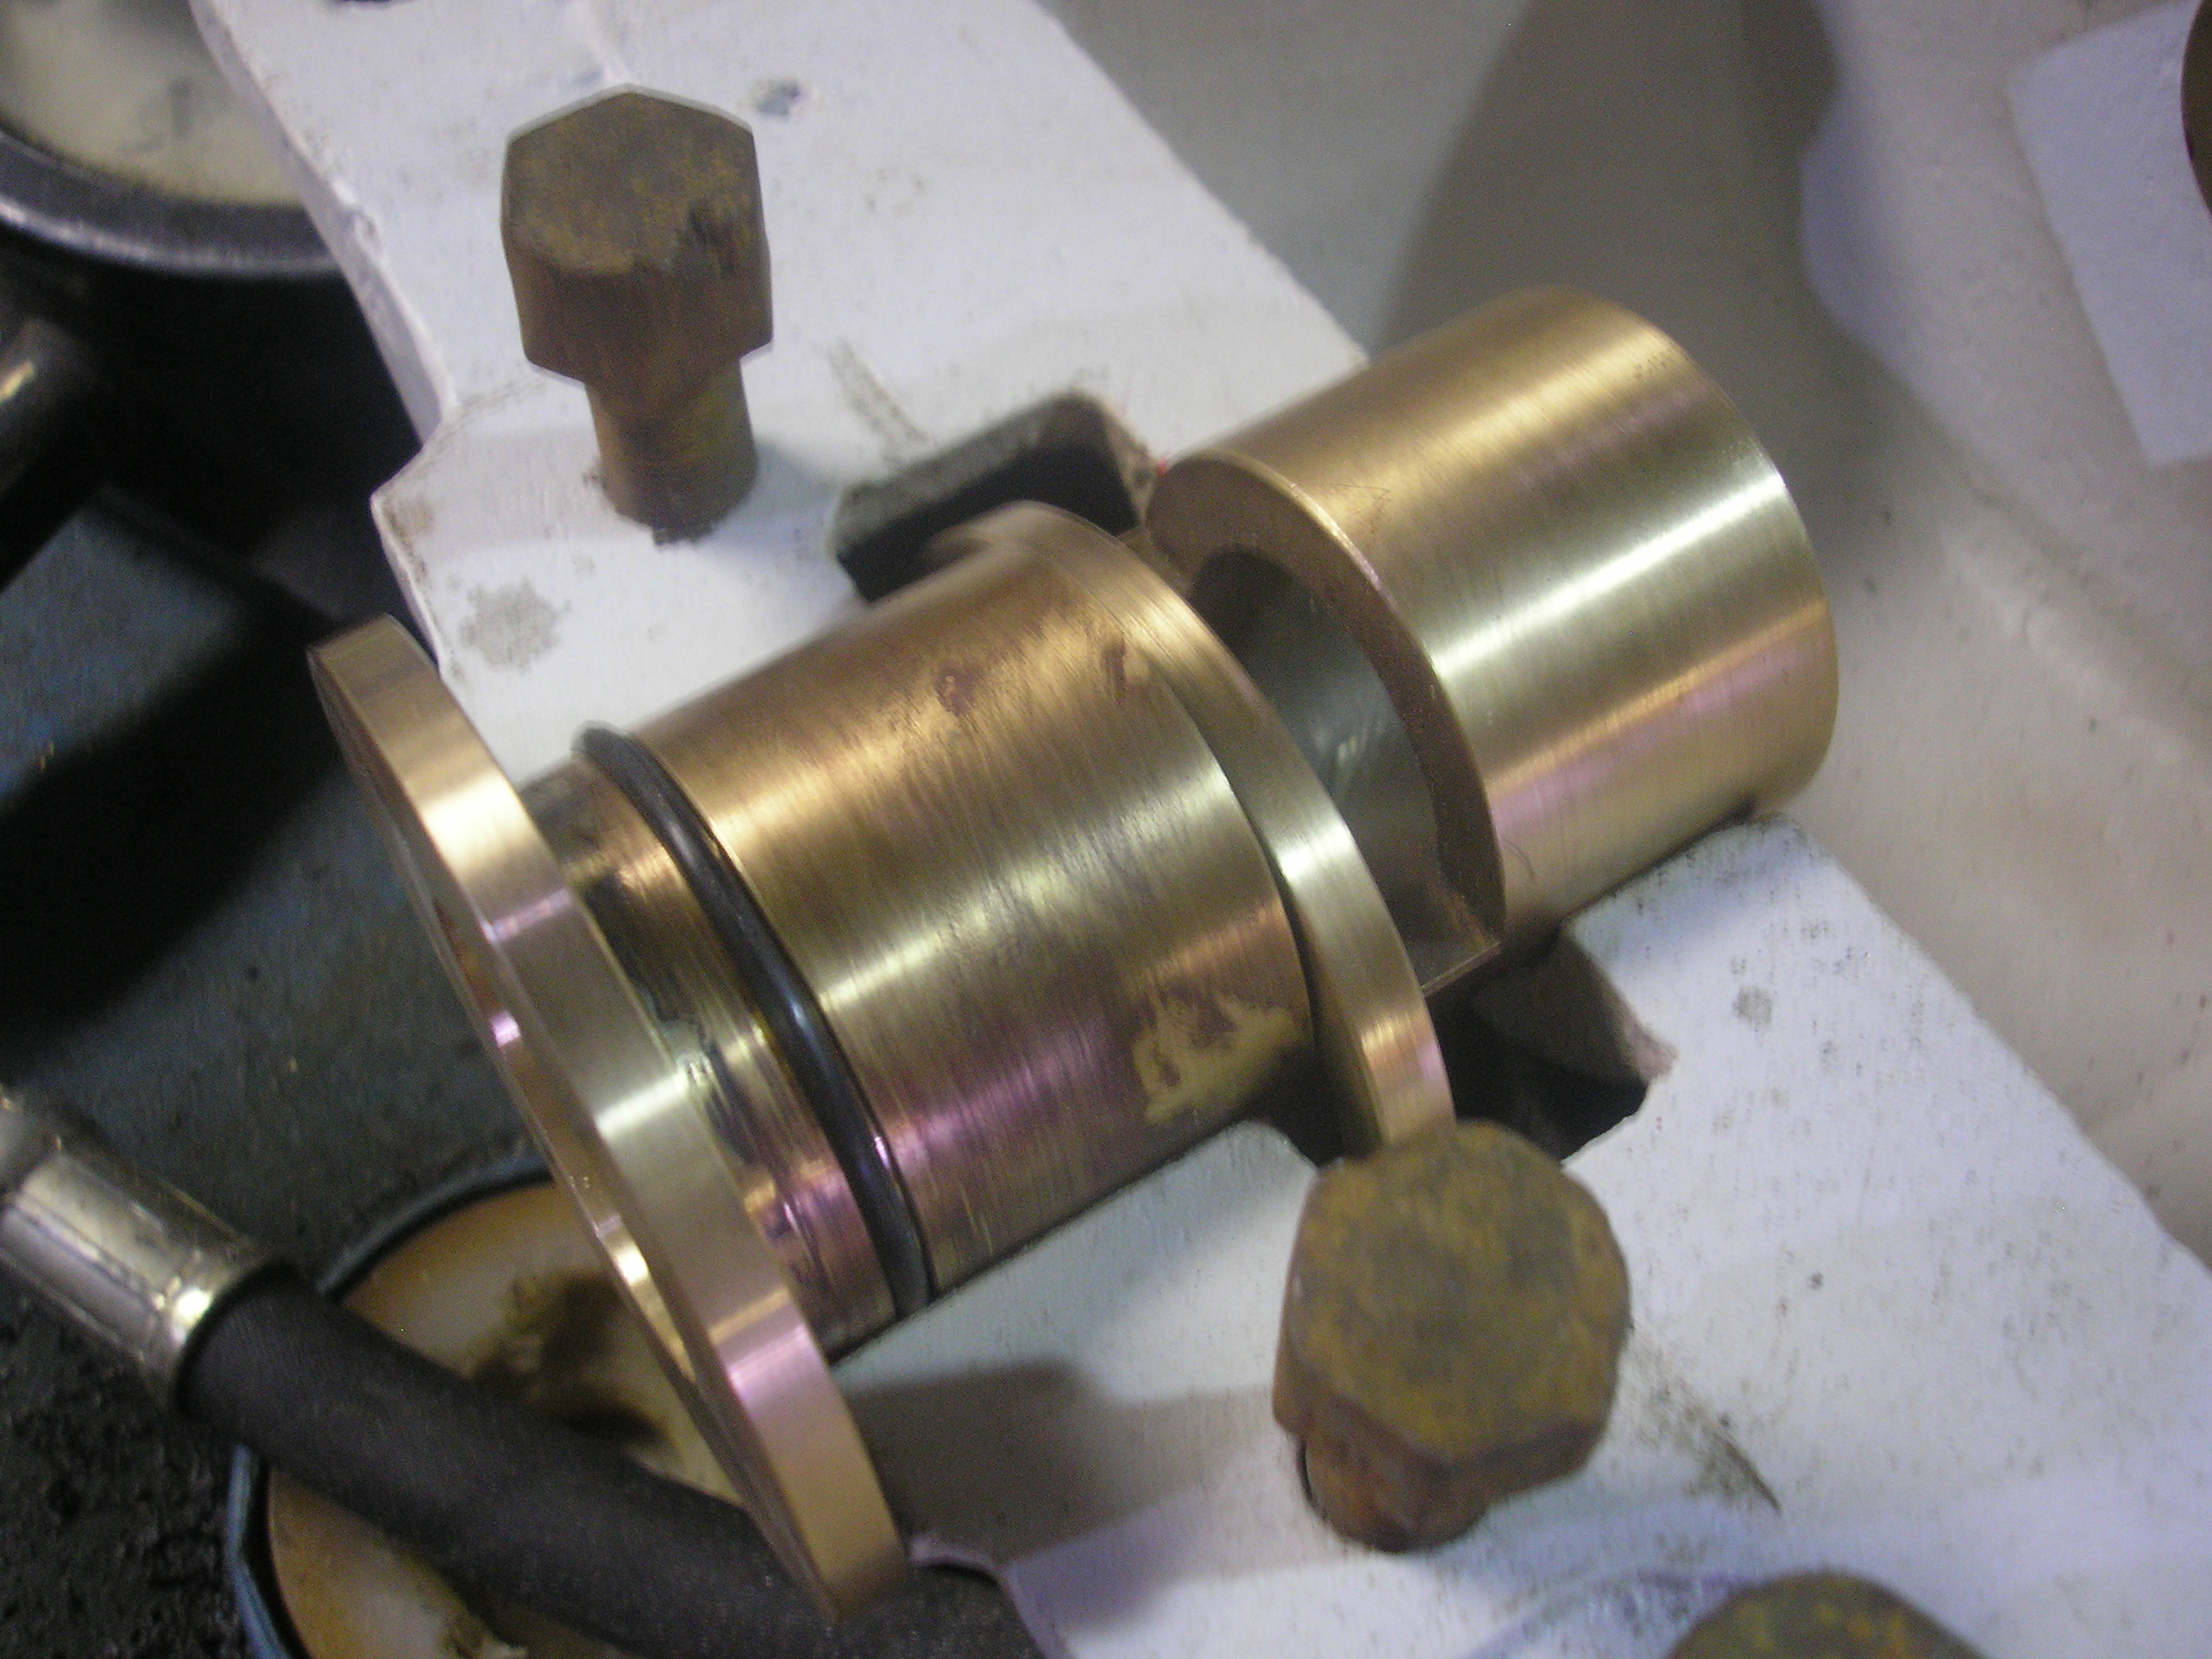


The main bearings have o-rings and shaft seals to try and keep the mess to a minimum while running. The aluminum piston has a 7/8 hardened pin and will float in the piston. It took about 3 hours to hog out the inside and about 2 to machine the deflector on top.
October 1, 2009
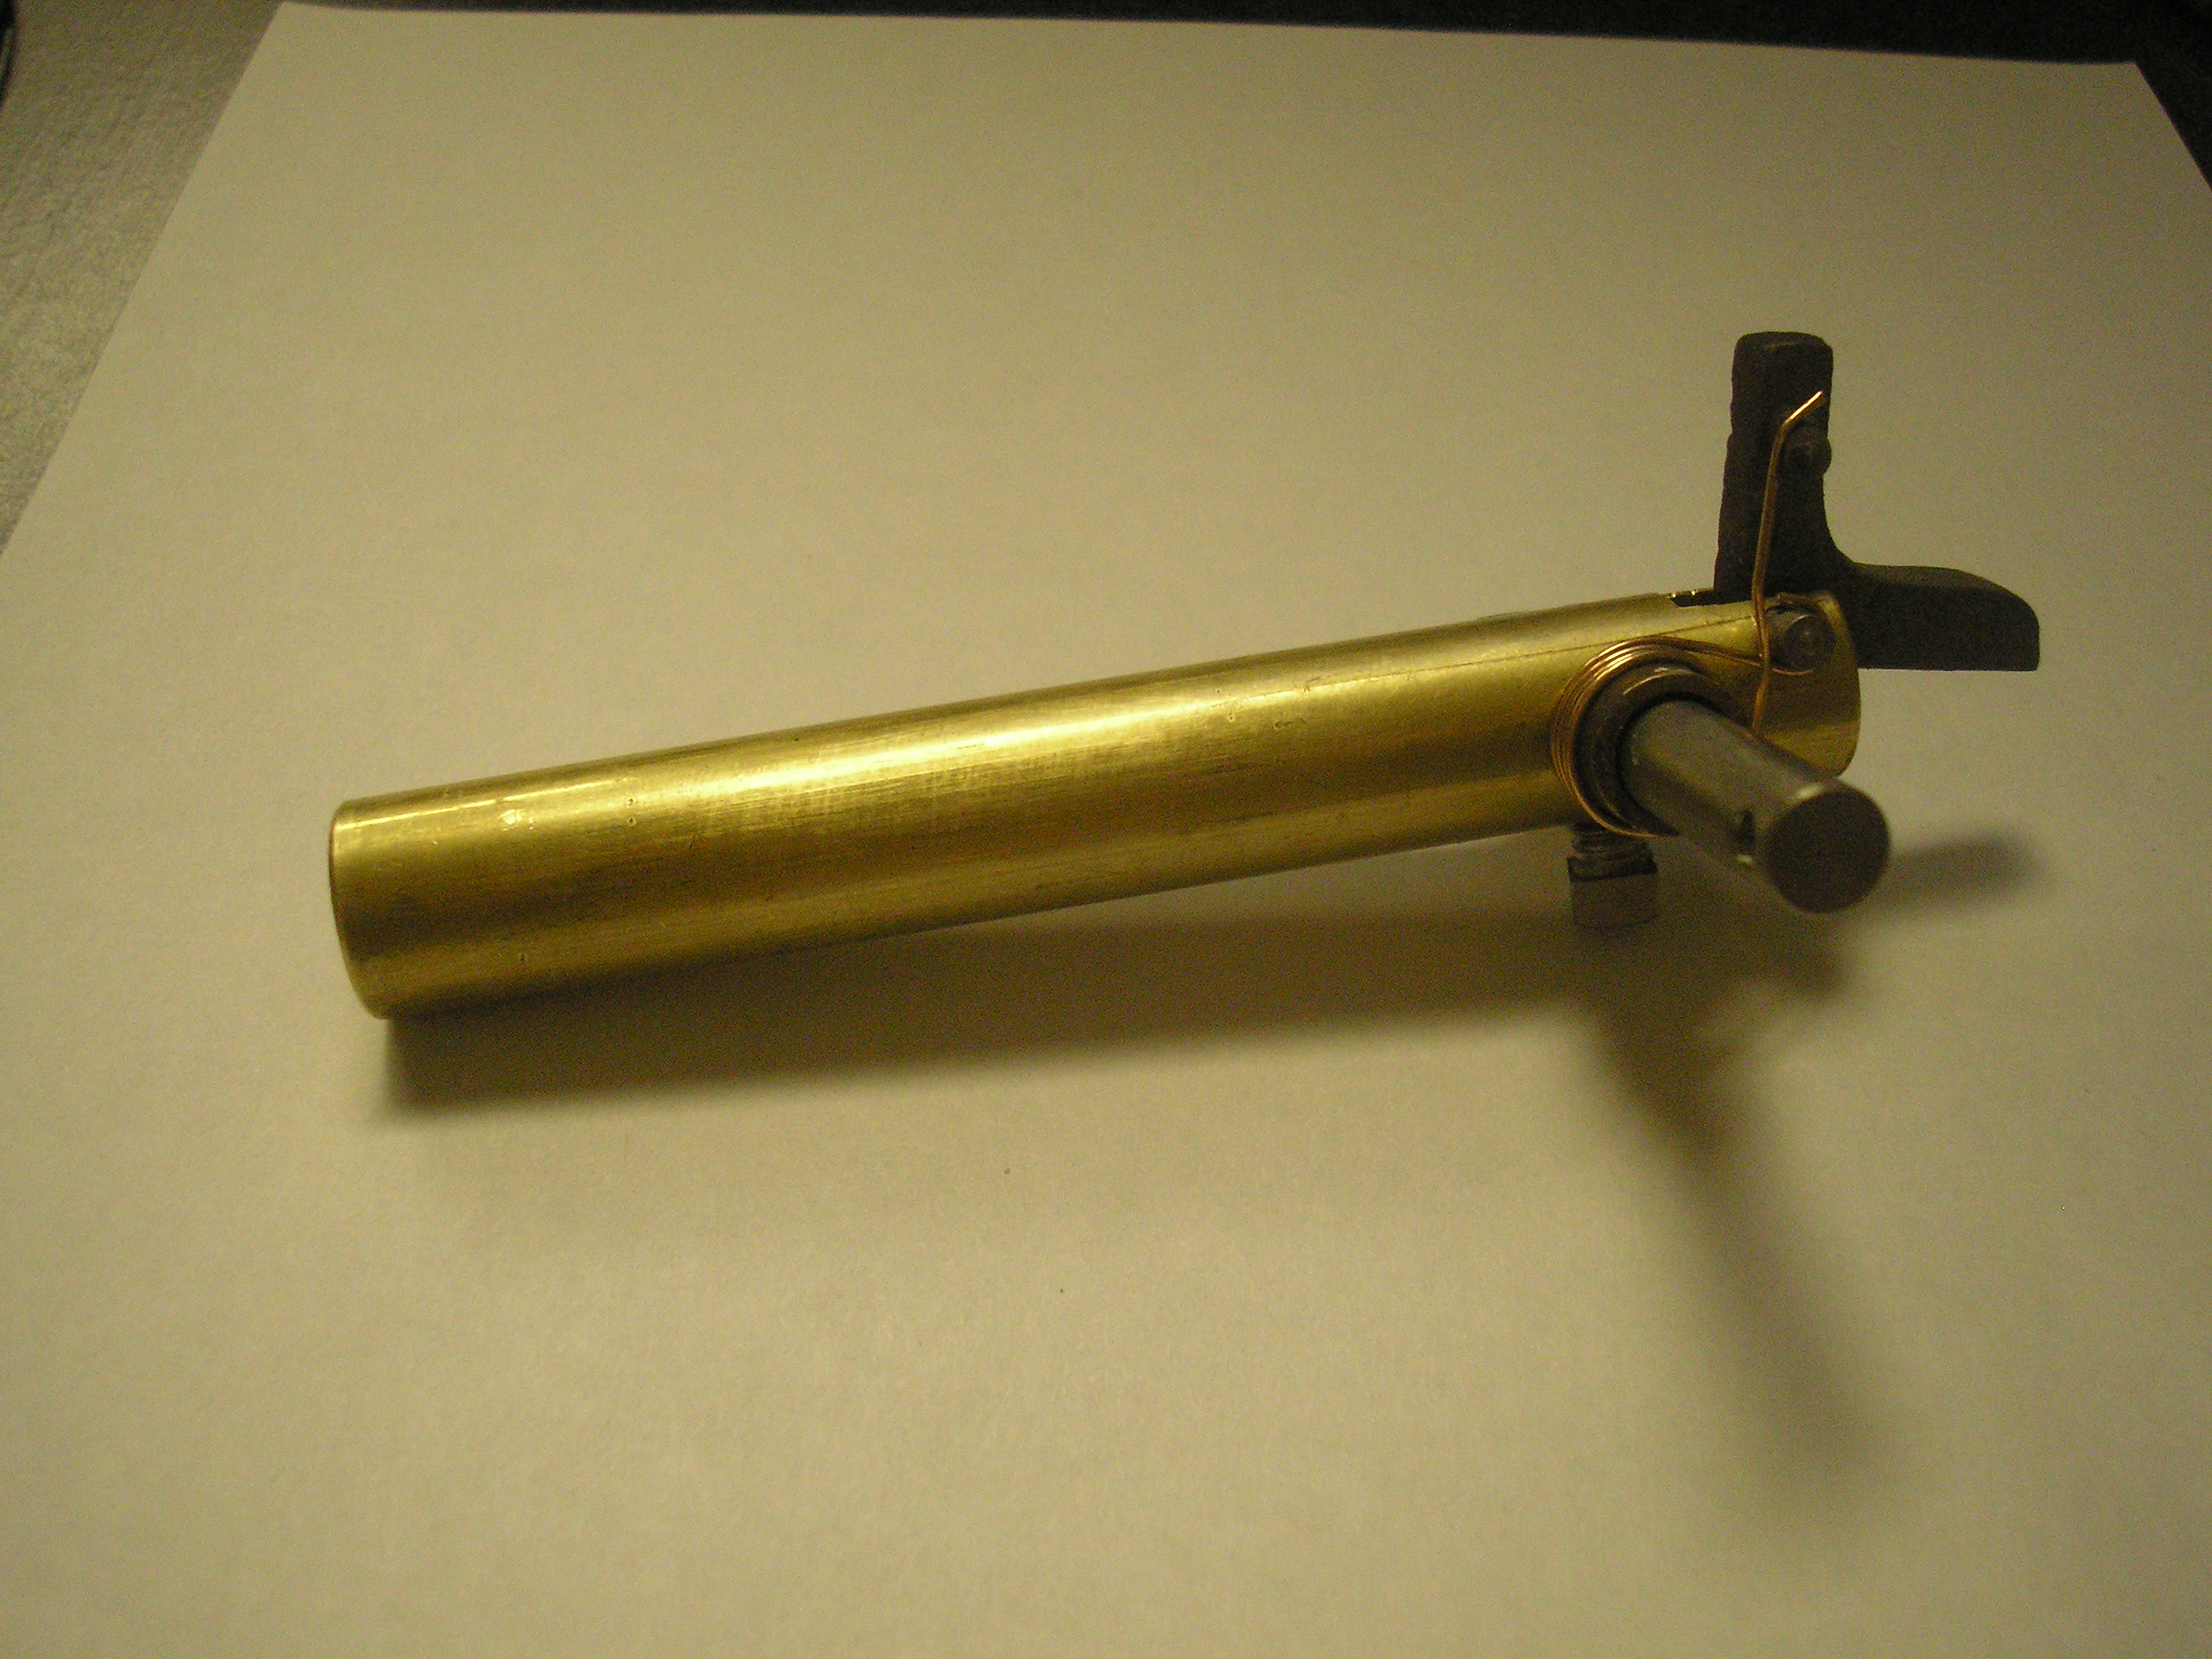
The Igniter trip and water pump are done
October 6, 2009
Getting everything ready and bolted down to the test stand.

October 22, 2009
Connecting Rod is done! It needs some fine tuning, but looks like it'll work!


It Runs!!! Here's a short movie with no sound. It'll start by just flicking the igniter trip on compression. Pretty cool really. Click on the messed up picture below and the movie will open in a new window. I'll fix it later...
More to come...